Minecraft Trial Chambers Explained: Vaults, Trial Spawners and the Mace

Trial chambers are Minecraft's toughest mid-game dungeon: tuff-and-copper structures packed with wave-spawning trial spawners, loot-filled vaults and the game's newest weapon, the mace. Here's how to find one, survive the fights inside, and walk away with a mace of your own.
Deep under the grass and stone of the Overworld, Minecraft hides one of its toughest mid-game tests: the trial chamber. Added in the Tricky Trials update, these tuff-and-copper structures pack combat gauntlets, loot vaults and a brand-new weapon into one dungeon. Here's exactly how the trial spawners, vaults and the mace work, and how to walk out with your inventory full instead of empty.
1. What Is a Trial Chamber?
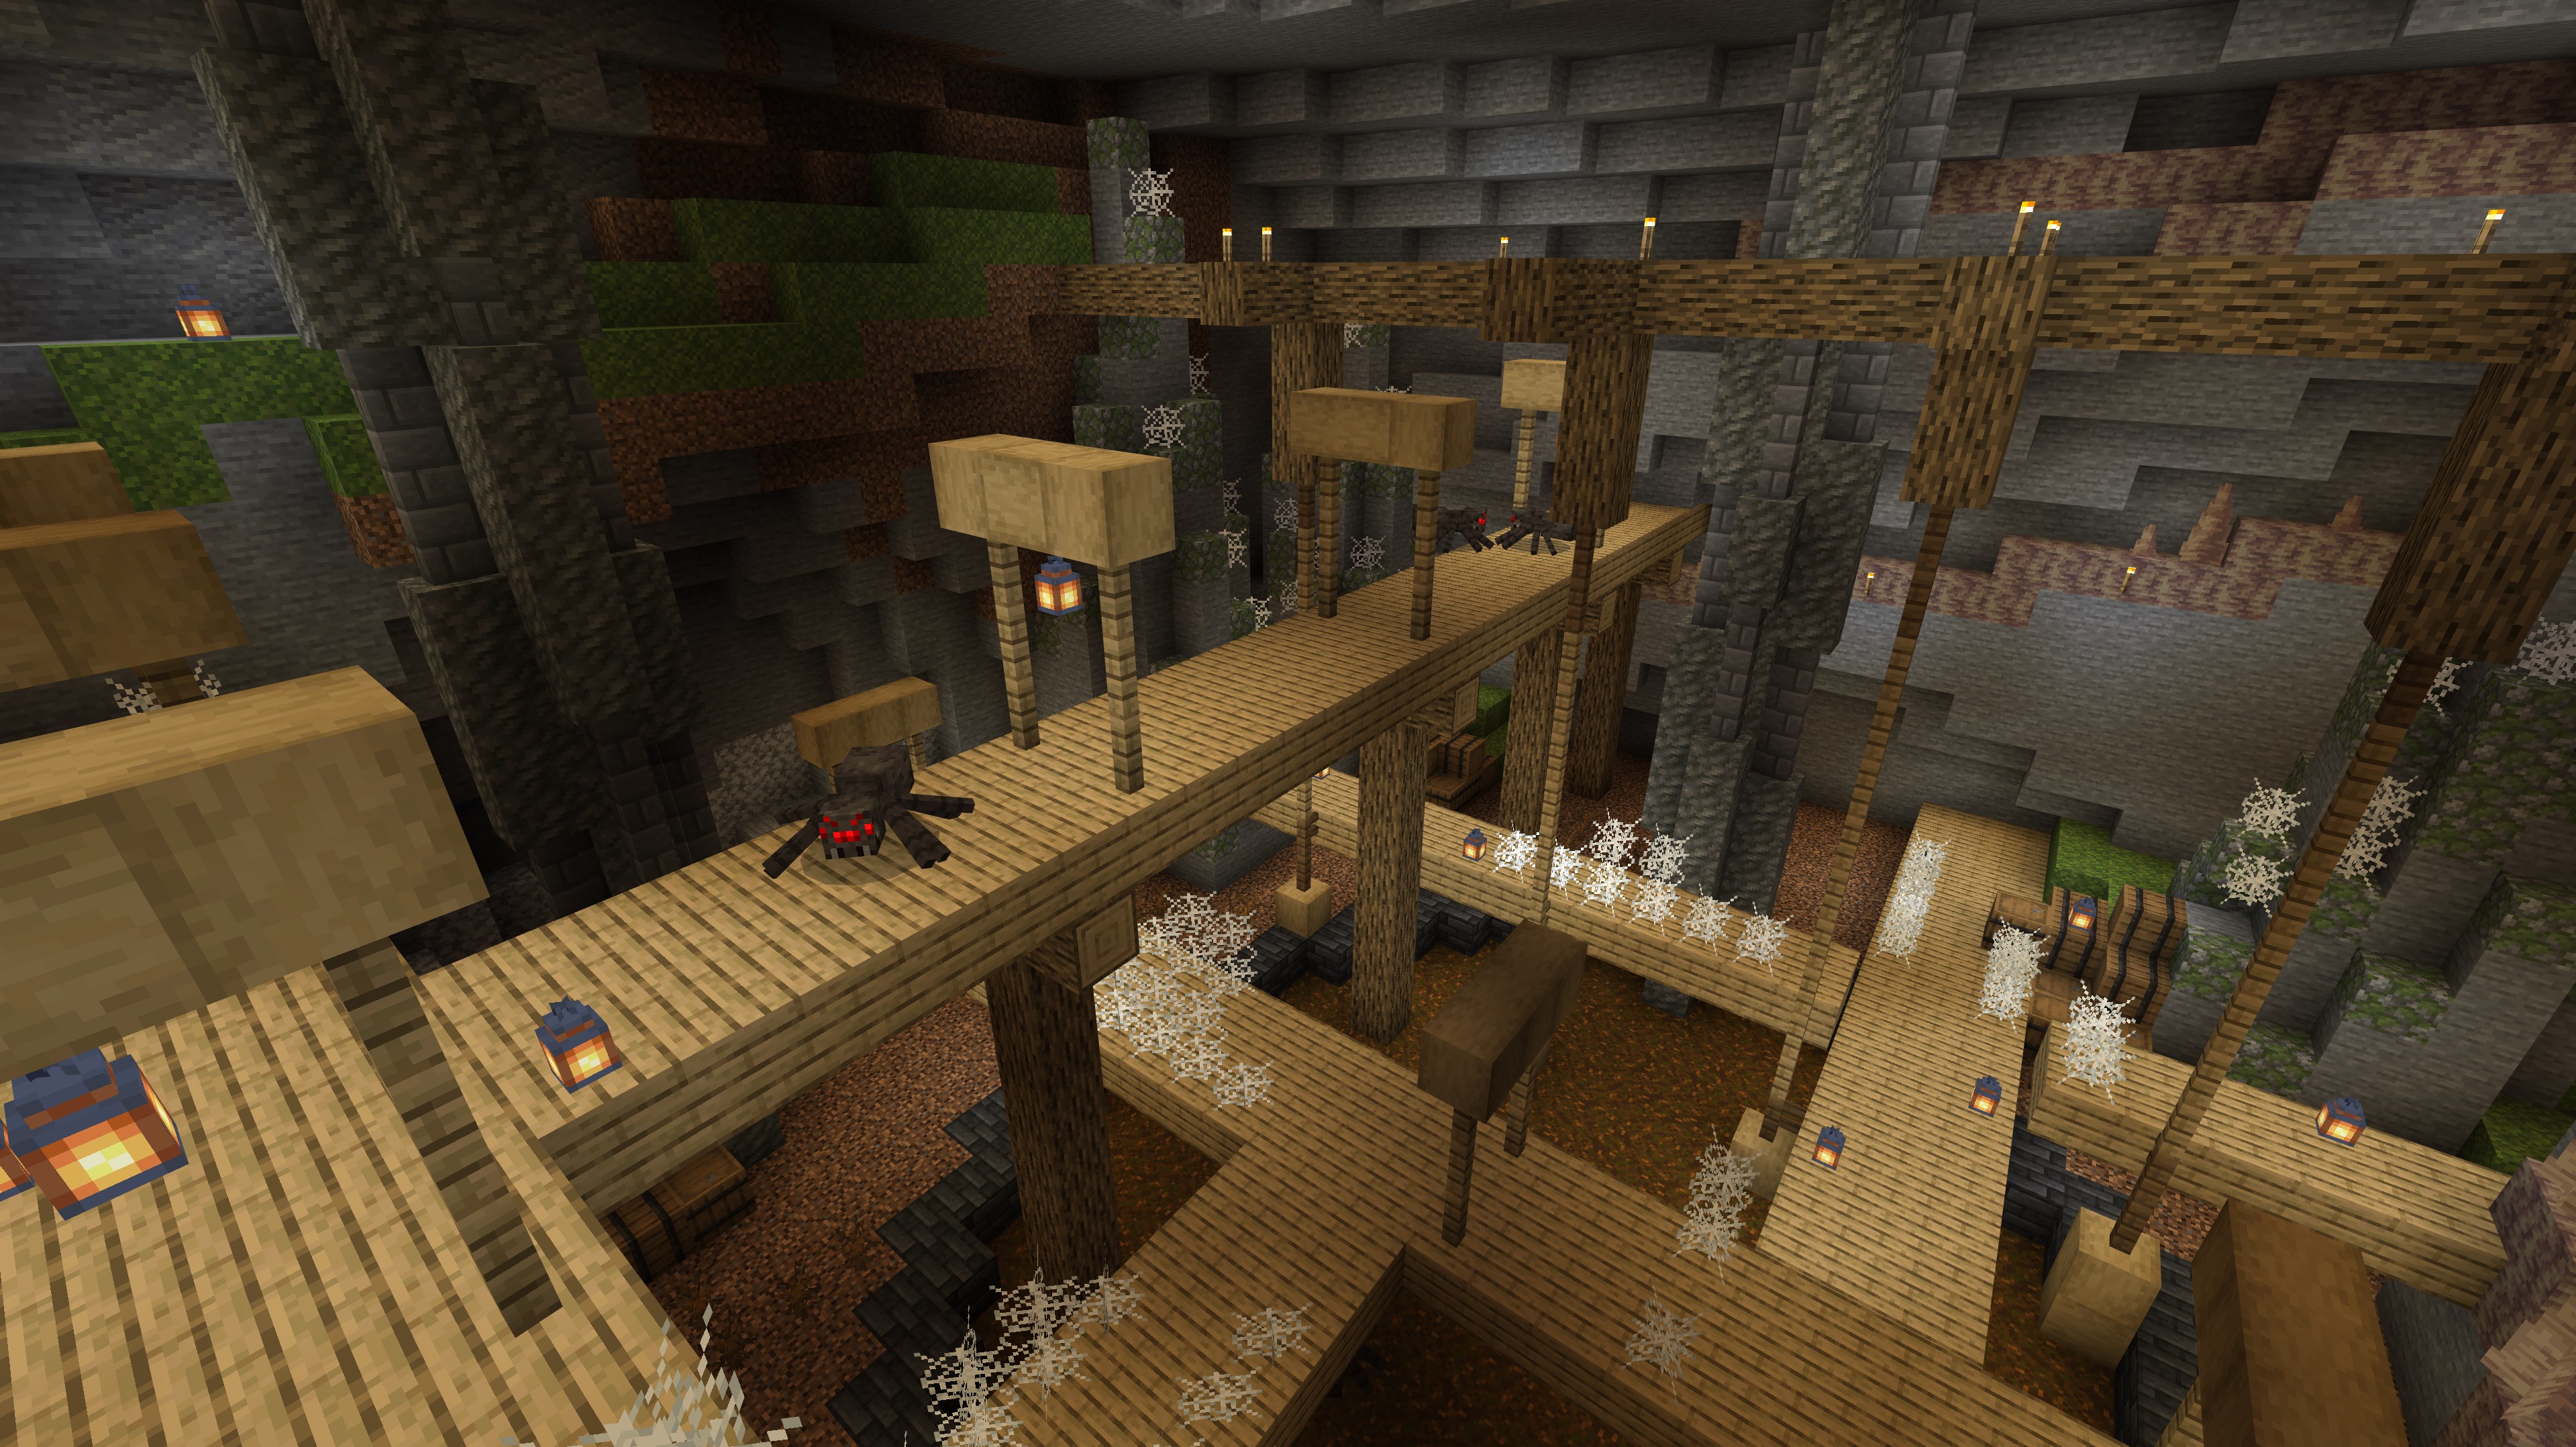
A trial chamber is an underground structure built from tuff and copper blocks, distributed roughly evenly across the Overworld. Inside you'll find a network of rooms, some holding trial spawners that throw waves of hostile mobs at you, others holding vaults that dish out loot once you've earned a key. Mojang's own description calls it "a new option" for players who've already built a base, started a farm and want "to test their combat skills against some of the toughest challenges that the Overworld has to offer."
Once a chamber is cleared, Mojang even jokes that it makes a pretty good place to move into. The combat is real, though, so don't go in without a plan.
2. How to Find One
You don't have to dig at random. The most reliable route is to track down a cartographer villager and trade with them until they trust you enough to sell a trial explorer map, which points straight to the nearest chamber. If you'd rather build that relationship up efficiently, it's worth knowing which professions and trades are actually worth your emeralds before you start grinding reputation with a cartographer.
You'll know you've found a chamber when the terrain opens up into rooms built from distinctive grey tuff and oxidized copper. Approach carefully — Mojang's guidance is blunt: "don't approach until you're ready for a fight."
3. Trial Spawners: How the Waves Work
Trial spawners are the combat engine of the whole structure. Step within 14 blocks of one and it activates, marked by small flame particles. From there it spawns a mob roughly every couple of seconds, up to a maximum simultaneous count that scales up with how many players are nearby. Kill a mob and it spawns another, continuing until it hits a maximum total mob count — which also increases with more players in the party.
Clear the whole wave and the spawner rewards you with a mix of glow berries, potions, emeralds, baked potatoes, and — crucially — a trial key for the nearby vault. After that, it goes on a roughly 30-minute cooldown before it can be triggered again. You can't mine a trial spawner for a usable block either; breaking one takes a long time and drops nothing, even with Silk Touch. The only way to get one in your own inventory is in Creative mode or with commands.
If you're carrying the Bad Omen effect when you trigger a spawner, it upgrades into a harder "ominous" version with tougher waves — and correspondingly better loot at the end.
4. The Breeze and Wind Charges
Some trial spawners summon the breeze, a new flying hostile mob that attacks by flinging wind charges at you. A wind charge is a single-use ranged projectile: thrown in a straight line, it knocks back and damages anything it hits, and it can also trigger redstone-adjacent interactions — opening doors, fence gates and trapdoors, pressing buttons, flipping levers, ringing bells, shattering decorated pots, and snuffing out lit candles. If you've spent time with how redstone circuits actually work, you'll recognize how much mischief a stray wind charge can cause around contraptions.
The breeze itself nullifies most ranged attacks against it by deflecting projectiles, so melee is your best bet — or timing a weapon swing to parry its own wind charge back at it. Defeat one and it drops a breeze rod, which crafts into four wind charges at a time, giving you ammunition of your own. Loaded into a dispenser, a wind charge can even be fired remotely with a redstone signal.
5. Vaults and Ominous Vaults
Vaults are the payoff. They only spawn inside trial chambers — specifically in rooms containing a trial spawner, plus the entrance room — and they activate the moment you step within four blocks, popping open a keyhole. Mojang's advice is to resist the urge to unlock it immediately: items cycle past inside the vault first, giving you a preview before you commit your key.
Use a trial key and the loot is randomized. Emeralds, arrows and iron ingots are common; diamonds and wind charges show up less often; and if you're lucky you might walk away with a trident, a banner pattern, or an exclusive music disc. Importantly, every vault opens once per player — so on a multiplayer server, your friends don't need to race you to loot before you arrive. You also can't harvest a vault for yourself: in survival, they take a very long time to break and drop nothing when destroyed, even with Silk Touch, and pistons can't move them either.
Ominous vaults are the reward for clearing an upgraded, Bad-Omen trial spawner. They need an ominous trial key instead of a regular one, and they're the only source of the heavy core — the component you need to craft a mace.

6. The Mace: Turning Loot Into a Weapon
The mace is the headline reward tied to trial chambers, and it fights differently from anything else in Minecraft. Swung normally, it deals about 6 damage — roughly an iron sword's worth — but it's heavy, taking close to two seconds to recover between swings.
Its real trick is the smash attack: hit a target while you're falling and you deal bonus damage scaled to how far you fell, and you take zero fall damage yourself. Fall two blocks into a hit and you'll deal 14 damage; from nine blocks it's 29; Mojang's own writeup calculates a 100-block fall would theoretically deal 120 damage.
Maces also have three exclusive enchantments: Density (more damage per block fallen), Breach (reduces the target's armor effectiveness), and Wind Burst (launches you back into the air after a successful smash attack, letting you chain hits). Wind Burst can't be rolled on an enchanting table — you'll only find it as an enchanted book inside an ominous vault. For everything else worth socketing into your gear, our enchanting guide and bookshelf setup breakdown covers the full table. If you want the step-by-step on crafting and wielding the weapon itself, we've got a dedicated mace guide too.
7. Tips for Surviving a Trial Chamber
- Buy a trial explorer map first. Trading for one with a cartographer villager beats wandering underground hoping to stumble on a chamber.
- Bring milk and healing items. Trial spawner waves scale with your party size, so even a solo run can get overwhelming fast.
- Don't open a vault the instant it activates. Clear the room fully first — vaults don't run away, but an unfinished wave of mobs will.
- Save Bad Omen for when you're geared up. Ominous trials hit harder, but they're the only route to the heavy core a mace needs.
- Learn to parry wind charges. Timing a weapon swing against a breeze's projectile sends it right back at the mob that threw it.
Trial chambers are Minecraft's clearest answer yet to "what do I do once my base is built" — a repeatable, self-contained combat challenge with real rewards at the end of it. Grab a map, stock up on milk, and go see what's waiting in the dark.
Official Resources:
- Mojang: Building Blocks — Trial Chamber
- Mojang: Block of the Month — Vault
- Mojang: Block of the Month — Trial Spawner
- Mojang: Taking Inventory — Mace
- Mojang: Taking Inventory — Wind Charge
Looking for what else is new underground and above it? Browse the full Minecraft guide archive for everything else we've covered.