How to Start Making Games on Roblox: A Beginner's Guide to Roblox Studio

Roblox Studio is the free, official tool behind every experience on Roblox. Here's how to set up the right account, install Studio, find your way around its interface, and follow Roblox's own beginner path toward building and publishing your first experience.
Roblox is not just a game — it is a platform built almost entirely from experiences made by its own players, using a free tool called Roblox Studio. If you have ever wanted to turn an idea into something other people can actually play, Studio is where that starts, and getting it running takes less time than most people expect. This guide walks through creating the right kind of account, installing Studio, finding your way around its interface, and following Roblox's own beginner path toward publishing a first experience, using only the setup steps and requirements published on Roblox's official Creator Hub.
1. What You Can Build on Roblox
Roblox hosts millions of player-made experiences, ranging from obstacle courses and role-play towns to full RPGs, racing games, and simulators. Every one of them was built by a creator — sometimes a solo hobbyist, sometimes a large studio — using the same free toolset that is available to anyone with a Roblox account. There is no separate "developer edition" or paid license to unlock; the entry point is the same whether you are seven years old making your first obby or part of a team shipping a game with millions of monthly players.

That range matters when you are starting out, because it means there is no single "correct" type of project to learn on. The beginner path Roblox itself recommends focuses on a simple 3D platformer first, since it touches building, basic scripting, and publishing without requiring you to learn everything at once.
2. Create Your Roblox Account and Avatar
Studio runs on the same account you already use to play, so if you have a Roblox account, you do not need a second one to start creating. If you don't, sign-up is free at roblox.com. Roblox's own "get started creating" guide recommends two things before you even open Studio: spend some time playing a few experiences to get a feel for how Roblox works, and customize your avatar using the Marketplace, which is the same item-browsing system your own experience's players will eventually use to shop for outfits and accessories if you choose to sell any.

This step is easy to skip, but it is worth doing: understanding the Marketplace and how avatars are assembled from separate layered items will make a lot more sense later if you ever build your own accessories or clothing to sell.
3. Getting and Installing Roblox Studio
Roblox Studio is a free application for Windows and Mac. According to Roblox's official system requirements, published on the Studio setup page in the Creator Hub, you need at minimum Windows 10 or macOS 10.14 with 3 GB of RAM and a display of at least 1600×900 — Roblox recommends Windows 11 or macOS 14+ with 8 GB of RAM for a smoother experience.
- Go to the Studio download page and click Download Studio.
- Open the installer from your browser's download history — it will be named RobloxStudio.exe on Windows or RobloxStudio.dmg on Mac.
- Once installation finishes, click Launch Studio in the confirmation pop-up.
- Sign in with the Roblox account you created or already use to play.
The first time Studio opens, it offers an onboarding tour covering the basic workflow. It is worth sitting through once, even if you plan to skip around — it points out panels you will use constantly and would otherwise have to find on your own.
4. Touring the Roblox Studio Interface
Studio can look intimidating the first time it opens, but the layout is consistent once you know what each panel does. Across the top is a ribbon-style toolbar with tabs for Home, Model, Avatar, Test, View, and Plugins — Home is where you will spend most of your early time, since it holds the basic insert, move, and edit tools. The large center panel is the 3D viewport, where your place is actually built and where you can fly the camera around and place objects.

On the right side you will typically find two panels that matter more than any other once you start building anything non-trivial: the Explorer, which lists every object in your place as a tree (parts, scripts, lighting, sounds, and so on), and the Properties panel beneath it, which lets you edit whatever is currently selected — its color, size, position, material, and dozens of other values. Learning to navigate the Explorer tree early will save a lot of confusion later, since almost everything you build or script in Studio ends up as an entry somewhere in that list.
5. Building Your First Experience: The Beginner's Path
Roblox's own Creator Hub curriculum does not throw beginners straight into a blank project. It starts with a short lesson plan covering account creation, installing Studio, and exploring the interface, then branches into separate beginner tracks depending on what you want to focus on: a building lesson that has you construct a simple platformer using one of Studio's built-in templates, a coding lesson built around an interactive story, plus short lessons on VFX and animation. After working through those, the curriculum points you toward building your first full experience — a simple 3D platformer that combines building and basic scripting in one project.
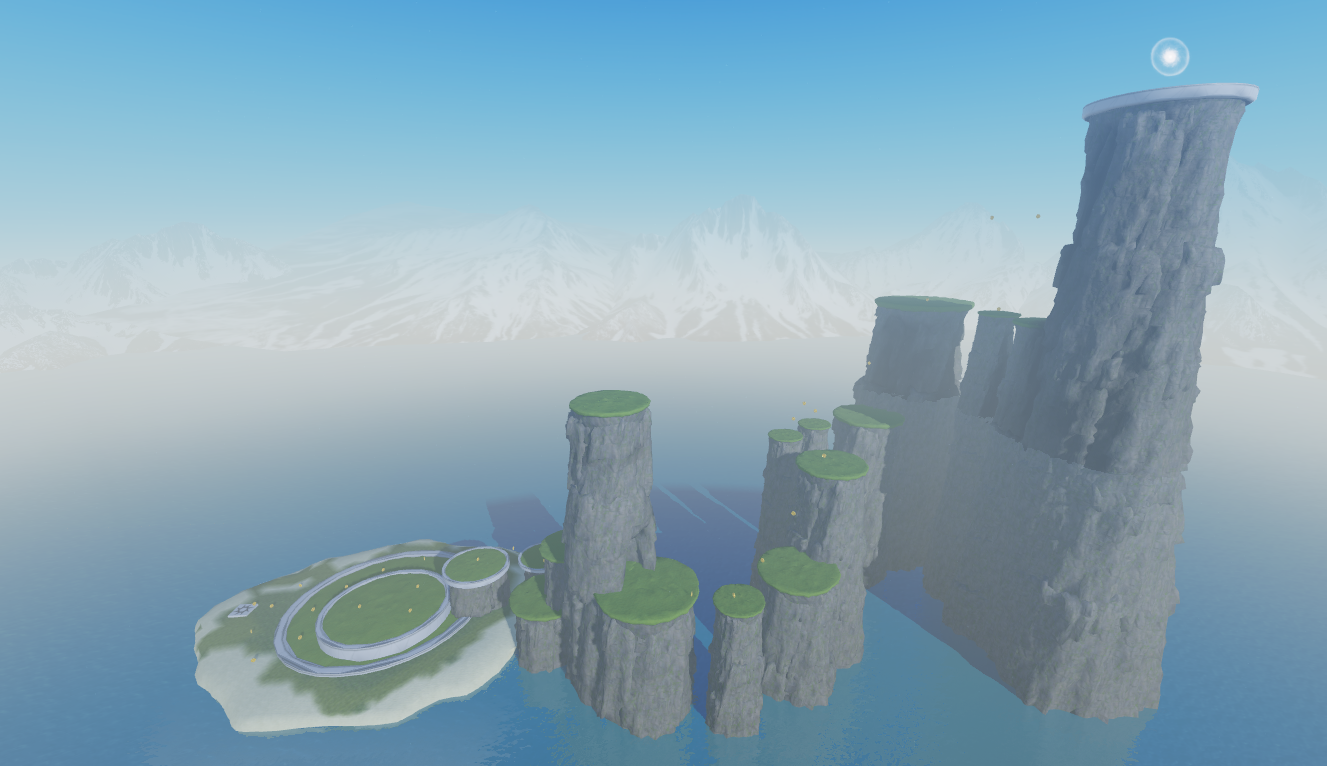
Starting with a template rather than an empty Baseplate is a reasonable shortcut: templates come with some of the basic structure already in place, so you can focus on learning the tools instead of staring at an empty gray plate wondering where to begin. Once you are comfortable placing and shaping parts, the natural next step is scripting — which is where Luau comes in.
6. Learning Luau, Roblox's Scripting Language
Luau is the scripting language built into Roblox Studio, and it is what turns a static scene into something interactive — a door that opens, a button that gives a player points, an enemy that chases you. You do not need to know Luau to start placing objects and blocking out a level, which is exactly why the official curriculum puts a dedicated coding lesson (the interactive-story track) alongside, rather than before, the building lesson. Scripts live in the Explorer panel just like any other object, which is part of why getting comfortable with the Explorer early pays off once you start writing your first lines of code.
If you are coming from another engine or from no programming background at all, treat the building and scripting tracks as genuinely separate skills you can learn in parallel rather than a strict prerequisite chain — Roblox's own curriculum is structured that way on purpose.
7. Beyond Building: Avatars, Items and Earning Robux
Studio is not only for building environments. Roblox's Creator Hub also documents a path for making avatar items: a 2D t-shirt can be designed in any ordinary image editor without ever opening Studio, while 3D accessories — a backpack, a hat, a wearable prop — typically involve modeling in an external tool like Blender before bringing the asset into Studio to rig and publish it. If you eventually want to put items or experiences in front of players and earn from them, it helps to understand how Robux payouts, Premium and DevEx actually work before you build around a monetization plan, and to know the legitimate ways to buy or earn Robux so you don't waste time chasing schemes that don't work.
Studio itself also keeps changing. Roblox has been rolling out newer AI-assisted scene generation and a 2D engine update aimed at making early-stage building faster, so it's worth revisiting the Creator Hub periodically even after you've learned the basics — tools that didn't exist when you started may make your next project considerably easier.
Quick Tips Recap
- You don't need a separate account — Studio uses the same login you already play Roblox with.
- Minimum specs are modest (Windows 10/macOS 10.14, 3 GB RAM), but Roblox recommends Windows 11/macOS 14+ with 8 GB RAM for smoother editing.
- Start from a template, not a blank Baseplate, for your first project.
- Treat building and Luau scripting as parallel skills, not a strict order.
- The Explorer and Properties panels are the two you'll use constantly — learn their layout early.
- 2D avatar items (like t-shirts) need only an image editor; 3D accessories need an external modeling tool plus Studio.
Official Resources
- Roblox Creator Hub — Get Started Creating
- Roblox Creator Hub — Learn About Studio curriculum
- Roblox Creator Hub — Studio system requirements and installation
- Roblox.com
For more breakdowns like this one, check out the full walkthroughs.net game guide archive.