How to Make Your First Roblox Game: A Beginner's Guide to Roblox Studio
Roblox Studio is free, and you don't need coding experience to start building. This guide walks through Roblox's own beginner workflow — from installing Studio to building, scripting, and publishing your first game.
Anyone with a free Roblox account can build and publish a game, and you don't need prior coding experience to get started. Roblox Studio, the free creation tool behind every experience on the platform, ships with templates, a visual editor, and an in-editor AI assistant that together make it realistic to go from a blank project to a published, playable place in a single sitting. This guide walks through the core workflow that Roblox's own Creator Hub documentation teaches beginners, from installing Studio to publishing your first game.
If you'd rather play than build today, you can browse this fall's lineup of new Roblox titles for inspiration on the kinds of experiences other creators are shipping right now.
What You Need Before You Start
Roblox Studio is free and runs on Windows and Mac. To use it you need:
- A free Roblox account (the same one you'd use to play games on the platform).
- Roblox Studio installed from the official Create page.
- A general idea of what you want to build — Studio's starter templates can fill in the rest while you learn.
You don't need to know Lua, 3D modeling, or game design theory first. Roblox's own beginner curriculum is built for people who are new to the platform, and it leans on Studio's built-in tools to handle a lot of the early heavy lifting.
Installing and Opening Roblox Studio
Go to the official Create page on roblox.com and sign in with your Roblox account, then download Roblox Studio for your operating system. Once it's installed, you can launch it directly from the Create page in your browser or open the Roblox Studio application and sign in there. After signing in, Studio opens to a project picker where you choose a template or open an existing place.
Starting Your First Project
New projects in Studio start from a template. For a true beginner project, start with Baseplate — a flat, empty platform with no pre-built gameplay — so you can see every piece you add yourself. Roblox's official "first experience" tutorial, aimed at people who are new to the platform, uses exactly this approach: it walks through recreating a simple 3D platformer in three stages.
The Official Three-Chapter Structure
- Build a greybox — block out a spawn island and platforms using Studio's terrain and modeling tools, without worrying about final visuals yet.
- Script the gameplay — add coin collection, store player data, show a leaderboard, create a hazard, and wire up a button that talks to the server.
- Polish the game — add particle effects, adjust lighting, and swap in finished models to replace your greybox blocks.
Following this structure is a good way to learn Studio in order, rather than guessing at features as you go.
Understanding the Studio Interface and the Data Model
Every object in your game lives in a tree called the Explorer, and clicking any object shows its editable settings in the Properties window next to it. Studio actually works with two related hierarchies: the Editing Data Model you see while building, and the Runtime Data Model that exists once the game is actually running and players have joined.

The services you'll touch most as a beginner are:
- Workspace — everything physically visible in the game: parts, terrain, and (once the game is running) players' characters.
- StarterGui and StarterPack — UI and tools every player starts with.
- StarterPlayer, with its StarterCharacterScripts and StarterPlayerScripts subfolders — scripts that get copied onto each player's character and player object.
- ServerScriptService and ServerStorage — server-only scripts and assets that players can't see or access directly.
- ReplicatedStorage and ReplicatedFirst — shared storage both the server and every client can read.
You don't need to memorize all of this up front. Knowing that Workspace holds the visible world and that StarterPlayer/ServerScriptService split work between client and server is enough to start navigating Studio confidently.
Building Your Scene With Parts and Solid Modeling
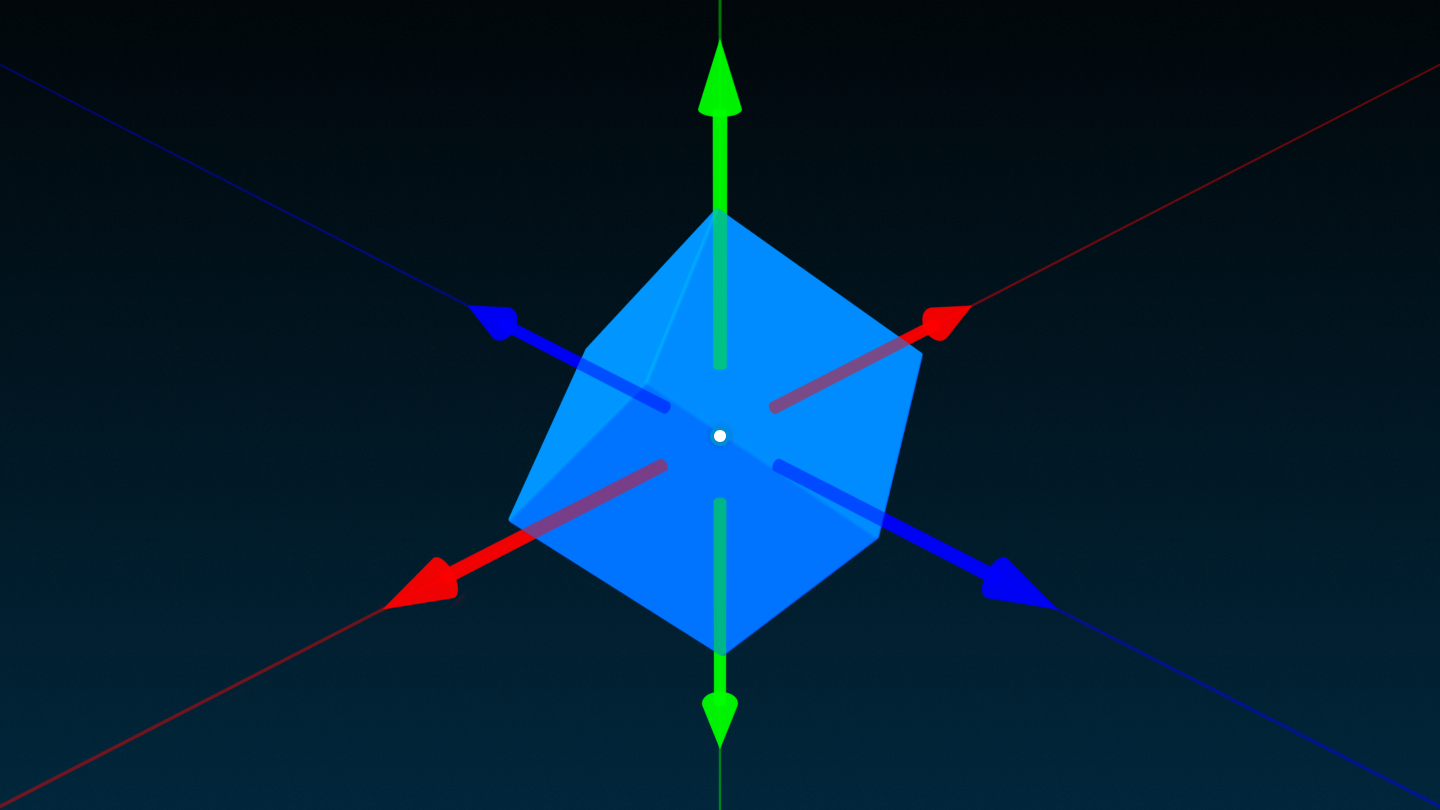
The basic building block in Roblox is the Part — a block, cylinder, wedge, sphere, or other primitive shape you can resize, color, and texture. You move, scale, and rotate parts using colored gizmo handles that correspond to the X, Y, and Z axes, so you can position objects precisely in 3D space rather than eyeballing it.
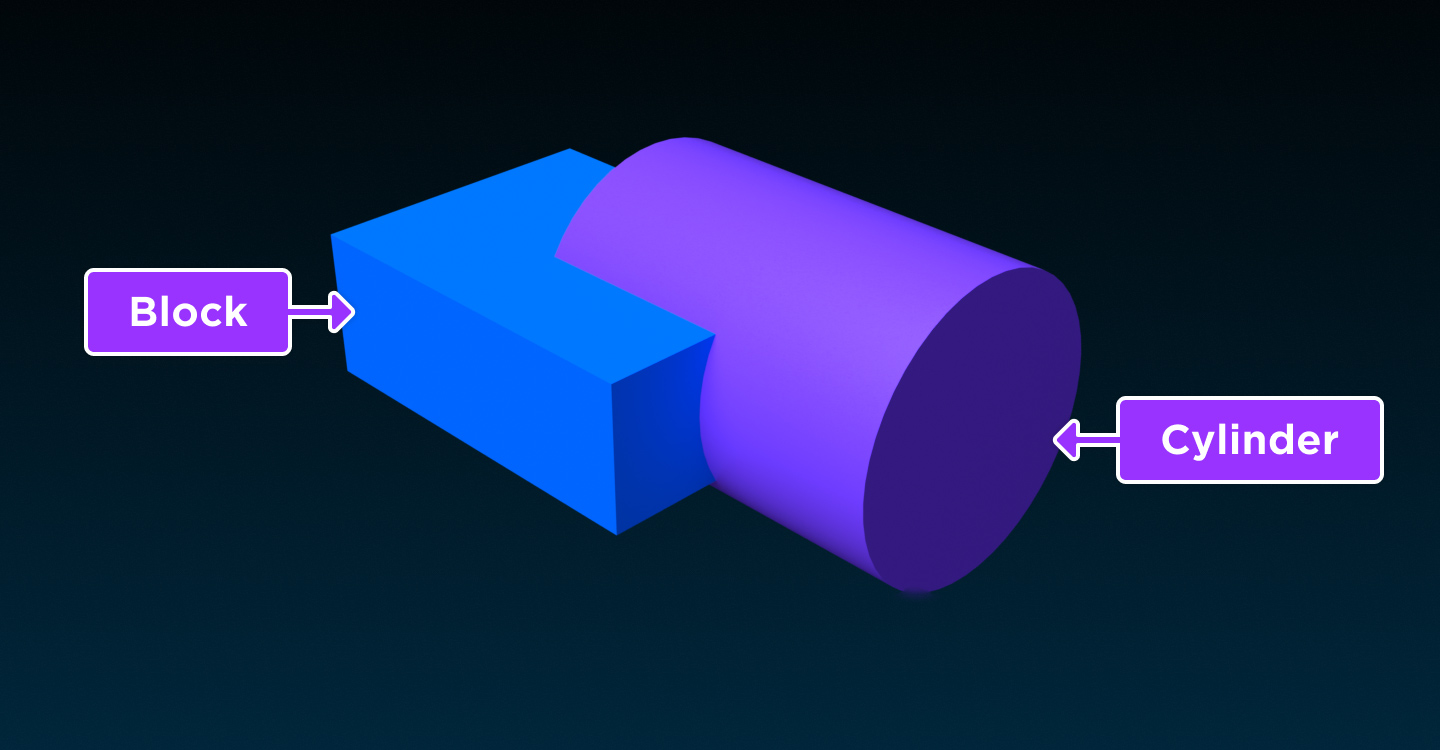
Once you have multiple parts, Studio's solid modeling tools (Union, Negate, Separate) let you combine or carve shapes into more complex models — for example, fusing a block and a cylinder into a single custom object.
For your first build, don't aim for a finished look. The "greybox" approach — blocking out platforms and spaces with plain, undecorated parts first — is the same method Roblox's own tutorial teaches, specifically so you can test whether a layout is fun to move through before you spend time decorating it.
Writing Your First Script With Luau
Roblox scripting uses Luau, Roblox's own typed variant of the Lua programming language. Scripts can live on the server (in ServerScriptService, invisible to players), on the client (in StarterPlayerScripts, running on each player's device), or shared (in ReplicatedStorage as ModuleScripts both sides can use).

Beginners generally start smaller than the code above — a script that detects when a player touches a part, or that increases a value when a button is clicked — before working up to systems like marketplace purchases or data stores. Roblox's official curriculum introduces scripting through exactly that kind of small, testable step: first a coin pickup, then a value shown on a leaderboard, then a server-side upgrade button, building complexity gradually rather than all at once.
Using the Studio Assistant to Build Faster
Studio includes a built-in AI tool called Assistant, which can create objects, set their properties, and generate scripts directly from a plain-language request. Roblox's official tutorial pairs each lesson with a choice: "Build with Assistant" to let the tool do the routine work, or "Build it Yourself" to practice the manual steps.
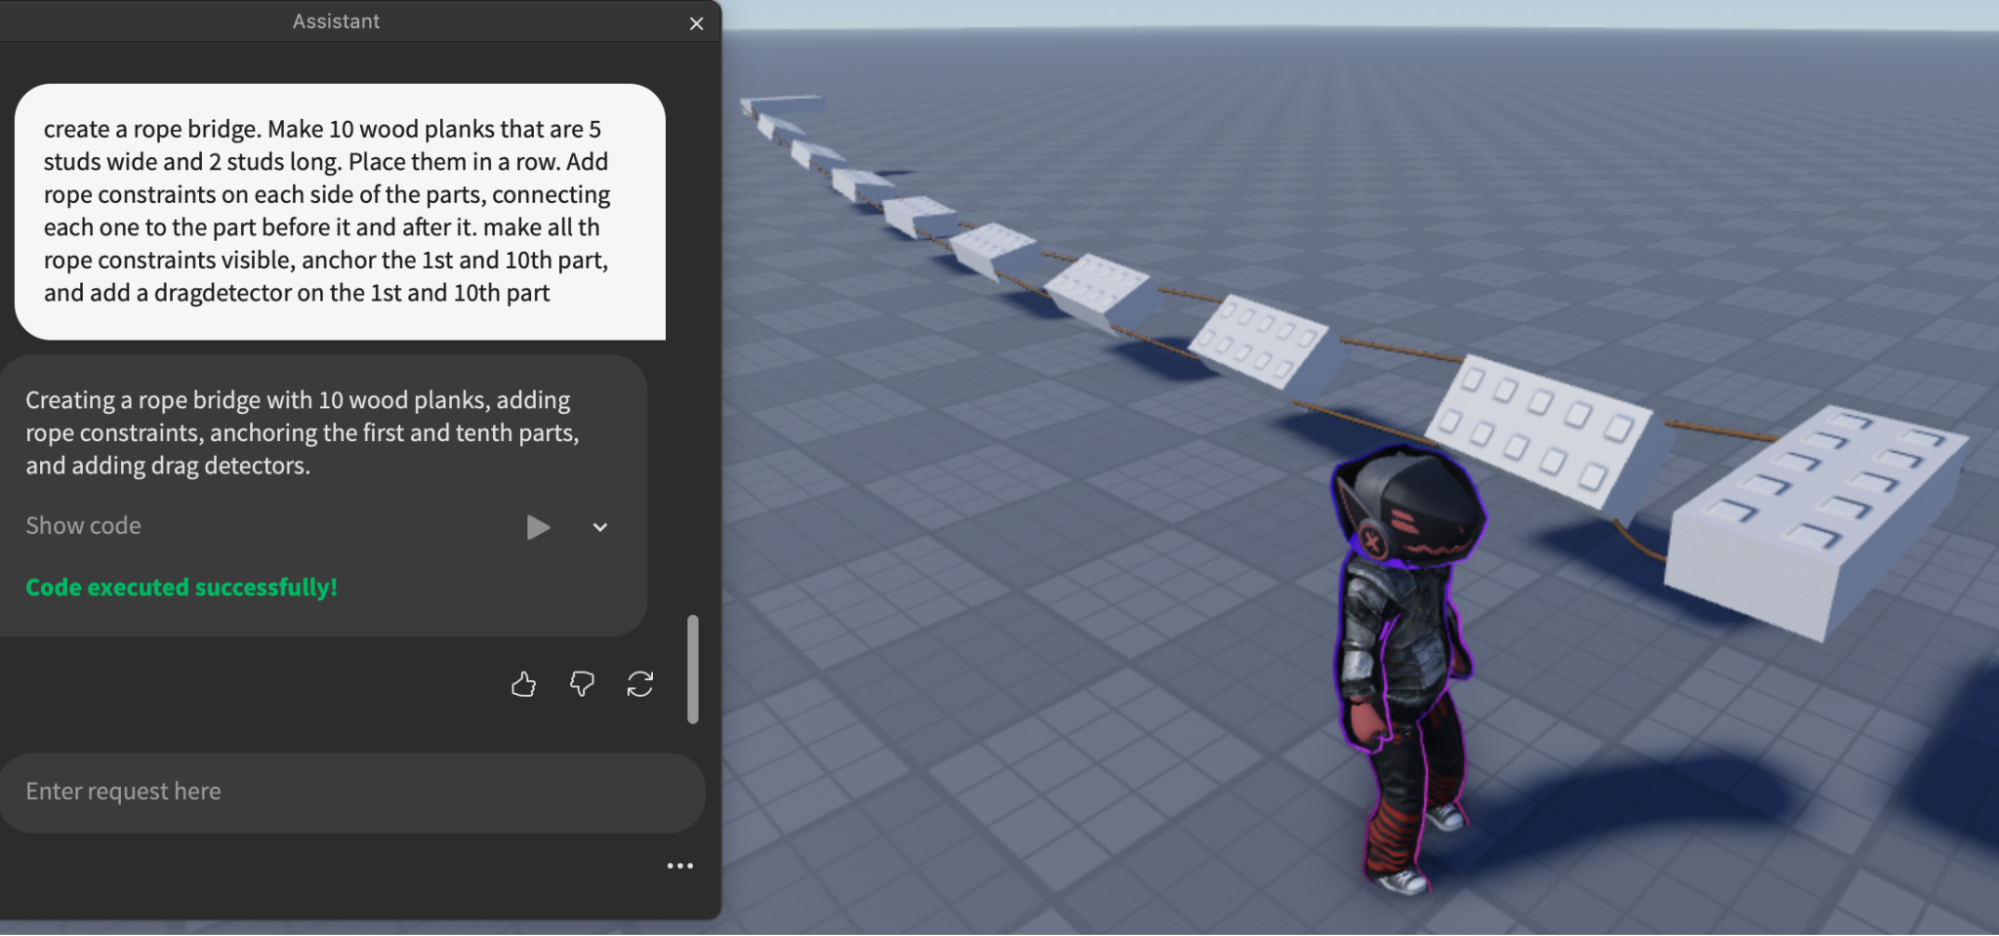
Assistant is genuinely useful for repetitive setup work, like generating a batch of connected parts or wiring up a standard mechanic. Roblox's documentation is upfront that it's best treated as an accelerator rather than a replacement for learning: doing a few lessons manually first makes it much easier to understand, edit, and debug whatever Assistant generates for you later. If you want to see where Roblox is taking its AI creator tools next, Roblox's newer Build and Scene Generator tools extend this same idea to generating entire scenes, not just individual scripts.
Testing, Collaborating, and Publishing Your Game
Studio's Play button runs your place exactly as a player would experience it, spawning your character into the Workspace so you can test movement, scripts, and UI before anyone else sees them. Test early and often — it's much faster to catch a broken script or an awkward jump gap while you're still building than after publishing.
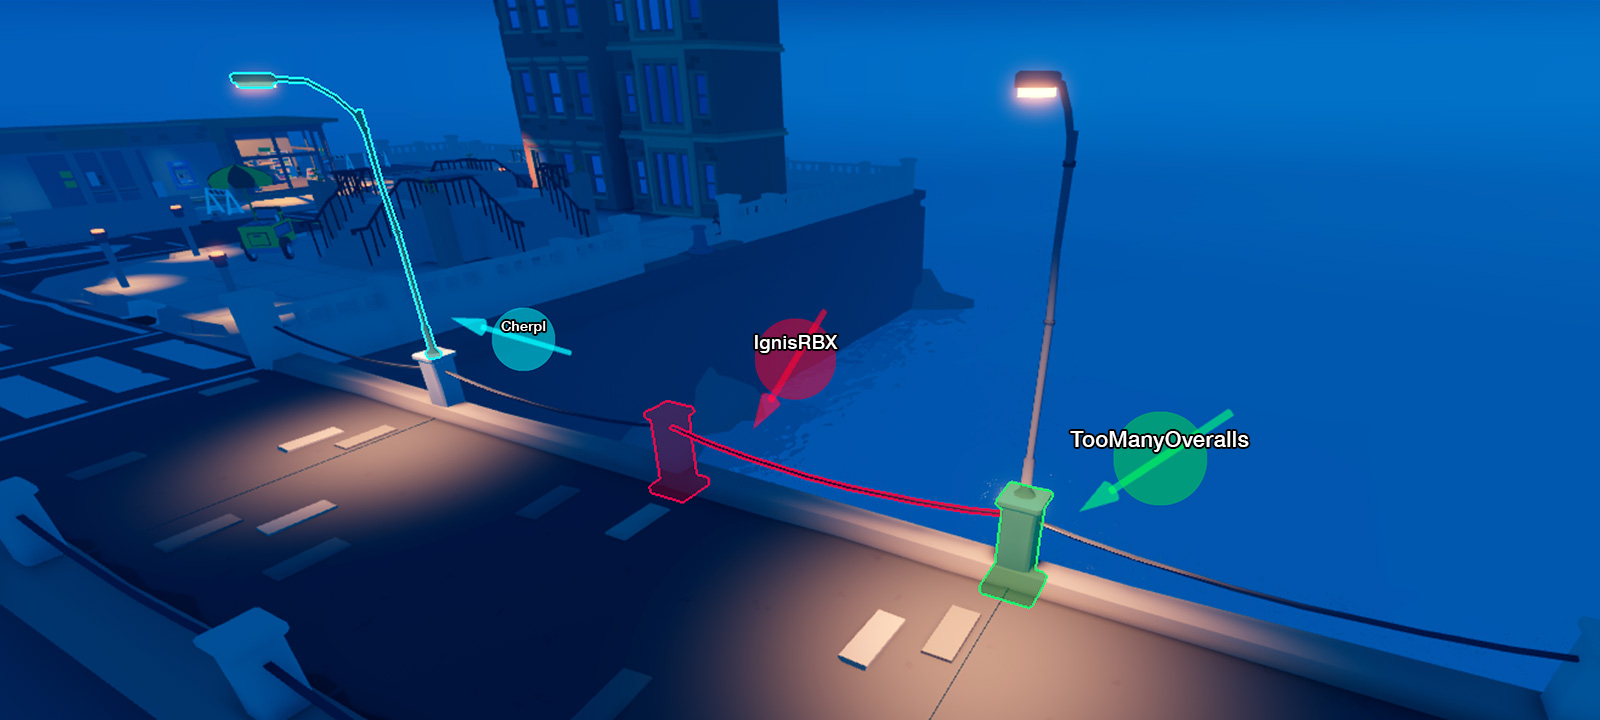
Studio also supports real-time collaboration, letting multiple people edit the same place simultaneously and see each other's changes live, complete with colored cursors showing who's working where. It's a practical way to build with friends or a small team without passing a single file back and forth.
When you're ready to share your work, use Studio's Publish option to push the place live on Roblox. A published game gets its own page on the platform immediately; you can keep editing and republishing updates afterward, the same way every live Roblox experience is maintained. If you want a sense of how far creator tooling has come on the platform recently, everything Roblox announced at RDC 2026 covers the latest publishing and distribution changes for creators.
Quick Tips Recap
- Start from the Baseplate template so you understand every object you add.
- Learn the Explorer and Properties windows first — almost everything else in Studio builds on them.
- Block out your level with plain parts ("greybox") before decorating it.
- Write small, testable scripts before attempting complex systems.
- Use Assistant to speed up routine tasks, but do some steps manually so you understand what it generates.
- Playtest constantly, and use Team Create if you're building with other people.
Roblox Studio rewards starting small and iterating rather than planning a huge project up front. A single afternoon following the official beginner path — greybox, then scripts, then polish — is enough to get a working, publishable game. For more on what's new across the platform, including creator and safety updates, browse more walkthroughs.net game guides.