Call of Duty: Modern Warfare 4 DMZ — How Escalation, Stealth and the Tourniquet Keep a Raid Alive

Call of Duty: Modern Warfare 4's DMZ mode scales its danger as you push deeper into Hajin. Here's how the star-based Escalation system, the stealth meter, the one-time Tourniquet revive, and the irradiated Fallout Zone all work together.
Call of Duty: Modern Warfare 4's extraction mode, DMZ, doesn't throw every threat at you the moment you land in Hajin. Instead, it ramps up as you push deeper and make noise, using a handful of linked systems that decide how dangerous your raid becomes and how much help you get if things go wrong. Infinity Ward detailed these mechanics ahead of the game's October 23 launch, and Season 1's patch notes show the studio is still actively tuning them.
Here's how Escalation, the stealth meter, the Tourniquet self-revive, and the irradiated Fallout Zone actually work, straight from the mode's official reveal and the live patch notes Infinity Ward has shipped since.
1. What DMZ Actually Is in Modern Warfare 4
DMZ returns as a persistent extraction mode built around a Forward Operating Base (FOB) you upgrade between raids. Joe Cecot, Infinity Ward's Studio Multiplayer Creative Director, described it as "an action extraction shooter" distinct from a standard match because of that persistent inventory and base progression. Players deploy into Hajin solo or with a squad as, in Cecot's words, "off-the-books assets" sent to recover advanced military technology from a dynamic world with changing weather, shifting objectives, and roaming hostile forces.
At the FOB, stations let you build loadouts and weapons, and upgrading them unlocks stash space, 3D Printer recipes, and other gear. The base defaults to a third-person camera so your squad can see each other's Operators and stations at a glance. Cecot also singled out Hajin itself as the standout: "I think Hajin is by far leaps and bounds the most interesting map we've ever made," citing hidden spaces like an armory tucked inside a police station with a hole that cuts straight through to an underwater passage.
2. Escalation: How the Star Level Raises the Stakes
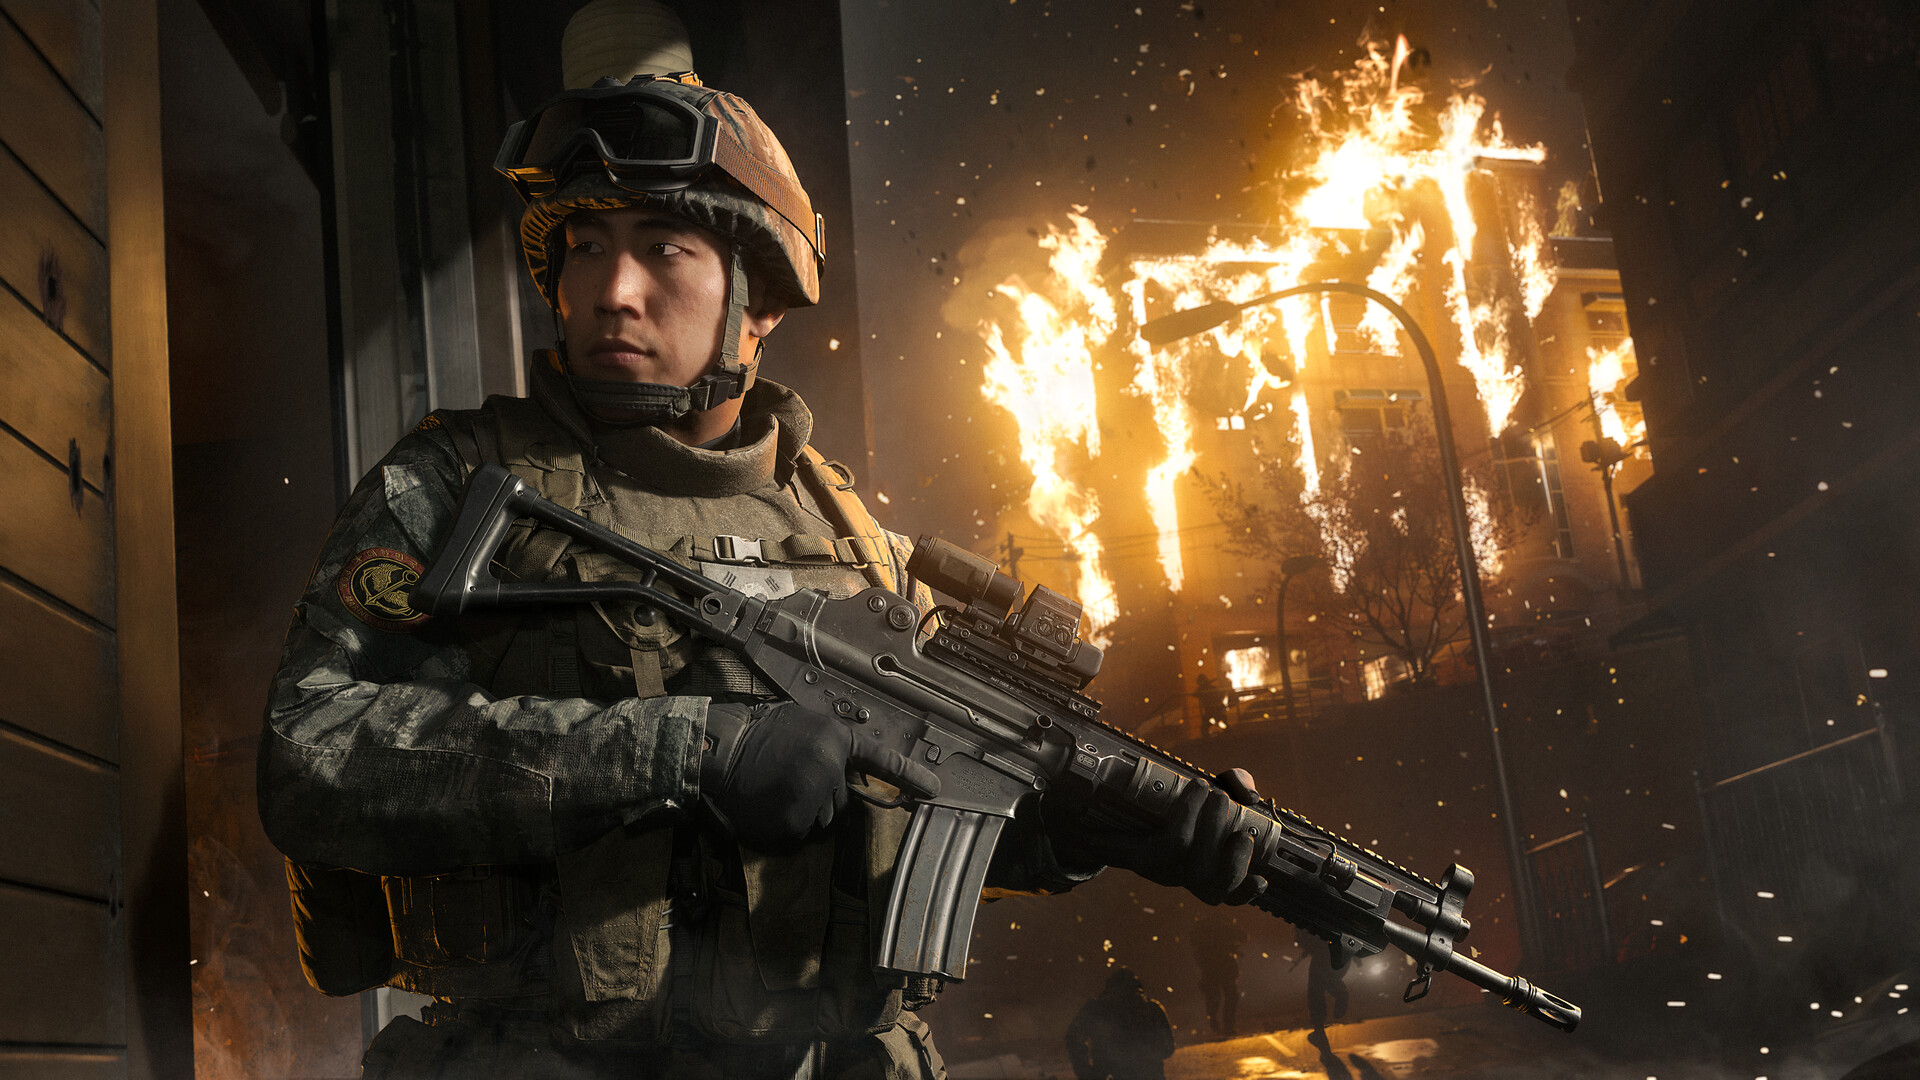
The core difficulty dial in a DMZ raid is Escalation, tracked as a rising star level the longer you stay active and the more attention you draw. Push further and the world "pushes back," as Cecot put it: higher star levels bring reinforcements by helicopter and ground vehicle, and at the top end you'll run into tier 3 enemies — described as armored, gas-masked soldiers with garbled radio voices — alongside vehicle chases and attack helicopters with mounted gunners.
Lower-tier AI are comparatively easy, lacking armor or helmets, which is part of why Escalation works as a risk-reward lever: staying cautious keeps the raid manageable, while lingering near objectives, firing unsuppressed weapons, or triggering alarms invites tougher opposition. The system sits alongside Hajin's roaming Lieutenants and the Boss Board that tracks them each season — if you want the full breakdown of how those bounty targets work, Modern Warfare 4's Operator Prestige and Boss Board guide covers that side of DMZ's progression in detail.
3. The Stealth Meter: Controlling When a Fight Starts
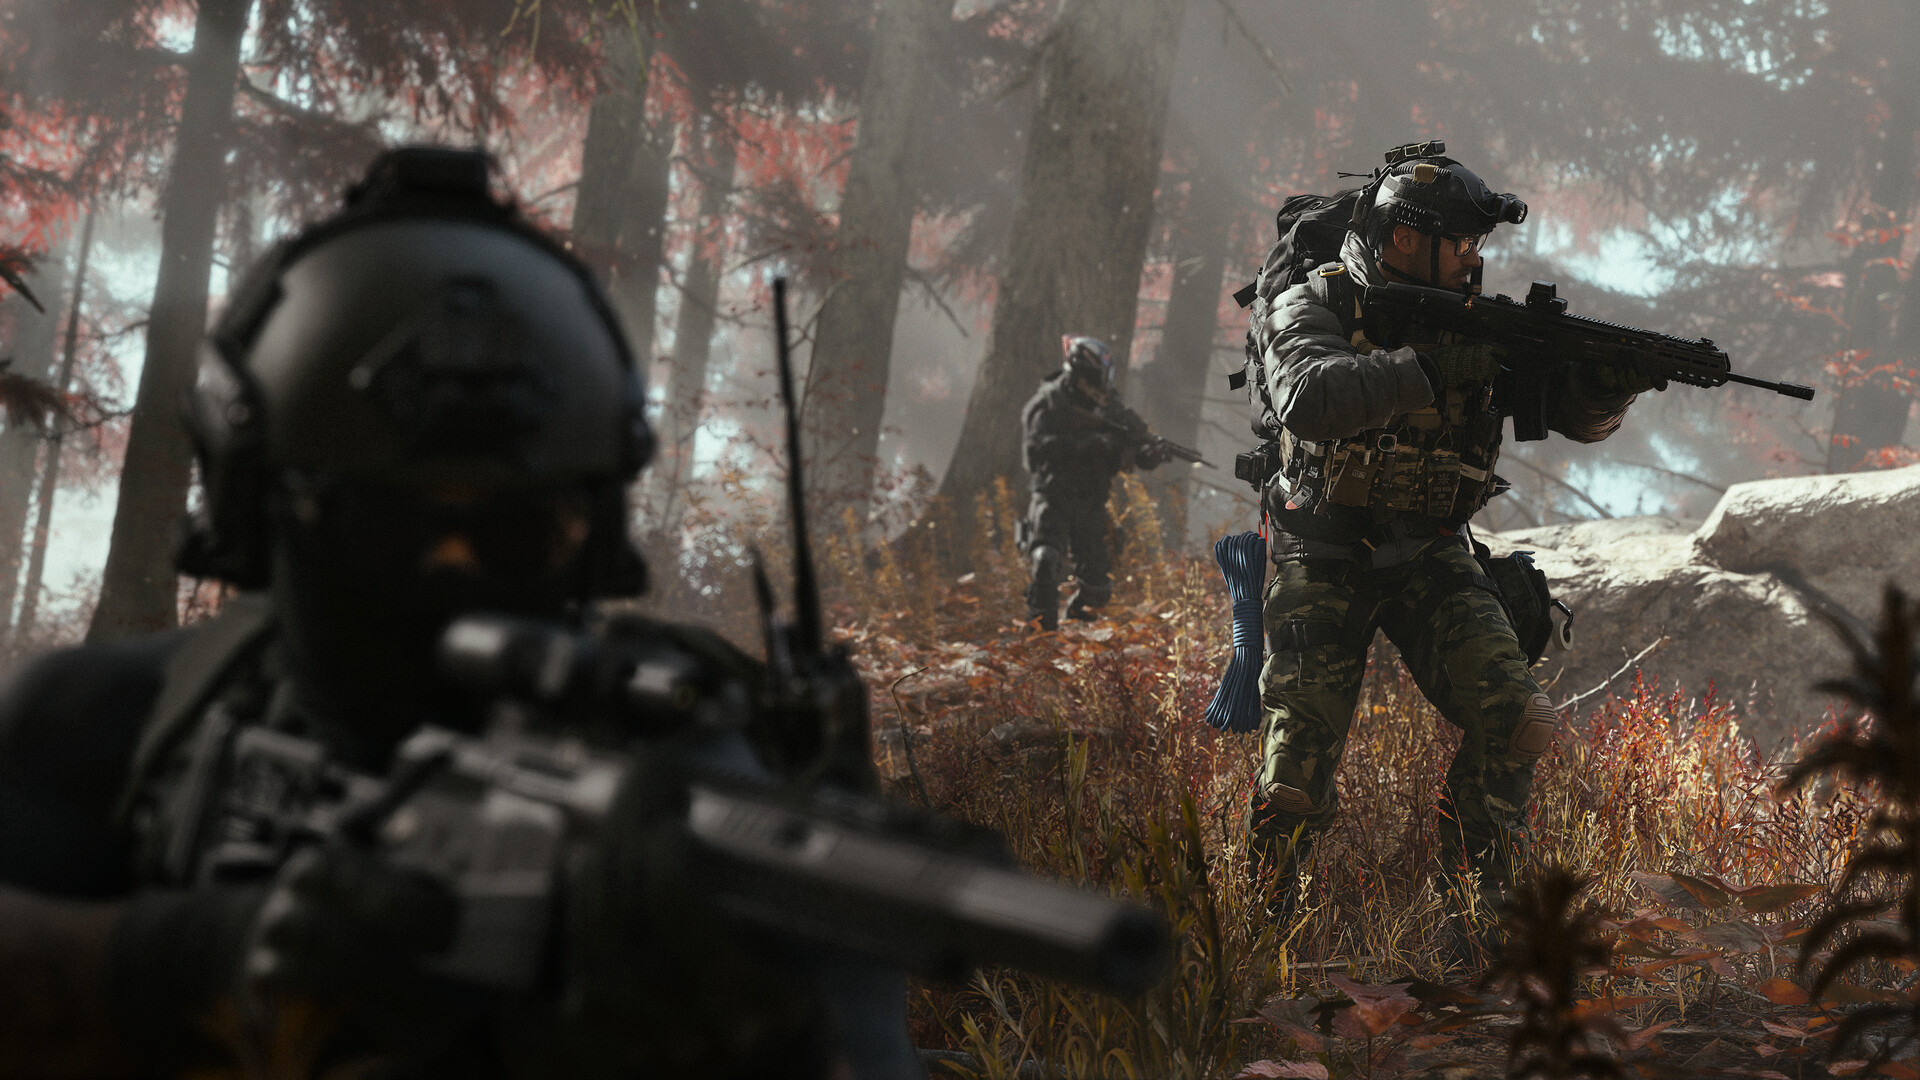
Rather than an all-or-nothing detection state, DMZ uses a stealth meter that climbs from white to yellow to orange as nearby AI notice you. Breaking line of sight and taking cover freezes or lowers the meter instead of locking you into combat the instant an enemy glances your way. That makes gear built around suppression and noise reduction genuinely valuable, since avoiding detection is how you keep Escalation low while you loot.
It also changes how you approach Hajin's more heavily guarded areas: a loud entry can spike both the stealth meter and the star level at once, stacking two separate difficulty systems against you simultaneously. For loadout options that help with a quieter approach, Modern Warfare 4's Create-a-Class guide to Apex Attachments and Perks walks through the attachment and perk choices available.

4. The Tourniquet: Your One Free Second Chance
Dying in DMZ doesn't always mean restarting from scratch. If you're fully downed without a self-revive kit on hand, the Tourniquet mechanic automatically gets you back up once per life. It doesn't fully heal you — you return to a wounded state and still need a med kit or bandage to top off your health afterward — but it's a built-in safety net that keeps a single mistake from ending a raid outright, especially when you're playing solo without a squadmate to drag you to cover.
Dying also isn't as punishing on progression as in some extraction shooters: Cecot was direct about it, saying "we're not giving you half XP, nothing like that." Squads add their own layer of recovery on top of the Tourniquet, since a downed teammate can still be revived by others before the mechanic has to kick in.

5. The Fallout Zone and Other Environmental Hazards
Escalation and AI aren't the only pressure in Hajin. An irradiated area in the map's northeast, known as the Fallout Zone, requires a gas mask or hazmat suit to enter safely, but it also holds exclusive loot not found anywhere else on the map. That trade-off — better gear buried in the most hostile corner of the map — pushes well-equipped squads to treat the Fallout Zone as a late-raid objective once they've already built up enough gear to survive it.
Season 1 expanded DMZ further with X01, a new Exclusion Zone built around an underground GRANIT Arms facility beneath Hajin, adding its own threats and DMZ Orders. It's been under active tuning since launch: Infinity Ward's official Season 1 patch notes, last updated November 10, note that UAV and Advanced UAV killstreaks have been disabled entirely inside X01 after an earlier range-and-duration nerf didn't curb their effectiveness enough — a sign the studio is still balancing how much intel players should get inside the zone's more dangerous depths. For a full tour of what X01 adds, the Season 1 Battle Pass and DMZ X01 Black Site guide breaks down the new area and its rewards.
6. Trucks, Proximity Chat and Other Systems That Shape a Raid
A few smaller systems round out how a DMZ raid plays out. Repairable trucks scattered around Hajin can carry a UAV, giving a squad mobile intel if they're willing to fix one up and keep it running. Proximity chat includes distance falloff, directionality, and interior reverb, so voices from other squads carry realistically — useful for gauging how close an unseen threat actually is, and occasionally for negotiating a cautious truce near a contested objective.
Killstreaks carry over from multiplayer too, including Crossfire, a first-person A-10 airstrike that can clear groups of AI or pin down a rival squad. All of this feeds into the same loop: the Gunsmith is funded by cash recovered in-game, and since attachments like suppressors, drum mags, thermal optics, and long-range optics get more expensive as a loadout grows, taking a well-equipped rival's weapon after a fight becomes meaningfully valuable rather than a side bonus.
7. Extracting: Where Escalation Pays Off or Costs You
Exfils are where everything you've survived either counts or doesn't. They can become contested, with rival squads racing to the same extraction point to fight over dog tag cases, so a high-Escalation raid often ends with one last firefight right at the helicopter. Getting out safely banks your loot, your Lieutenant intel, and any Boss Board progress from that run; failing to exfil costs you the gear you were carrying, which is why reading the star level and stealth meter correctly throughout a raid — not just at the objective — tends to matter more than any single gunfight.
Quick Recap
- Escalation's star level scales AI difficulty from unarmored soldiers up to gas-masked tier 3 enemies, vehicle chases, and attack helicopters.
- The stealth meter rises from white to yellow to orange as AI spot you, and can be lowered by breaking line of sight.
- The Tourniquet gives every player one automatic recovery from a full down, though you'll still need a med kit or bandage to heal completely afterward.
- The Fallout Zone demands a gas mask or hazmat suit but holds loot unavailable elsewhere in Hajin.
- Season 1's X01 Exclusion Zone adds new threats underground, and Infinity Ward has already adjusted its UAV rules twice since launch.
Official Resources
- Call of Duty: Modern Warfare 4 Season 1 Patch Notes (Infinity Ward)
- DMZ: New Intel on Call of Duty's Extraction Shooter Experience (Xbox Wire)
- Call of Duty: Modern Warfare 4 on Steam
Looking for more on what else Season 1 changed? Browse the full walkthroughs.net game guide archive for everything else we've covered on Modern Warfare 4 and Warzone.