
Introduction
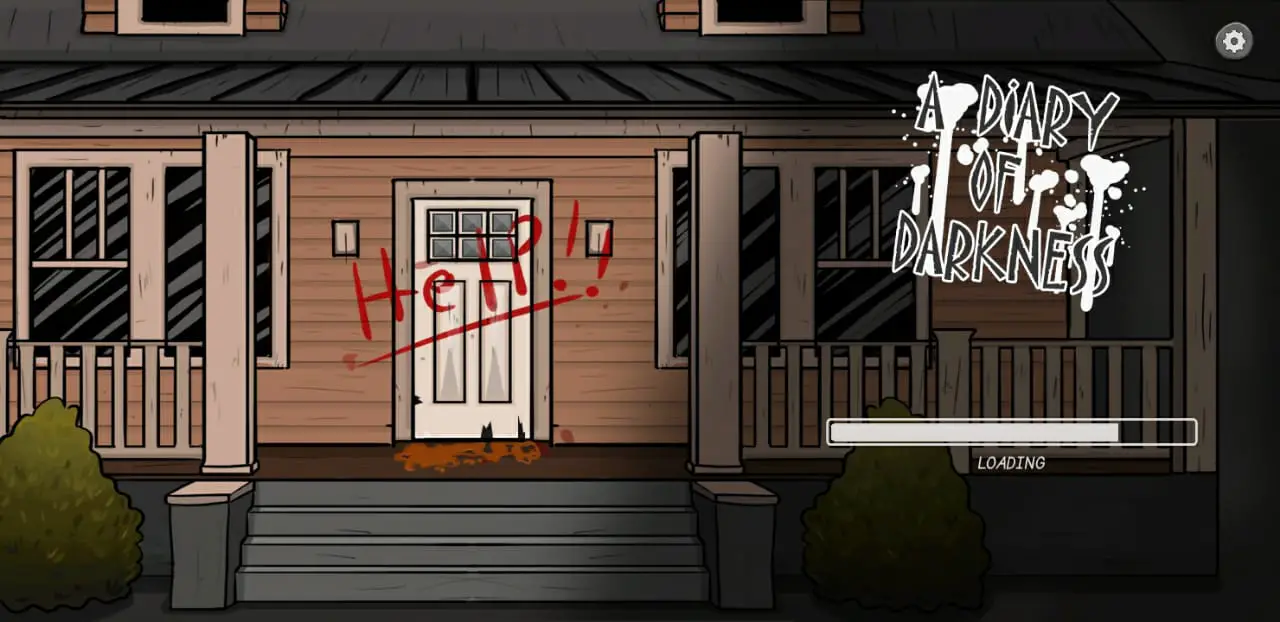
A Diary of Darkness is a Puzzle, Adventure, and Single-player Hidden Object video game released by Bamgru for the Android platform only. It introduces a thrilling storyline set in a strange house where something unexpected happens. In short, the gameplay is pretty similar to Ghost Case Walkthrough, Samsara Room, and Cube Escape Paradox Box. In this game, you play a mother searching for her lost son. During the game, you must find out and reveal the dark secrets of everything and work as a real detective to solve mysteries.
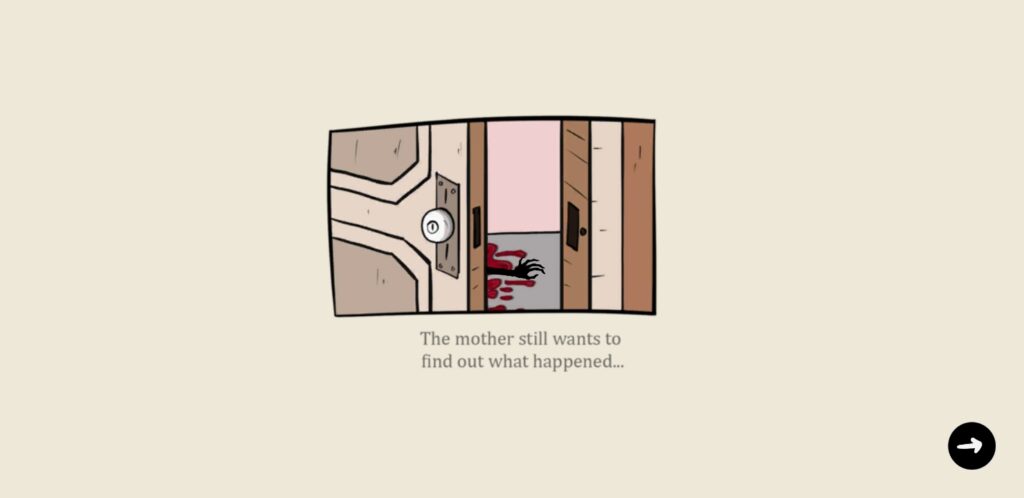
Play as a Mother – A Diary of Darkness
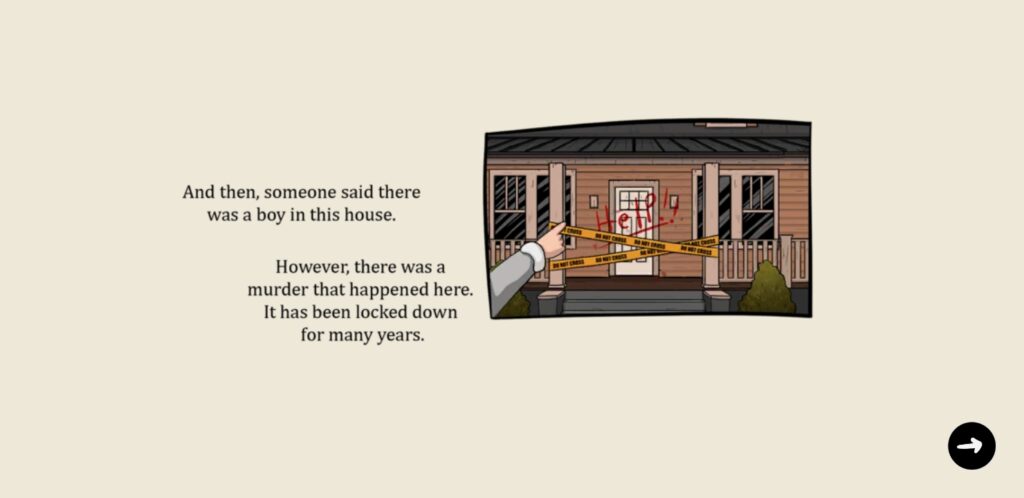
As mentioned, there’s a mother who needs your help to find her son. According to the plot, a boy is missing, and her mother decides to search the haunted house to find her son at any cost; therefore, she needs your help. The mother believes something wrong happened in the house; however, you must dig out the secrets after investigating. Before jumping into a critical situation, ensure you have detective skills and are strong enough to battle against the dark forces standing right behind you.
Find Hidden Objects and Solve Challenging Puzzles
Suppose you are a die-hard fan of finding hidden objects and adventure games. In that case, A Diary of Darkness is according to your taste as it offers easy understanding but is tricky to solve gameplay. You only need to tap and use the hidden objects you found to solve tricky puzzles and reveal the oddities.
Introduction to a Hint System
Indeed, you would be familiar with the fact that every hidden object game comes with a hint system that, upon use, may highlight the object you feel is challenging to find. Similarly, A Diary of Darkness has implemented a system to help you whenever you are in trouble and find it challenging to find a particular set of hidden objects. Further amazing features are the following:
- Challenging Puzzles
- Amazing Sound Effects
- Several Hidden Objects
- Mysteries to Solve
- Strange Things to Discover
- And more.
A Diary of Darkness Walkthrough
As mentioned above, the game is set in a haunted house, where you assume a mother’s role in finding a son. Indeed, the gameplay would be easy as the house contains several rooms; each has a set of hidden objects that you must see and utilize to solve the mystery. So, hone your skills and take a deep breath before playing the game. Getting help with A Diary of Darkness Walkthrough Guide might favor you. We have mentioned all the objects you must find and their locations with images so you can see everything without effort while enjoying the storyline.
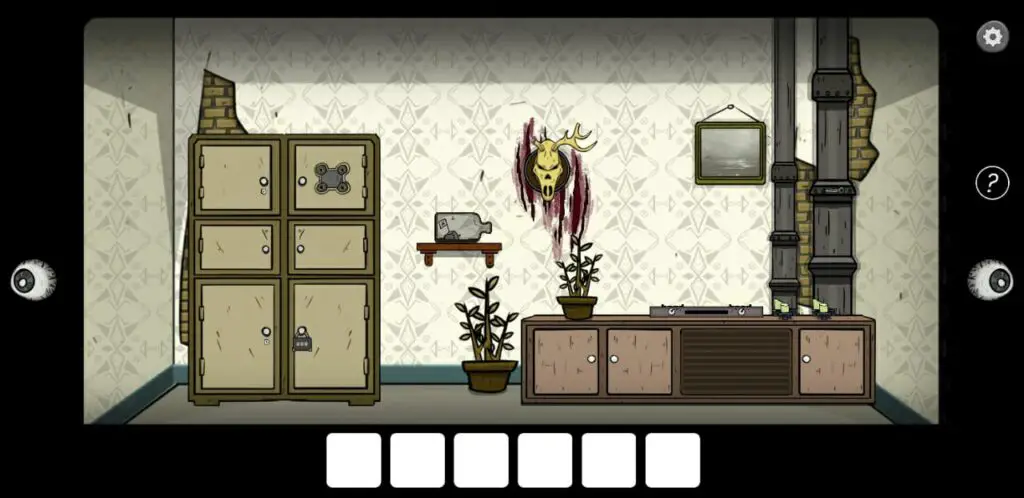
A Diary of Darkness – Room 1
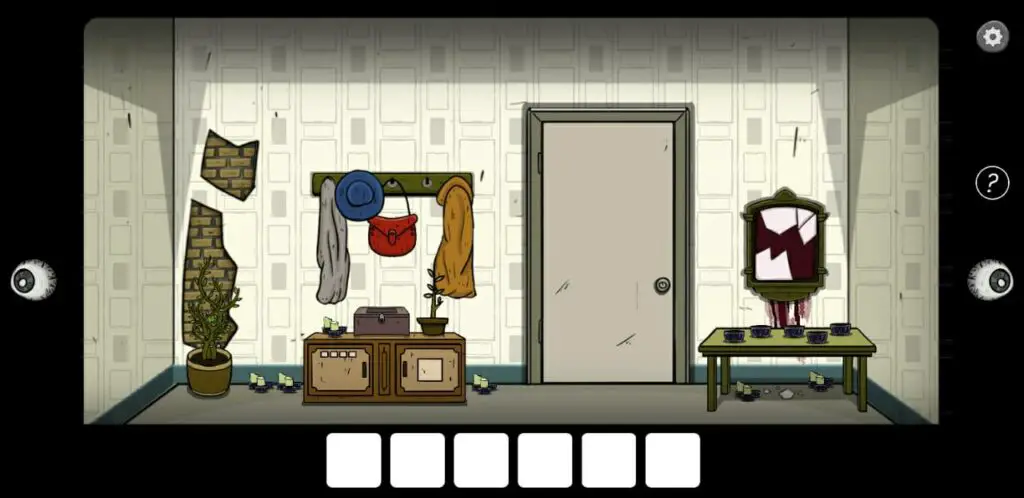
You start your journey from Room 1, wherein you will discover a broken mirror with flowing blood from behind and below it and many other objects like a table, storage boxes, cloth hangers, and a plant pot.
- First, tap the damaged front wall on the left side to discover a crowbar. Then, head to the plant pot to get a leaf and handle.
- Head to the storage boxes and play a mini-game (jigsaw) to unlock them. Complete the image by moving pieces and opening the box to obtain a Candle.
- After that, click on the right storage cabinet, dial the following buttons (3,7,1,8,5,6,2,4,9) to unlock it, and obtain the paper cutter from inside the cabinet.
- Now, click the table on the right side, select the candle from your inventory, and place it in the first cup.
- Collect a key from under the table on the last cup on the right side.
- Get ready to leave the first room as many other rooms you must explore.
A Diary of Darkness – Room 2
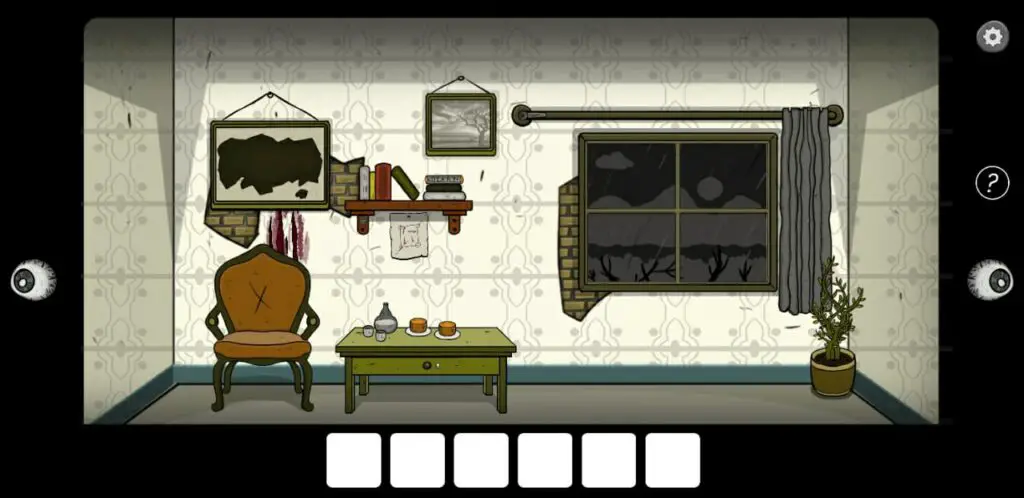
To reach room 2, you have to tap the eye on the right side, and you will be in room 2. Room 2 of A Diary of Darkness contains a window, bookshelf, sofa, and many other things.
- Head to the table, select the key to unlock its drawer and get the second handle. Before leaving the table, remember to pick up a pot.
- Investigate the curtain’s rod, and you will discover the third handle on its left side.
- Get a toothed gear from the bookshelf stand on the left side and add it to your inventory, along with a book titled “I.A.R.Y.,” and don’t forget to notice the paper where you can find the clue easily.
- After watching the painting on the wall, you need to leave the room.
A Diary of Darkness – Room 3
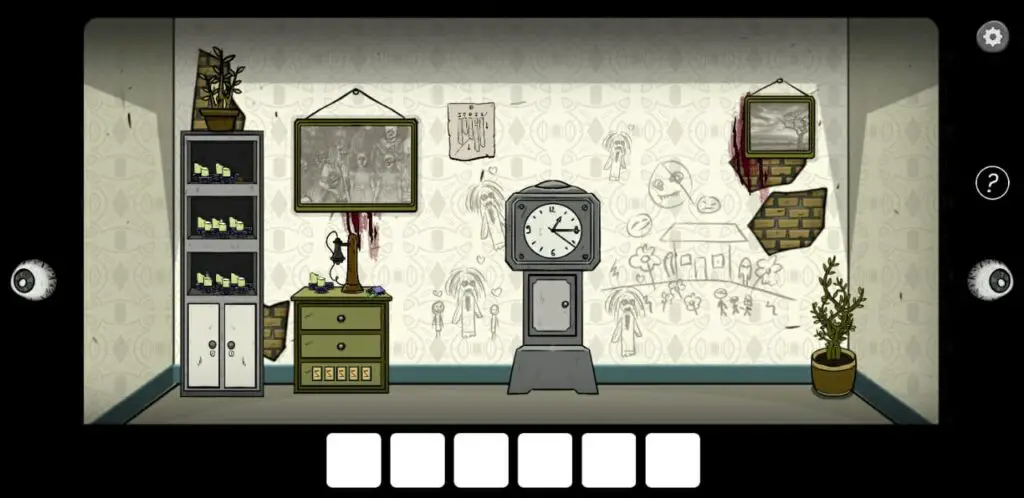
Once again, hitting the right eye may lead you to Room 3, where you will discover drawings on the wall, a clock, a plant pot, and many other things. Keep reading A Diary of Darkness Walkthrough to find all the locations and hidden objects you need to solve the mystery.
- After reaching Room 3, you have to watch the painting on the right side and use the paper cutter to remove that section where a kid has drawn paintings to discover the time (7:15).
- Head to the painting between the clock and the cupboard to discover a teeth gear behind it.
- Leave the painting and tap the receiver to get a key. Now, click on the matchbox to add it to your inventory.
- Head to the cupboard to search for the hidden objects as follows:
- First Cabinet – Screwdriver
- Second Cabinet – Finger
- Third Cabinet – Flask
- Now, select the screwdriver from your inventory and use it to open up the clock. Add the tooth gear to the circuit.
- Leave the clock for a while and head to the drawer on the left side of it. Tap its last drawer and enter the code following the painting fixed above the clock. Collect a piece of cloth from there as the drawer opens and add it to your inventory.
- Tap the plant pot above the cupboard and obtain a candle from behind it.
A Diary of Darkness – Room 4
Click on the right eye to reach Room 4 and tap the pipe to discover a handle/valve.
- Go close to the cupboard on the left side, select all handles from your inventory, and add them to its door. Now, your objective is to set all handles in particular directions:
- First – Up
- Second – Right
- Third – Left
- Fourth – Down
- Once you unlock the cupboard, you will discover a jar with a heart inside. Tap the jar many times to break it and pick up the heart inside.
- Head to the cabins below the stove to get a pot and add it to your inventory. Now, discover the stove and put the pot on it. Select the jar filled with water from your inventory and pour it into the pot.
- After that, select the leaf and add it to the water, along with the Heart and Finger. Turn the fire on and choose another candle between two pillars.
- Wait a while. Then, select the flask/bottle from your inventory and fill it with the solution you prepared on the stove.
- Hit the back button and see the painting. You will discover a small sign that you need to unlock a storage cabinet.
- Before leaving the painting, pick up a paper and a toothed gear from behind the pipe on the right side.
- Now, tap the cupboard, select and use the key from your inventory to unlock the left storage cabin, and get the second paper piece.
Return to Room 2
- After collecting the cloth, return to the second room and head to the window. Select the fabric from your inventory and put it on the rod to make the curtain.
- Now, tap the curtain to open it and see the clue printed on it in red ink. Before leaving the area, remember to collect the candle from behind the curtain on the right side.
Go back to Room 4
- Click on the right storage cabin and enter the locker’s passcode (W, 8, e, and 3). Once it is unlocked, you can pick up a key from there and add it to your inventory.
- Select the hook from your inventory and use it to retrieve a key from the ship model packed in a bottle. Before leaving the spot, remember to retrieve another key hidden behind the stand.
- Before leaving the room, you must head to the cupboard and open the second-last cabin to discover the clues in the vertical lines.
- Now, select the key from your inventory and use it to unlock the upper left section of the cupboard to get a Tape.
Head to Room 5 – TV Longue
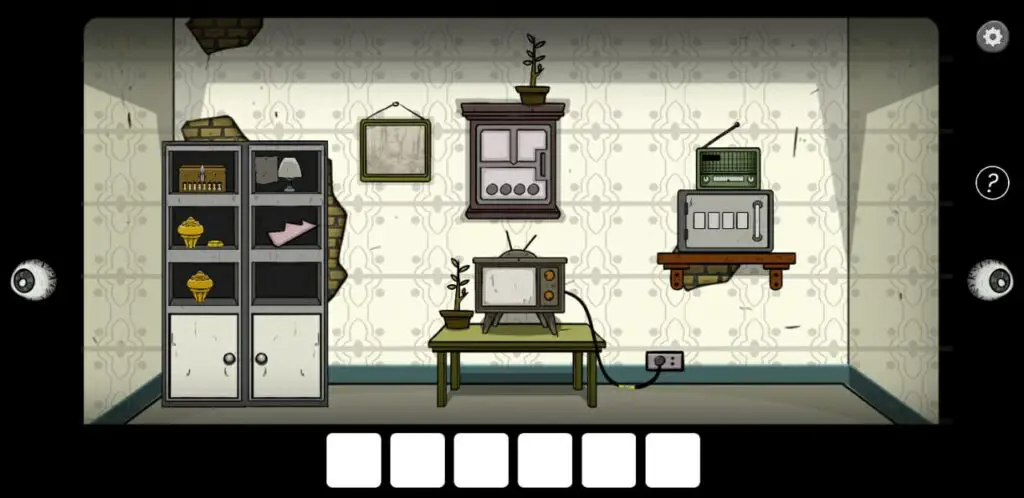
Tap the eye on the right side to unlock Room 5, where you discover a vault, Radio, TV, and cupboard. Your ultimate goal is to find hidden objects to solve tricky puzzles, as a son is missing, and you are the only one who can see it.
- After reaching Room 5, the first thing you should do is watch the painting for a sign and use the Electrical Tape to cover the TV wire.
- Open up the book from your inventory and add the missing piece on page 24. Discover two shapes on the right side and tune the TV according to that.
- Break the TV screen to discover an object and add it to your inventory. Now, examine the cupboard on the left side and pick up a missing paper.
- Head to the box in the first section of the cupboard and set the pieces following the vertical lines (Up, Down, Up, Up, Down, Up, Down, and Down) you discovered earlier. Obtain the candle from the box and tap both boxes at the bottom to get tooth gear and scissors.
- Go back to the first room by merely clicking the eye on the right side.
Return to Room 1
- Once you reach Room 1, select and place all the candles in cups on the table, select the matchbox, and use I to burn each candle individually.
- Hit the back button and tap the cabinet on the left side. You must add four different shapes discovered in paintings: the Sun, Double Tree, Height, and Hook. Open the cabinet and get another paper piece from inside it.
Visit Room 2 – Study Room
- After getting scissors, you should visit the Study Room and use the scissors to cut the sofa. It reveals a paper piece added to your inventory as you tap on it.
- Head to the painting above the sofa, add the missing pieces to the frame and complete the painting.
Go to Room 3
- Now, you have the keys to open the lower sections of the cupboard to get the missing paper clues. Obtain both items from the closet and add them to your inventory.
Return to Room 2 – Study Room
- After getting the papers, you should visit Room 2, where you have left the painting incomplete. Select the recently collected paper and add it to the board to discover a clue in geometric shapes.
Head to the First Room
- After getting mirror pieces and completing the painting, take another step back to reach the first room, where you have set up all the candles and burned them using the matchbox.
- Select all mirror pieces from your inventory and add them to the frame. Select the bottle with red liquid and pour it into the mirror.
- After a few seconds, prints that you have already seen in a book will appear in the mirror.
Discover a Radio in Room 5 – TV Longue
Reach Room 5, head to the radio, and set the frequency using the clue you found in the mirror. Following the clue, the numbers you obtain will be 25.43.
- Tap the vault below the radio and enter the code (5763) to unlock it for a paper piece.
- Open the book from your inventory and add the missing paper to it.
- Above the TV, there’s another vault available. Click on it and enter the following shapes (6,69,2, and Hat) to unlock it and get a horn.
Head to Clock – Room 3
- Now, you have two other tooth gears and a horn. Leave room 5 to visit Room 3, where you have discovered a damaged clock.
- Select both teeth gears from your inventory and add them to the clock. Set gears ideally to bring the clock back to life and set the time (7:45) to unlock the secret section and get the second half of the horn.
Go the Kitchen
- After getting the horns, visit the kitchen, head to the animal skull above the stove, and add both horns to get a key.
Visit Room 1
After getting a key, you should return to the first room, select the key from your inventory, and use it to unlock the door. Opening the door means the game ends.
Conclusion
A Diary of Darkness offers thrilling gameplay. Although we reached the end, we didn’t find anything interesting as the story continued, and Chapter 2 was also released. Furthermore, the storyline is fabulous, and the graphics are great, as it feels like I’m playing games like Samsara Room and Strange Case: The Haunted Hunt.
 CodyCross Answers
 Daily Themed Crossword Answers
 Top 7 Answers
 Word Craze Answers