Introduction
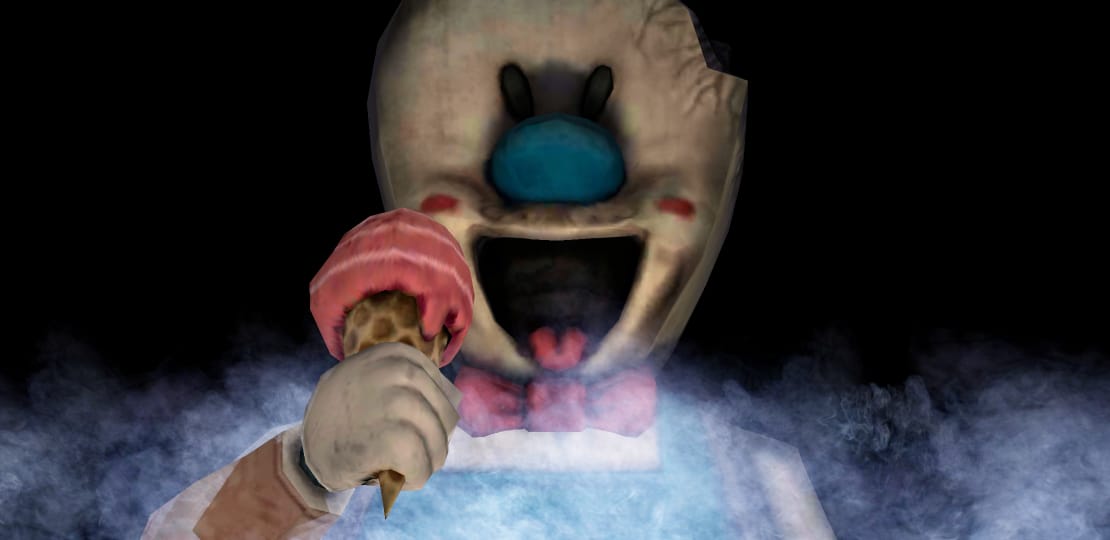
Once again, your beloved friends are in trouble as they get abducted by an evil, known as Ice Cream. You don’t have another option, instead of embarking on a journey to rescue your friends once again. Ice Scream’s fourth installment comes with more thrill, suspense, action, and horrific scenes. Get ready to unfold a brand-new storyline, while solving a series of tricky puzzles. Ice Scream 4: Rod’s Factory is an Adventure, First-person Exploration, and Single-player Survival-Horror video game released by Keplerians Horror Games. Undoubtedly, the game is designed for those players who love playing horror games. Read our Ice Scream 4: Rod’s Factory Walkthrough Guide to learn how to complete puzzles and run away from Rod’s Clutches.
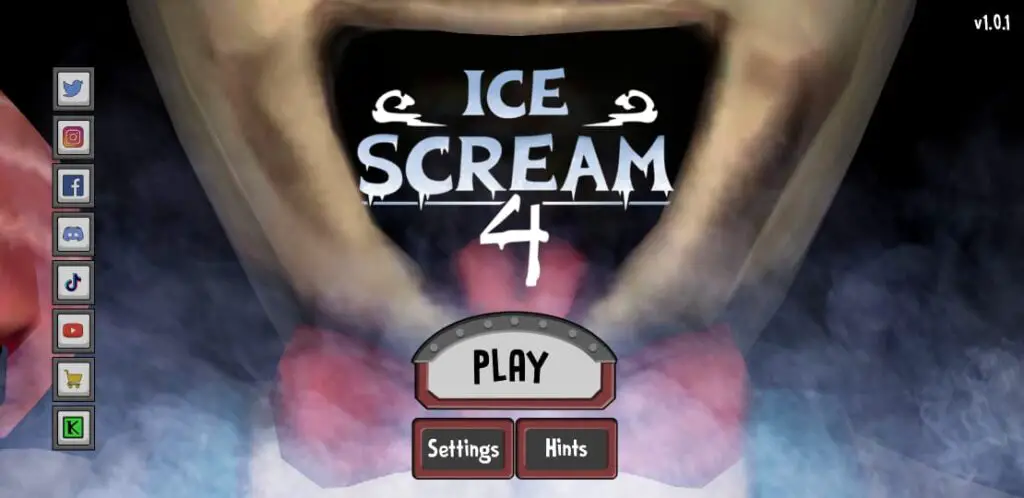
Storyline
It serves as the fourth entry in the series of Ice Scream video games, continuing the storyline where it was left in the previous installment. After saving your buddies from Rod’s Clutches, the evil is back and captured all of your friends again. This time, the evil has taken your buddies to a factory where coming out is almost impossible. To come out, either to have to be a good detective or a puzzle-solving master. If you haven’t played the third installment, then let me clear that J has made a unique Ice Cream using the ingredients your friends had gathered to fatten up.
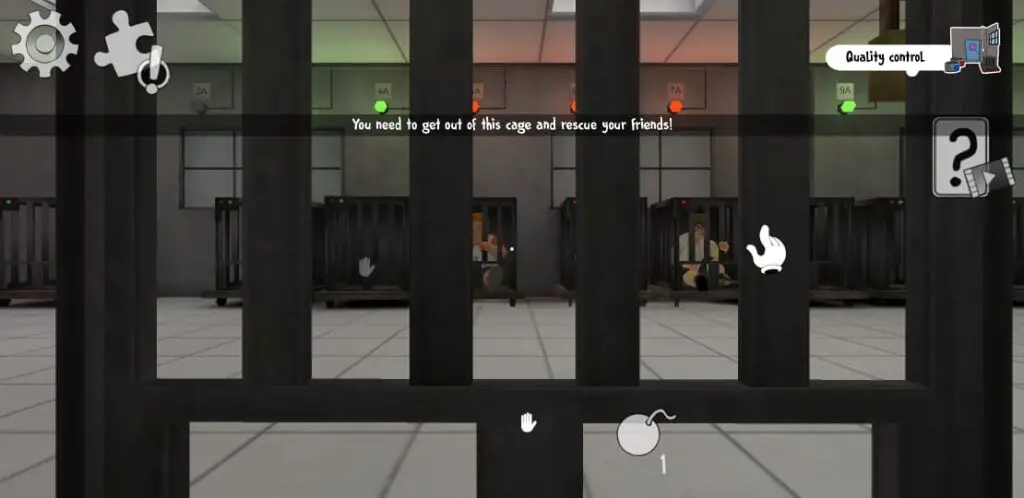
Now, it’s a new chapter that comes with a new twist and challenges to solve. This time, Rod throws you to a factory where your goal is to figure out his past. During the game, explore a series of areas in the factory; meanwhile, try to unravel the truth behind the scene by merely unlocking surprises. There is only one aim that should be kept in mind to free friends as soon as possible from their cages. You don’t have enough time; therefore, release your buddies before they end up in an extraction room.
Read More: Ice Scream 6 Friends: Charlie Walkthrough
Addition of New Features
Although the premise of the game is to explore the environment freely to search for hidden objects and struggle to solve puzzles while looking for a way to free your friends and get out of the factory. Following the footsteps of previous titles, Ice Scream 4: Rod’s Factory retains the first-person navigation system and it feels me like I’m playing Evil Nun 2: Stealth Scary Escape Game Adventure and Death Park 2 released mobile devices. The newly introduced installment holds a lot of new things to discover, including:
- New Enemies
- Free Exploration
- Fun-filled Puzzles to Solve
- Narrative Cinematics
- Detailed Environment
- Hint System
- Four Difficulty Modes
Four Difficulty Levels
Before learning about difficulty modes, you should know about the game’s setting. It comes with several options like you are capable of setting sound volume, music volume, camera sensitivity, and joystick size. Similarly, you can control the graphics and set them as per your device or requirement from low to high. Next to that, it supports up to 8 different languages that you can choose under the settings tab. Now, let me tell you that the game has four difficulty modes and their names are the following:
- Ghost
- Easy
- Normal
- Hard
Each mode has unique characteristics that are given below:
Ghost – When you are playing in Ghost Mode, enemies aren’t able to see you, as well as the game, may display you ads after a few minutes of your gameplay.
Easy – I will only suggest you choose “Easy” mode if you are familiar with the gameplay because it comes with a bit strict rules as follows:
- Your Enemies are slow and can’t hear you as well
- You have only three attempts
- Enemies are less scary
Normal – If you have the guts to see enemies chasing you wildly to kill, then you should go with “Normal Difficulty Mode.” Here enemies are relatively fast than Easy mode, as well as sensitive to noise. Aside from that, they are quite dangerous and will kill you instantly upon detecting unusual activities.
Hard – I don’t think so that there’s any need to tell you about “Hard Mode.” It makes enemies fully crazy who aren’t only fast, but high alert also. The game won’t give you a second chance if you have chosen “Hard” as your first mode. For the rest of that, enemies are very dangerous and can listen to the floor creaking sound.
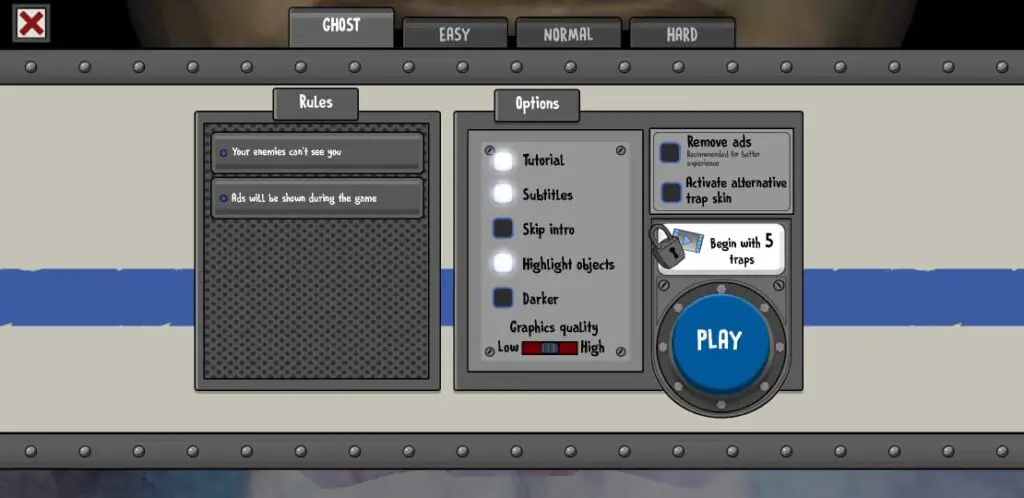
Ice Scream 4: Rod’s Factory (Ghost Mode) Walkthrough
The starting scene is quite painful and surprising because evil has been shown, kidnapping kids. Therefore, the starting scene opens with a van reaching the factory. After a few moments, evil comes out along with a small cage holding a small kid. Next to that, the evil takes the kid to a room where lots of other kids are available. As mentioned above, you can experience hassle-free gameplay in Ghost Mode because enemies are lazy and can’t see you. Keep reading Ice Scream 4 Walkthrough Guide to reveal hidden objects.
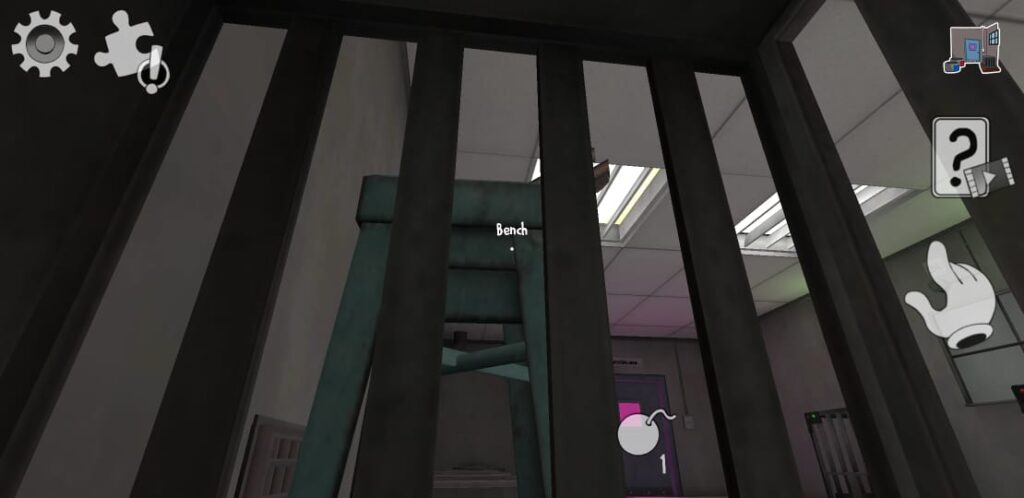
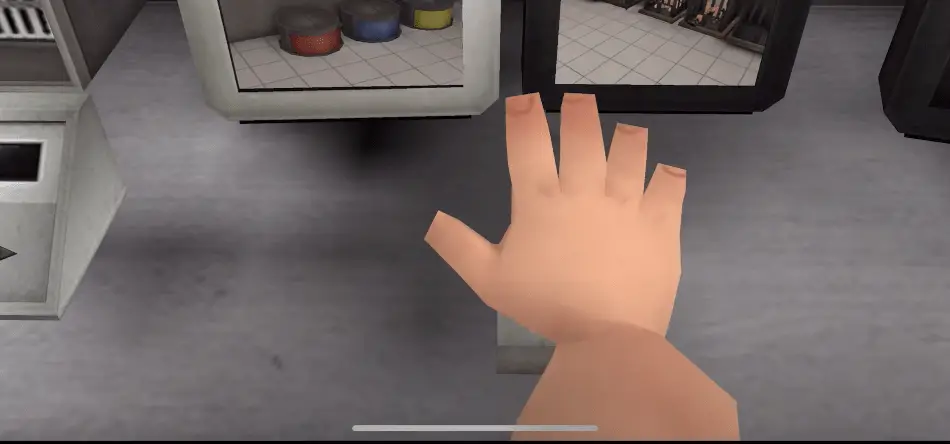
Once the tutorial ends, you wake up in a cage and your first goal is to get yourself free to save others. Taking a cursor on a specific object may display your on-screen hand that upon tapping will make your interaction with the targeted objects. To come out of the cage, you have to search for hidden objects and utilize them to open the cage. You are free to do whatever you want, but when playing in other modes you should be careful.
- Firstly, you should collect a wrench kept above a folding stair on your left side.
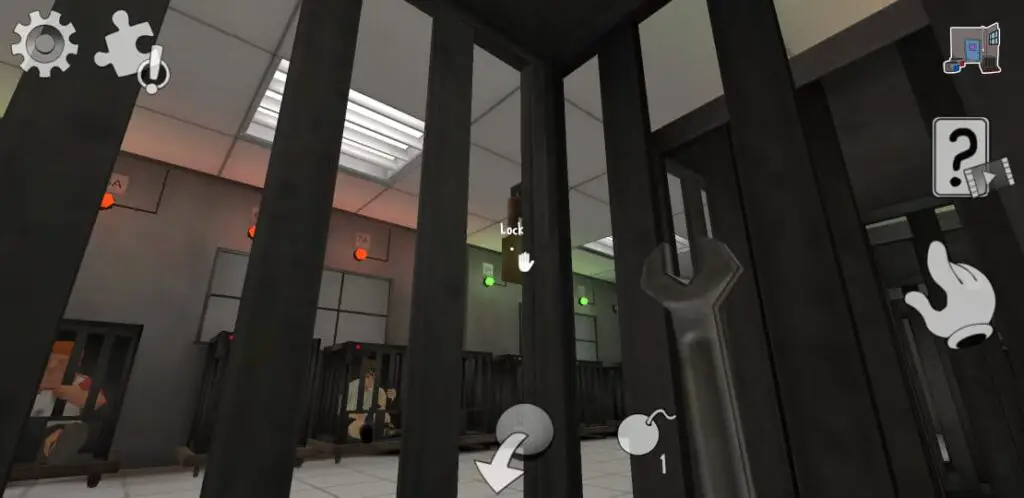
- Use the wrench and hit the locker three to four times. Open the door once you found the locker has been broken.

- Come out of your locker and find a trapdoor near the main gate. Get into the trapdoor to reach the toilet.
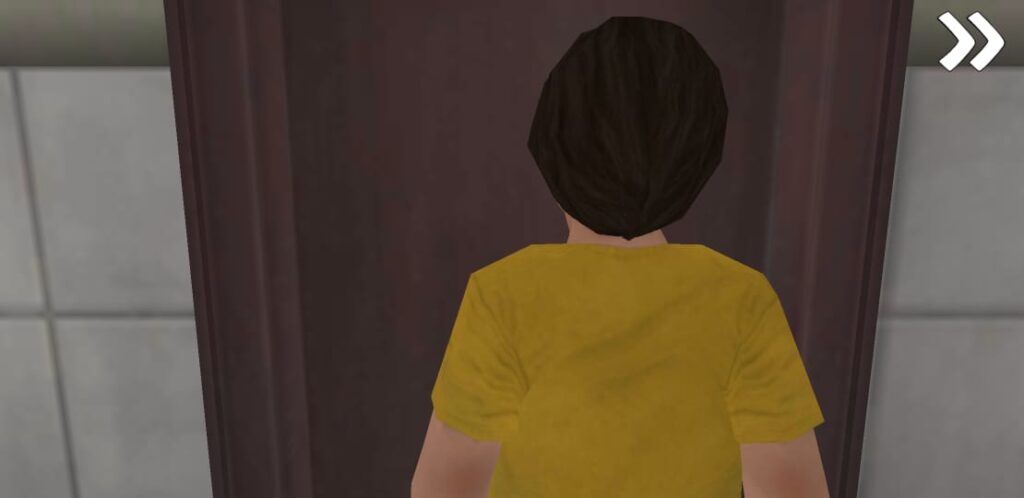
- Open the wooden door and find a way to reach the control room, but it isn’t easy because a robot is assigned on its security.
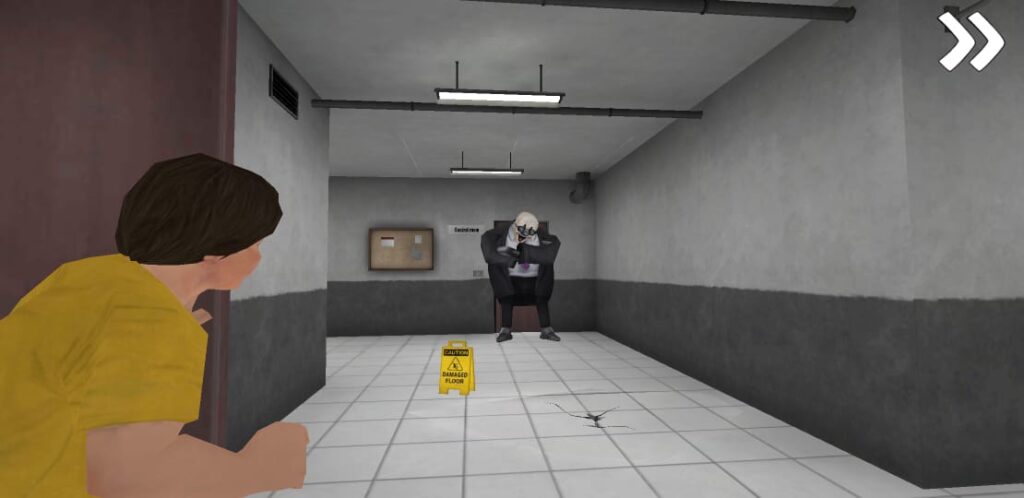
Note: You have to reach the control room as soon as possible to release your friends.
- Leave the toilet and get into the second room available near another trapdoor.
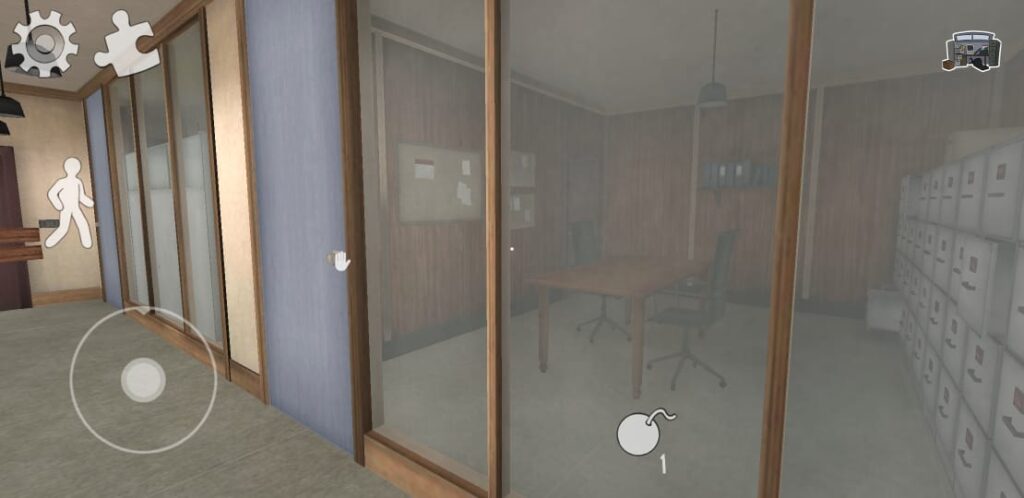
After opening the door, you have to get into an office available on the right side next to the cupboard. Start your search to find a trophy that may be available in any office. I found it in the second cabin in the office room. In the next step, you are supposed to find a garage at any cost.
- Once you find the door, go down to the garage using stairs and find a stepladder to climb.
- Open the trapdoor and go through it to find a way out, but before you have to complete another task.
Open Door using Crowbar to collect Stepladder
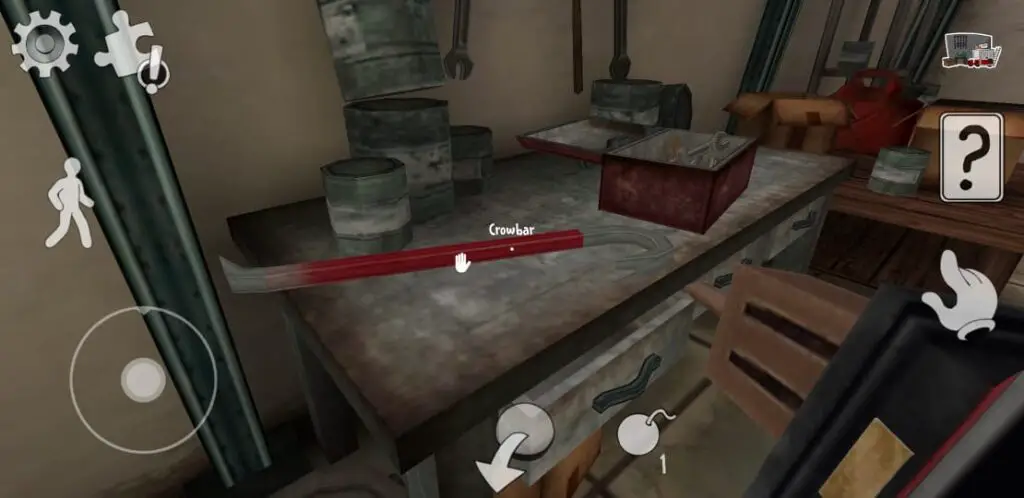
Go back to the garage and take the stairs to reach the office, but don’t forget to take a crowbar along with you at the office. Once you reach the office, find a door locked with nails.

- Use the crowbar to collect bring nails out and open the door to collect a stepladder.
- Hold the stepladder and reach the trapdoor you opened using a trophy.

- Go through the trapdoor to reach another side of it.
The tunnel takes you to a storeroom full of old furniture. Leave the room and reach the main door and then take right until you discover a small street. Move on to the small street to find yourself in a place decorated with red carpet.
- After that, take left and move on until you reach an open area wherefrom moving on the left side is mandatory.
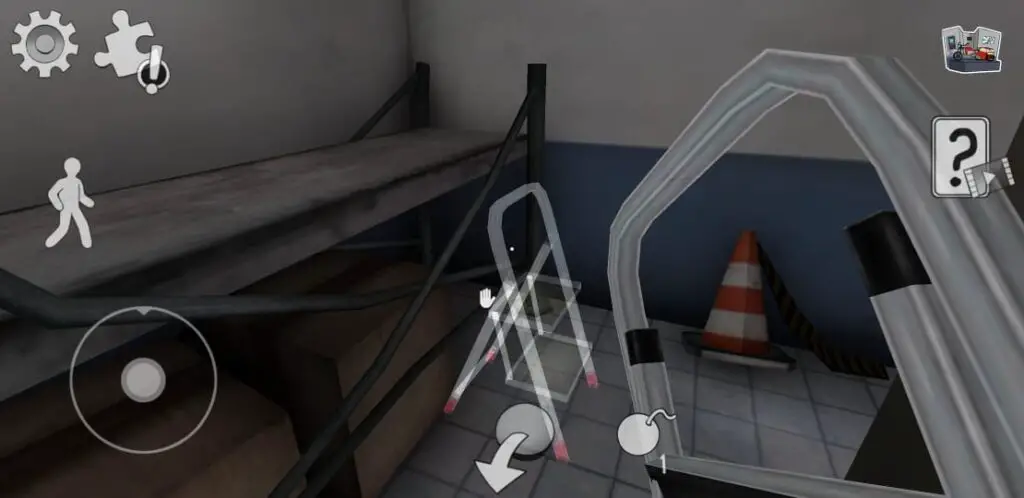
- Walking a while, you should take left and keep the stepladder on the backside of the equipment as you can see in the image given below.
- Go to the storeroom and collect an ice cream from a rack.
Collect Three Ice Creams to Get Strong Sticky Gum
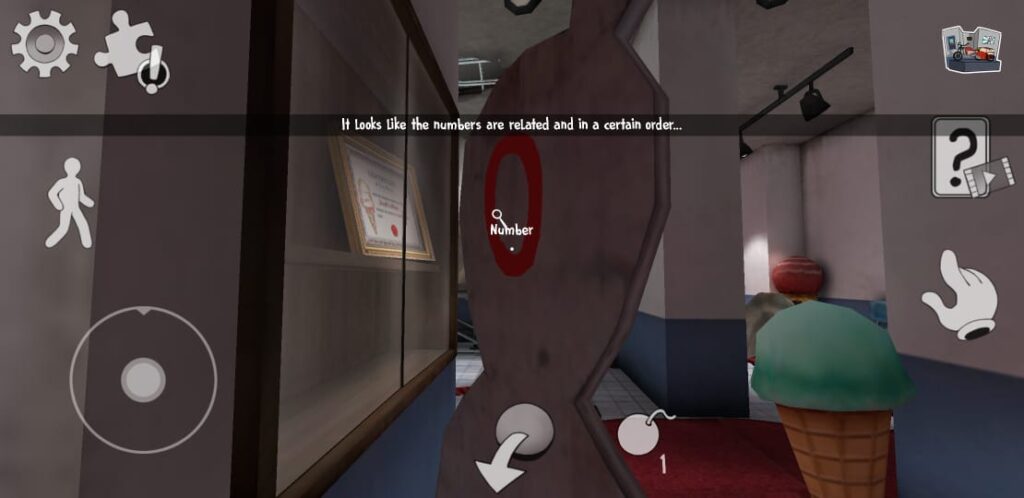
- Now, move back to the machine and put the ice cream over there. During the journey, don’t forget to find numbers that you need to open a door lock.
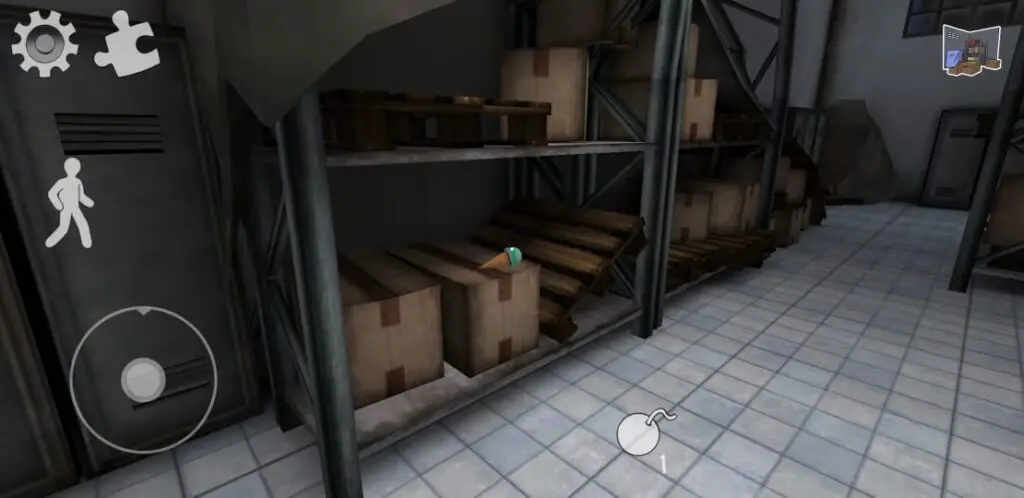
- To find the second ice cream, you must go to the toilet and search on a basin to get yellow-colored ice cream. Collect the item and go back to the machine and keep it over there. Now, only one ice cream is left to collect and it is available in a rack placed next to the garage door.
- You don’t need to follow the path you used to come to the museum. There is a room with a ladder that you can use to reach and collect the ice cream.
- Your next move is to keep the ice cream to a slot and hit the button to collect a super sticky gum. Keep the gum to your hand and reach the toilets in the main area where you once saw a man protecting a control room.
- After reaching there, you should stick the gum on four different places as shown in the image, but be careful, the game will catch you if he wakes up.
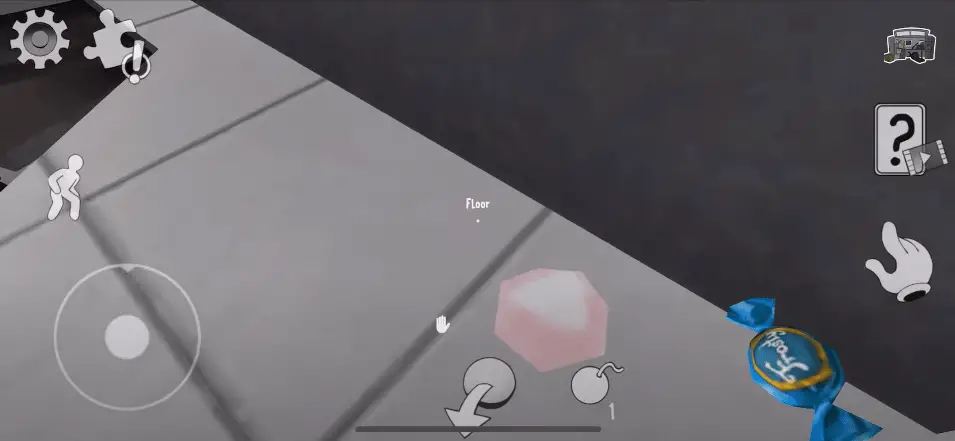
Set a Trap
Next to that, you should search out a fire extinguisher that may be available near the candy machine or in a toilet. Follow the given steps to complete the puzzle.

- Take the fire extinguisher to a place where you left a stepladder. Climb the ladder and drop the wooden piece to make your approach to the ceiling.
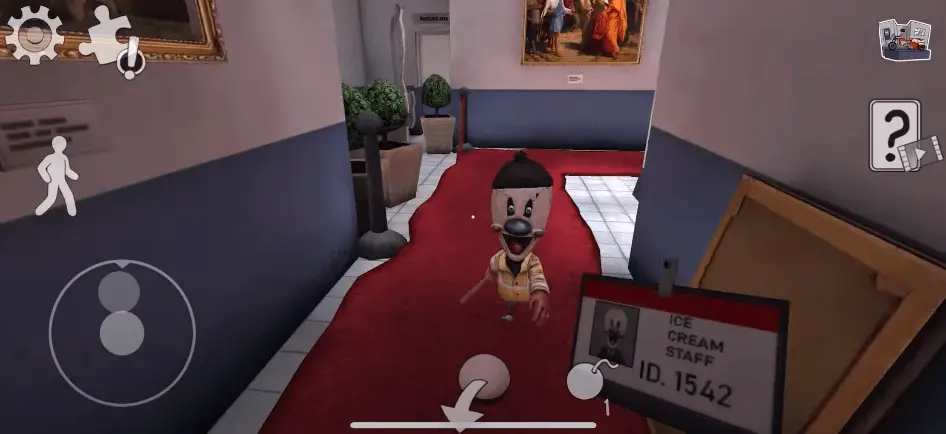
- Use a fire extinguisher to break the layer and leave the areas for a while to find an Ice Cream Staff Card.
- To get a card, you must investigate small creatures lurking around the corners of the museum.
- Once you found a card, go and find lockers to open anyone for a carpet.
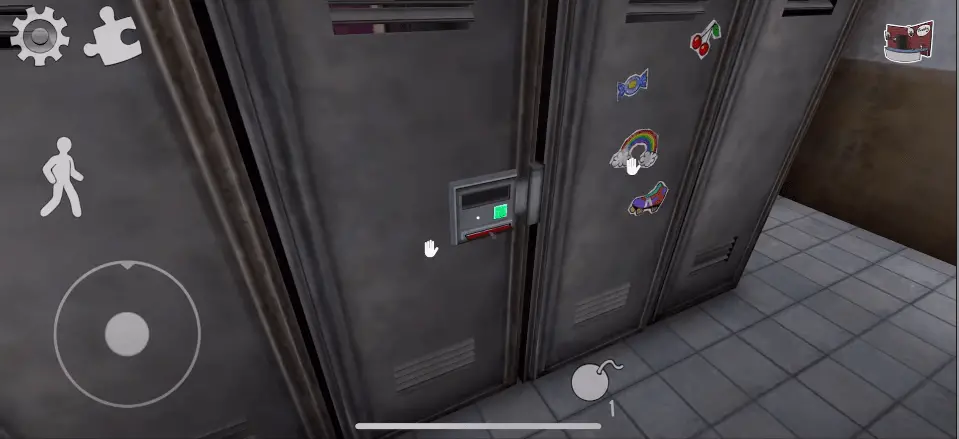
- Bring the carpet to cover the ceiling hole you made using the fire extinguisher. In actuality, you are setting up a trap for a security guard.
Visit Lost Property Room
After setting up a trap, you should find a “Lost Property Room” sealed with a digital lock. You need a 4-digit code to open it. Surely, you have found some numbers written on different things like walls, statues, paintings, and more. Use the number to open the door, but you should keep in mind that the number might be different as written here; therefore, during the gameplay, you should keep noticing the number whenever you find it. Usually, the door will get opened using one of these two codes: 6741 and 1481.
You may discover an electro gun after opening the door of “Lost Property Room.” Once you find a gun in your hand, leave the museum and take the stairs to reach the office environment. Open the door and reach close to the security guard, but be careful don’t fall yourself in your set trap.
- Set aim and release button to shot. As he keeps his foot on the carpet, he will fall.

- Open the door to enter the control and hit the blue button to open all cages and free your friends.
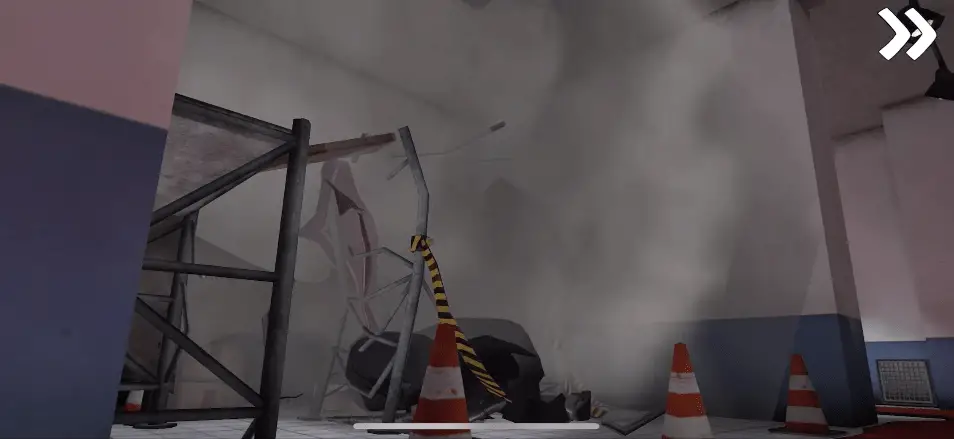
You have successfully freed your buddies from the evil’s custody, but you haven’t yet run away from Rod’s Clutches. Let’s see what’s happening with you in the next installation.
Conclusion
The release of Ice Scream 4 confirms that another installment is on the way to release and it seems it would be more difficult, as well as challenging to deal with. Both graphics and soundtracks are exquisite, and challenges may drive your puzzle-solving skills to the next level. The completion of puzzles is almost difficult without having a proper guide; therefore, we have released the Ice Scream 4 Walkthrough Guide to help you overcome all challenges.

 CodyCross Answers
 Daily Themed Crossword Answers
 Top 7 Answers
 Word Craze Answers