Genshin Impact Elemental Reactions Explained: Every Combo and How They Work

Genshin Impact's Elemental Reactions turn basic hits into explosions, heals, and crowd control. Here's every reaction in the game, which elements trigger it, and how to build a team that uses them well.
Elemental Reactions are the backbone of combat and exploration in Genshin Impact. Pair the right two elements in the right order and a basic attack becomes an area-wide explosion, a melee hit becomes a heal-shredding burn, or a puddle becomes a slick of ice you can skate across. This guide breaks down every reaction category, the elements that trigger it, and how to actually build a team around them.
None of this requires guesswork or a wiki tab open at all times once the underlying rules click. There are really only a handful of patterns to learn, and they've stayed consistent since Genshin Impact first introduced the system in 2020, with Dendro's reactions added on top in Version 3.0.
1. What Elemental Reactions Are (and Why They Matter)
Every playable character in Teyvat who carries a Vision controls one of seven elements: Pyro, Hydro, Electro, Cryo, Anemo, Geo, or Dendro. Landing an elemental attack applies that element to an enemy (or to standing water, grass, and other reactive surfaces in the open world). If a second, different element touches that same target while the first one is still active, the two elements react.
Reactions matter because they do far more than basic hits. Several multiply damage outright, some disable enemies, some heal, and a few blanket an area in lingering damage over time. Teams in Genshin Impact are built around setting up these combos reliably rather than just stacking raw attack power on one character.
2. The Seven Elements and How Visions Work
Characters who show great resolve may be granted a Vision, a gemstone that lets them control one of the seven elements. Most characters have an Elemental Skill (a shorter-cooldown ability) and an Elemental Burst (a stronger ultimate that costs Energy built up from fighting and from elemental particles). Both can apply that character's element to enemies, and both are the main tools for triggering reactions on demand rather than waiting for a normal attack to proc one.
- Pyro (fire) — burns, melts, and vaporizes
- Hydro (water) — soaks targets, enables Vaporize and Freeze
- Cryo (ice) — freezes and sets up Superconduct and Melt
- Electro (lightning) — triggers Overloaded, Superconduct, and Electro-Charged
- Anemo (wind) — spreads other elements via Swirl and groups enemies
- Geo (earth) — creates shields via Crystallize and construct-based attacks
- Dendro (plants, added in Version 3.0) — powers Bloom, Quicken, Burning, and the Catalyze family
3. Applying Elements: Auras, Gauges and Icons
When an element lands on an enemy, a small icon appears over its head showing which aura is active, and an invisible "gauge" tracks how much of that element is applied and how long it lingers. A second, different element touching that aura consumes some or all of the gauge to fire the reaction; a large gauge can often trigger a reaction more than once before it's fully spent. This is why some fights reward applying an element repeatedly (to keep feeding a gauge) rather than a single big hit.
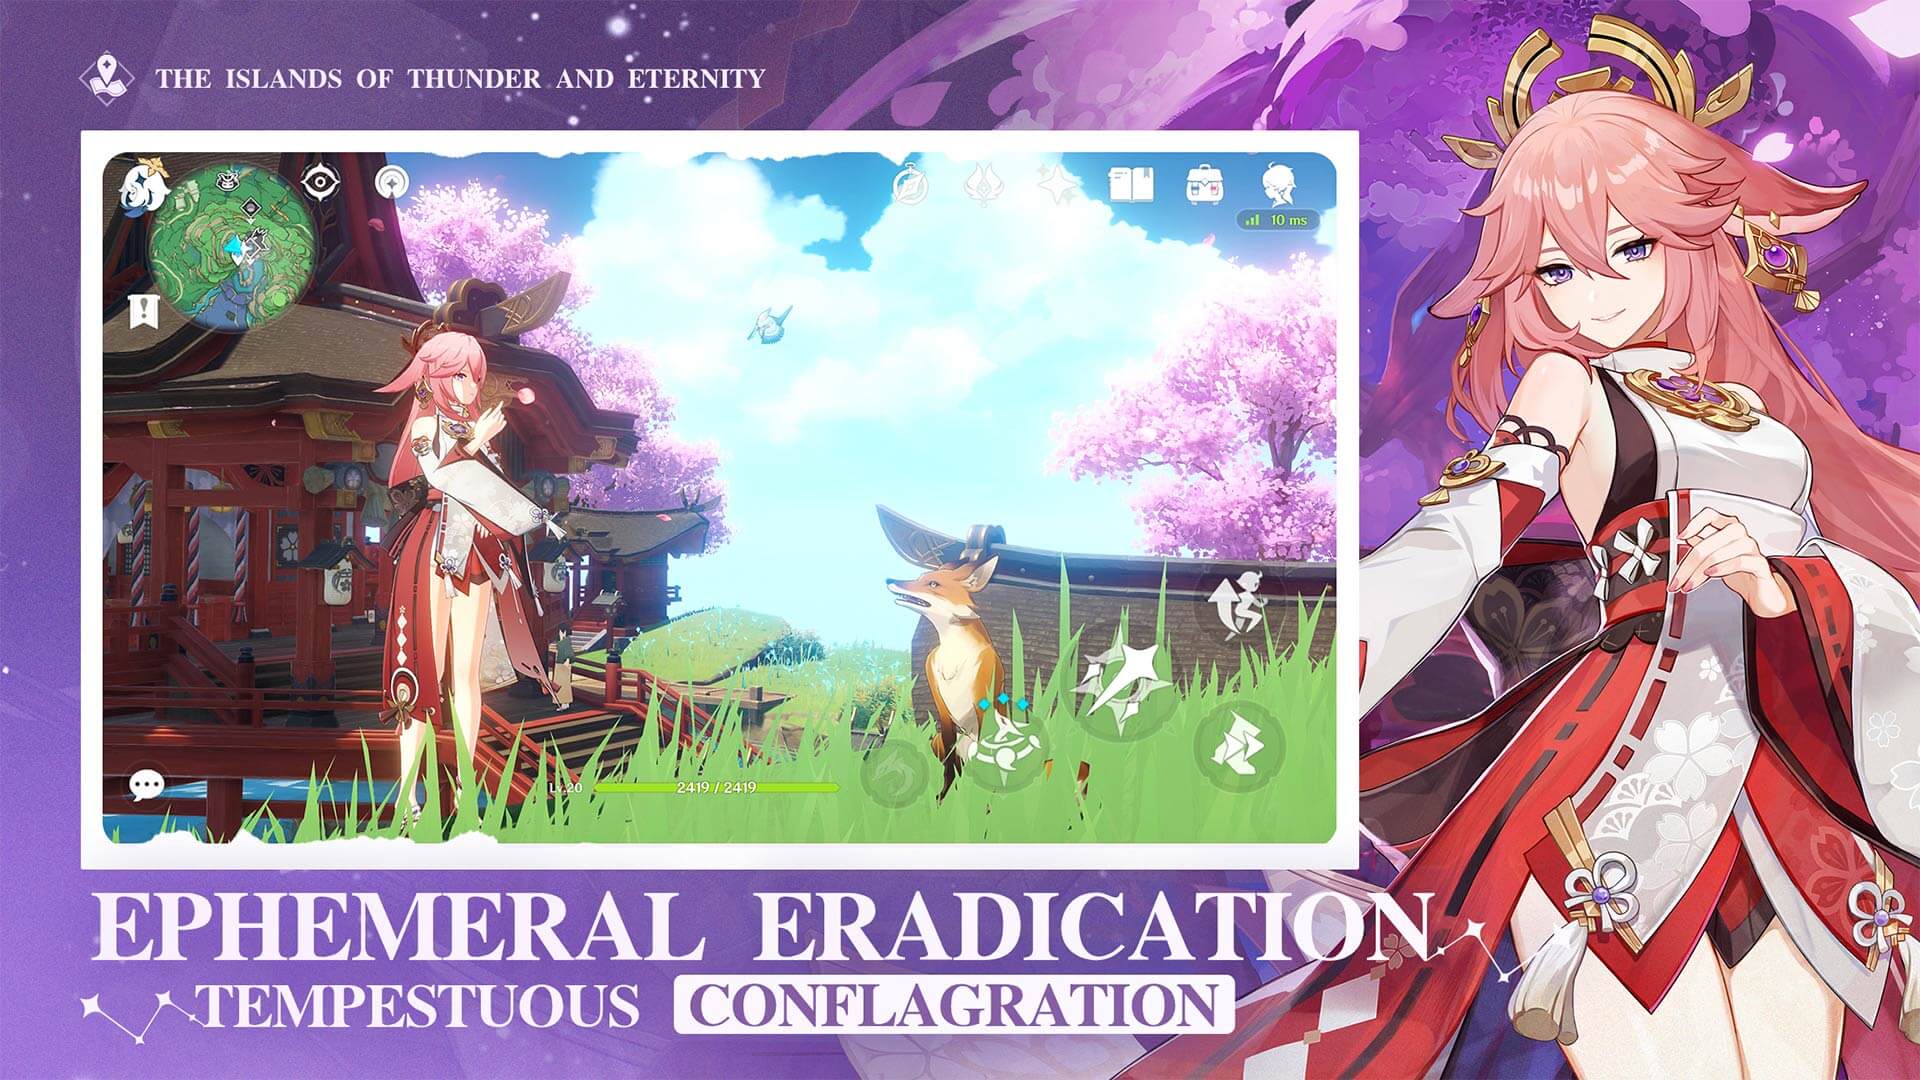
4. Transformative Reactions: Overloaded, Superconduct, Electro-Charged, Swirl and Shattered
Transformative reactions deal damage based on the triggering character's level and Elemental Mastery stat — not their Attack stat, and they cannot land a critical hit. That makes them reliable, flat sources of damage rather than crit-scaling ones.
- Overloaded (Pyro + Electro) — a fiery area explosion that knocks enemies back
- Superconduct (Cryo + Electro) — a small AoE burst that lowers enemy Physical resistance
- Electro-Charged (Electro + Hydro) — repeating damage that can chain between wet targets
- Swirl (Anemo + Pyro/Hydro/Electro/Cryo) — spreads the absorbed element outward to hit multiple enemies and briefly carries that element on Anemo attacks
- Shattered (Geo, or a Claymore/heavy attack, against a Frozen target) — a burst of Physical damage that breaks the ice
5. Amplifying Reactions: Vaporize and Melt
Amplifying reactions multiply the damage of the hit that triggers them, and unlike transformative reactions they can crit, so Attack, Crit Rate and Crit Damage all still matter for them.
- Vaporize (Pyro + Hydro) — multiplies damage, with a bigger multiplier when Pyro hits a Hydro-applied target than the reverse order
- Melt (Pyro + Cryo) — the mirror of Vaporize: multiplies damage, with the bigger multiplier when Cryo hits a Pyro-applied target
In short, order matters for both reactions. Applying the weaker element first and triggering with the stronger multiplier's element gets more value out of the same two hits.

6. Freeze and Crystallize
Freeze (Hydro + Cryo) immobilizes an enemy inside a block of ice instead of dealing a burst of damage itself — it's a crowd-control tool first, and a Claymore or Geo hit against a Frozen enemy triggers Shattered for a Physical damage spike. Crystallize (Geo + any of Pyro, Hydro, Electro or Cryo) doesn't hit the enemy at all; it drops a shield shard on the ground that absorbs damage of the matching element when picked up, which is useful defensively in tougher fights.
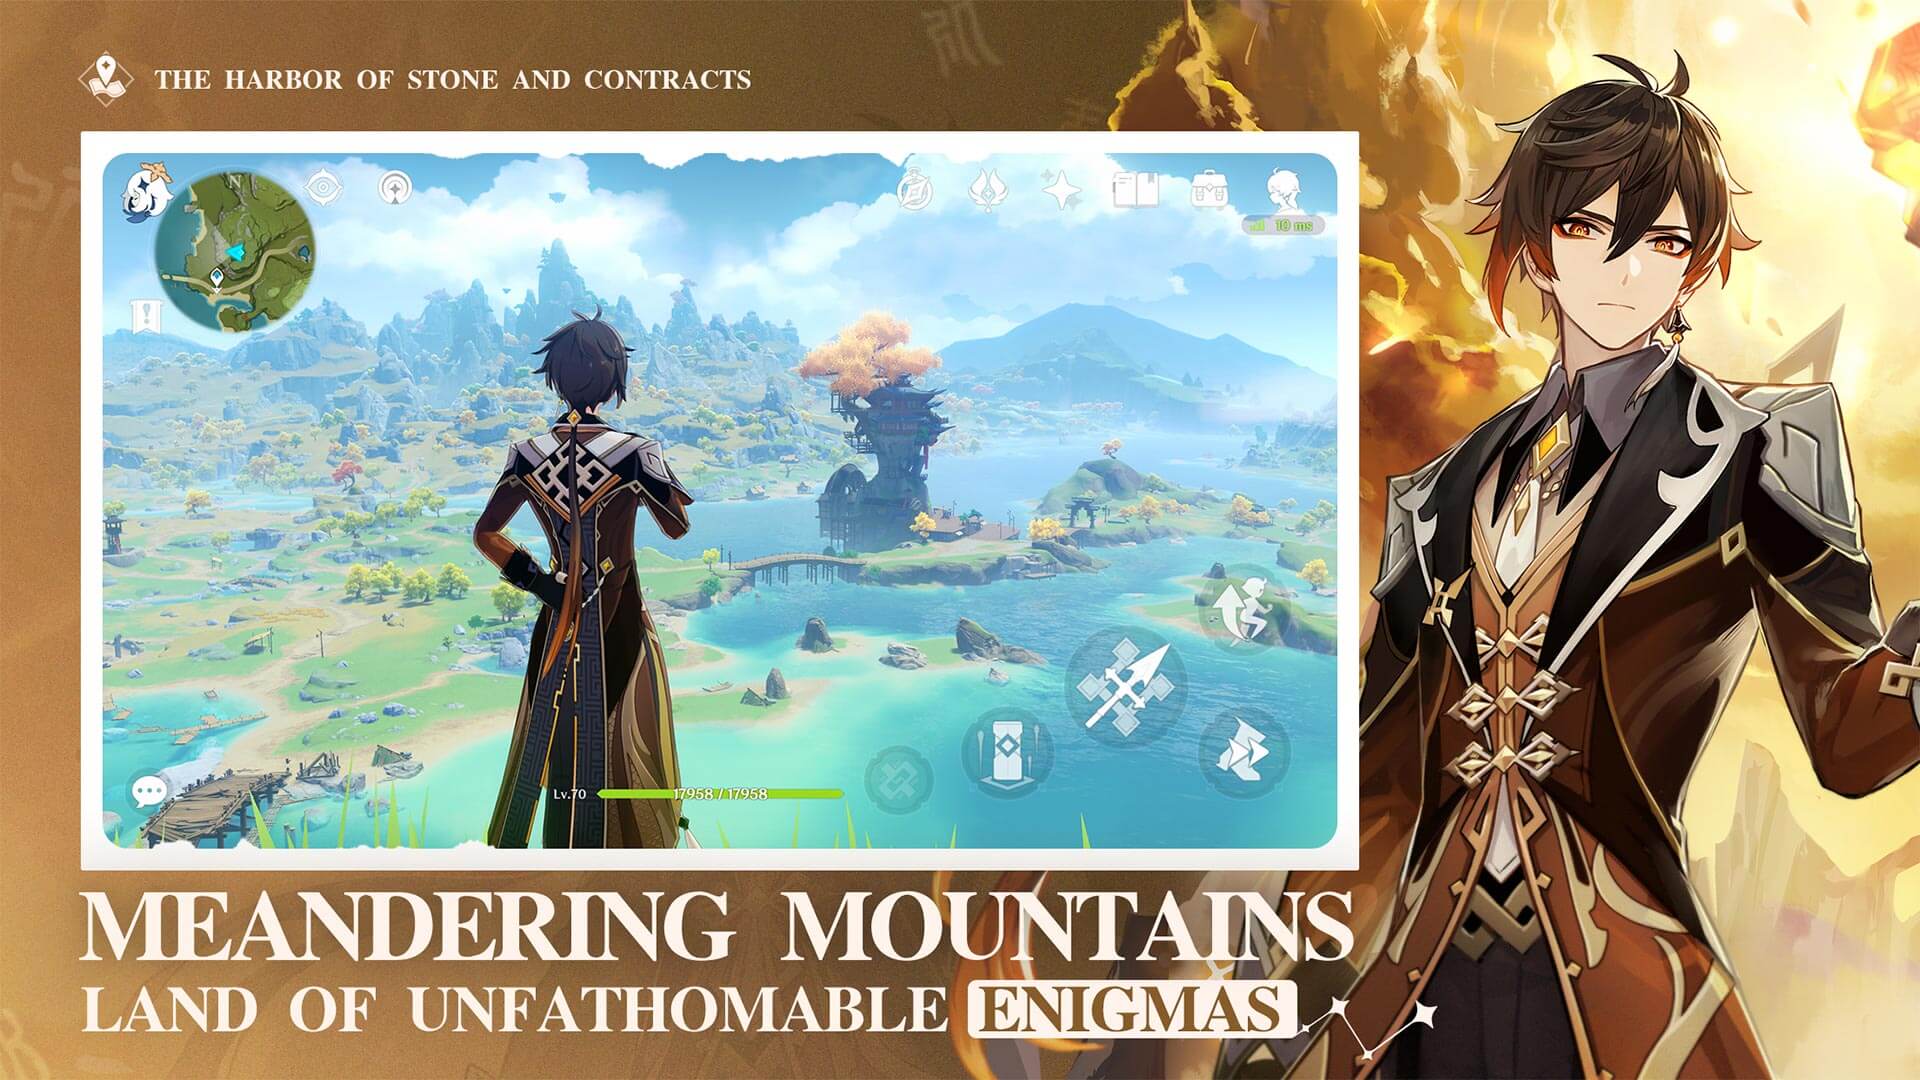
7. Dendro's Catalyze and Bloom Families
Dendro reactions arrived with the Sumeru region in Version 3.0 and layered a second set of combos onto the existing system.
- Quicken (Dendro + Electro) — applies a lingering Quicken aura that sets up the next two reactions
- Aggravate (Electro hitting a Quickened target) — boosts Electro damage, part of the Catalyze family
- Spread (Dendro hitting a Quickened target) — boosts Dendro damage, the other half of Catalyze
- Bloom (Dendro + Hydro) — drops a Dendro Core that explodes for AoE damage after a short delay
- Hyperbloom (Electro hitting a Dendro Core) — the core fires itself at a target instead of exploding in place
- Burgeon (Pyro hitting a Dendro Core) — detonates the core immediately for a bigger area hit
- Burning (Dendro + Pyro) — sets the ground alight with continuous Pyro damage over time
The Bloom family in particular turns the open world into a bit of a chain-reaction puzzle: plant-covered areas in Sumeru are full of enemies standing on grass, which is itself a Dendro surface, so a single Hydro hit can prime dozens of Dendro Cores at once.
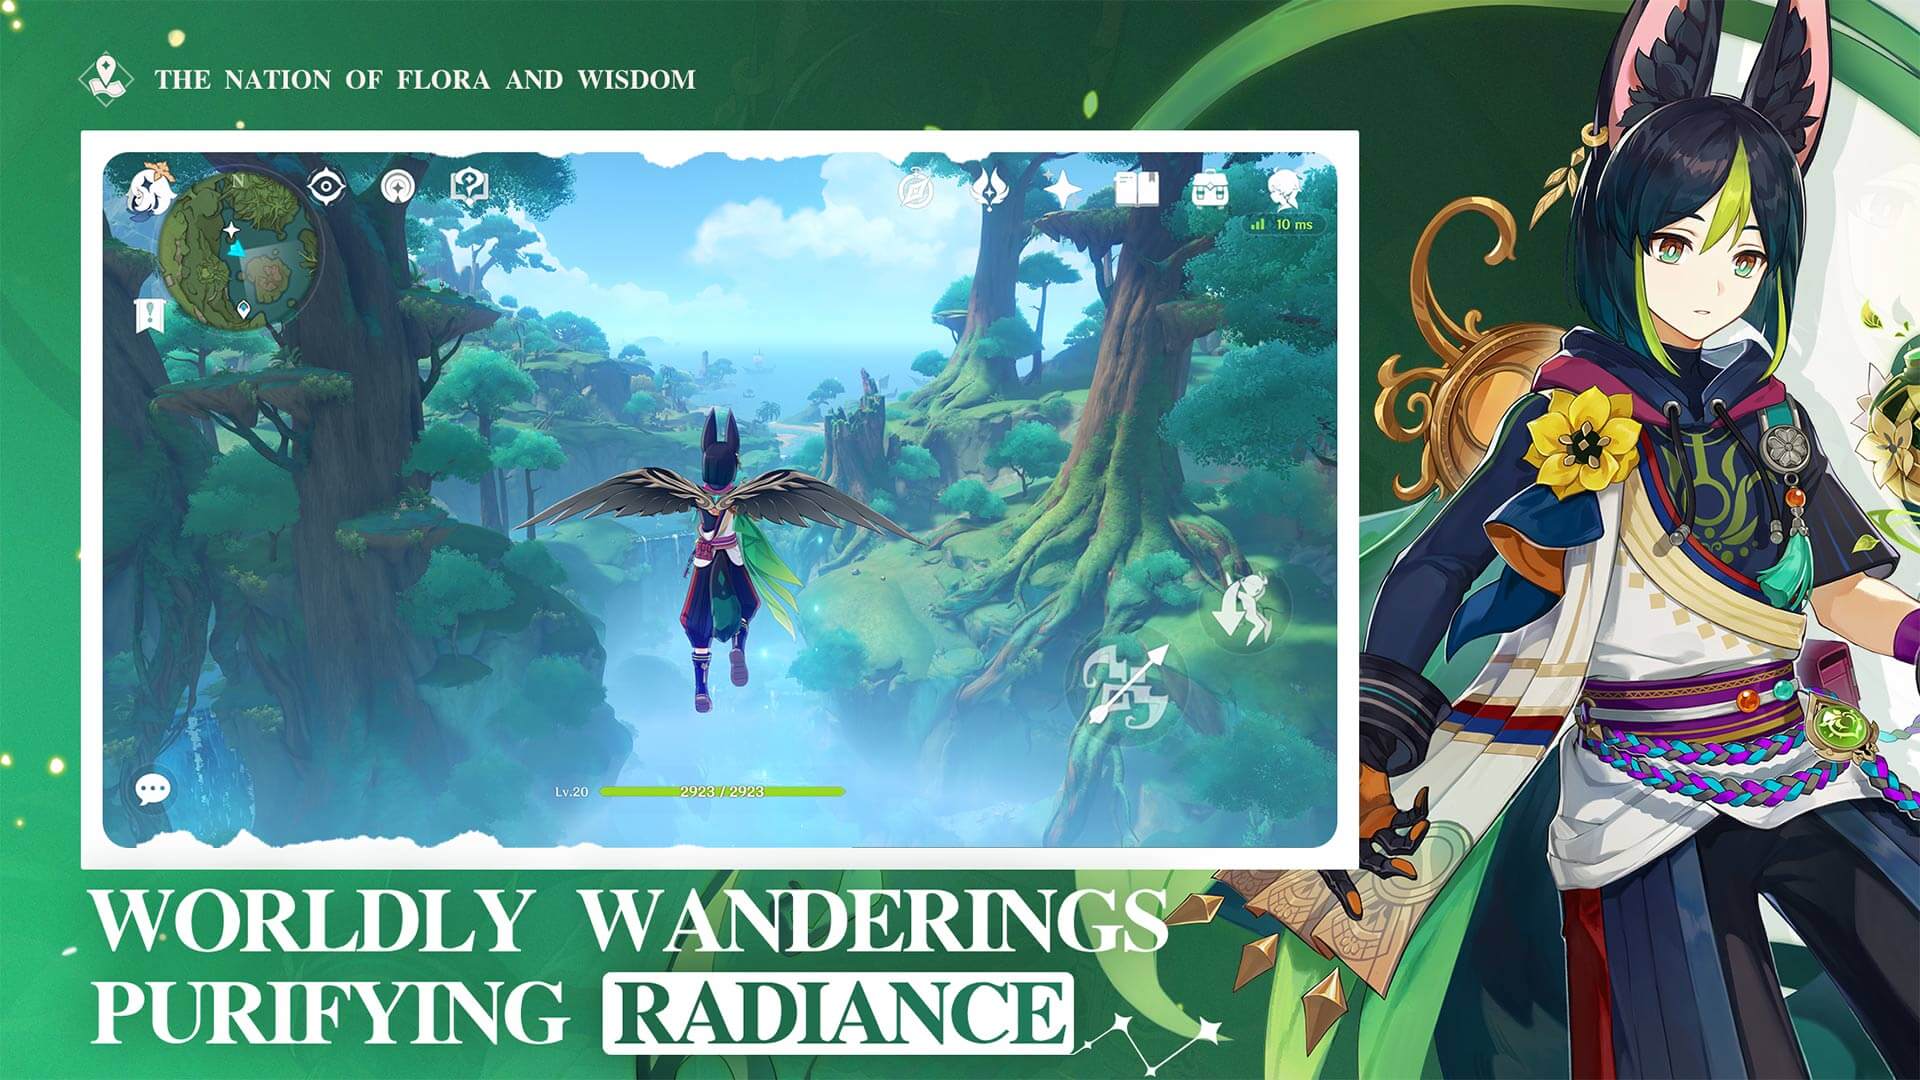
8. Elemental Mastery: Building a Team Around Reactions
Elemental Mastery (EM) is the stat that scales reaction damage, and it behaves differently depending on the reaction type. For transformative reactions (Overloaded, Superconduct, Electro-Charged, Swirl, Bloom, Hyperbloom, Burgeon, Aggravate, Spread, and similar), EM scales the damage multiplicatively and is usually the single best stat a dedicated "reaction trigger" character can stack. For amplifying reactions (Vaporize and Melt), EM still helps but adds in on top of Attack, Crit Rate and Crit Damage rather than replacing them, so a more balanced build tends to perform better.
In practice, most teams designate one or two characters to apply and sustain an element (often a support like a Hydro or Dendro character built with Elemental Mastery and short cooldowns) while the main damage dealer repeatedly triggers the reaction. This is also why characters with off-field, low-cooldown elemental application became so valuable as the roster grew — they let a team trigger reactions constantly without ever swapping characters out of the main damage rotation.
9. Reactions Outside of Combat
Elemental Reactions aren't purely a combat system. Certain puzzles across Teyvat require freezing a lake to cross it, burning away thorny vines blocking a path, or using Electro to power ancient mechanisms, and several world quests and Domains gate progress behind using the correct element on a specific object. Anemo is also used constantly outside combat to pick up and carry small elemental orbs needed for shrines and chests. If you're exploring a new region and a path looks blocked, trying each element on the obstacle in turn is usually the fastest way to find the intended solution.
Quick Tips Recap
- Apply the weaker element first when going for Vaporize or Melt to get the larger multiplier on your trigger hit.
- Build a dedicated Elemental Mastery character if your team leans on transformative reactions like Overloaded, Swirl, or the Bloom family.
- Use Anemo to Swirl a reaction across a whole group of enemies instead of hitting them one at a time.
- In Sumeru and other grass-heavy areas, a single Hydro application can prime several Dendro Cores for a chain of Bloom reactions.
- Don't ignore reactions while exploring — frozen water, burned vines, and Electro-powered mechanisms are common puzzle solutions.
Official Resources
- Genshin Impact official site
- HoYoverse official site
- Genshin Impact on PlayStation
- Genshin Impact on Wikipedia
For more on what's currently live in Teyvat, see our breakdown of everything added in the Version 7.1 update, check out how to claim the free Primogems from the current event codes, or see which free 5-star character is worth picking from the anniversary selectors. For guides on other games, browse the full walkthroughs archive.