Introduction
Unsolved Case is a series of two episodes offering varied characters, a storyline, hidden objects, and mysteries to solve. We have completed the Unsolved Case Walkthrough and are working on the second episode. The graphics and mechanics are fabulous as they offer realistic gameplay and an opportunity to experience the detective’s life when hunting clues, interacting with NPCs, and solving puzzles.
There are several mini-games available, and each requires the completion of objectives. When you complete puzzles, the game leaves you with a rare item you can use in the following objective; therefore, keep finding items from the scene and utilizing them to unlock a new scene. Furthermore, you can use Unsolved Case: Episode 2 Task 6 Walkthrough Guide to find answers and their solutions.
Unsolved Case Episode 2 Task 6 Walkthrough
Task 6 was easy to solve as you only had to extinguish the fire and find six paired items. Your next objective is to “Thoroughly study all the evidence in the case.” Solving puzzles won’t be easy as it requires you to use your detective skills, jump in to play mini-games, and find hidden objects to become the master. Once you solve the objective, the following tasks will unlock with new challenges and hidden objects to discover.
- First, tap the table on the right side to collect chips and add them to your list and other items.
- Second, head to the board on the right wall and obtain a sharpener from near the string.
- Third, tap the table near the exit door, select the Charred Document from the list, and put it near the experiment bottles.
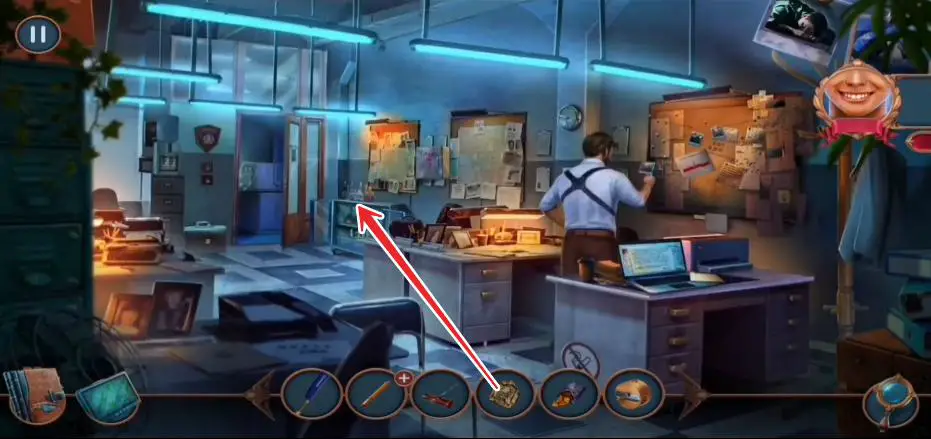
- Return to the computer table, select the broken pencil and use the sharpener to make it ready. Next, use the pencil on the paperboard to draw a formula.
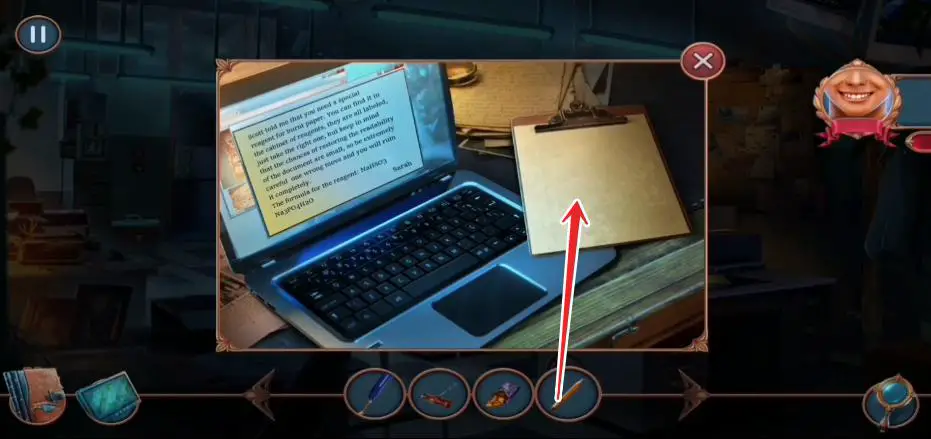
- After that, collect the Reagent Formula and add it to your inventory.
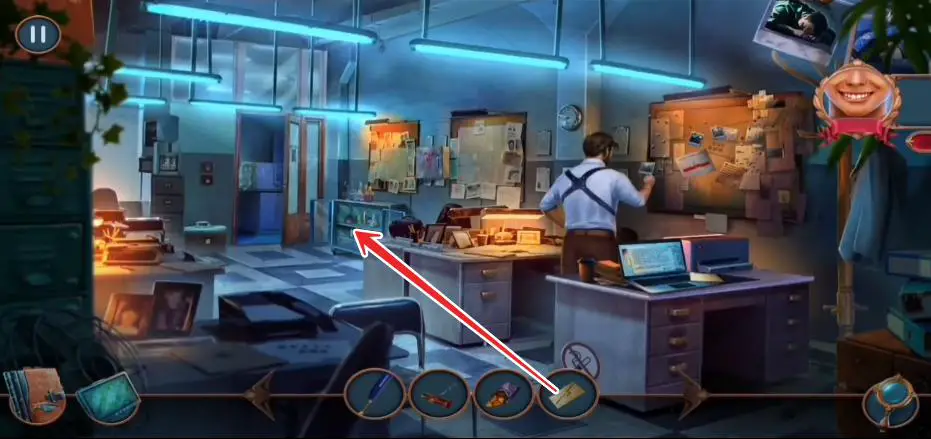
- Go close to the table near the door and tap its second section, where you have to keep the Reagent Formula next to the bottles.
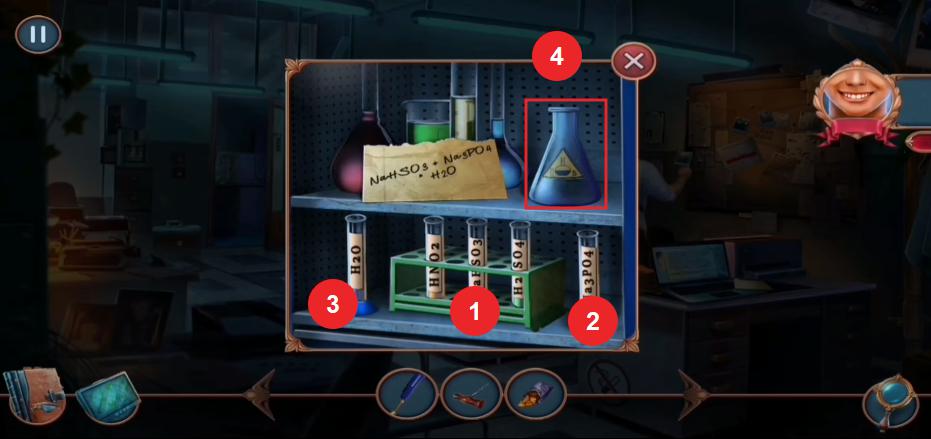
- Tap the top of the same table to start a mini-game, wherein your objective is to arrange the chemical flasks according to the clue.
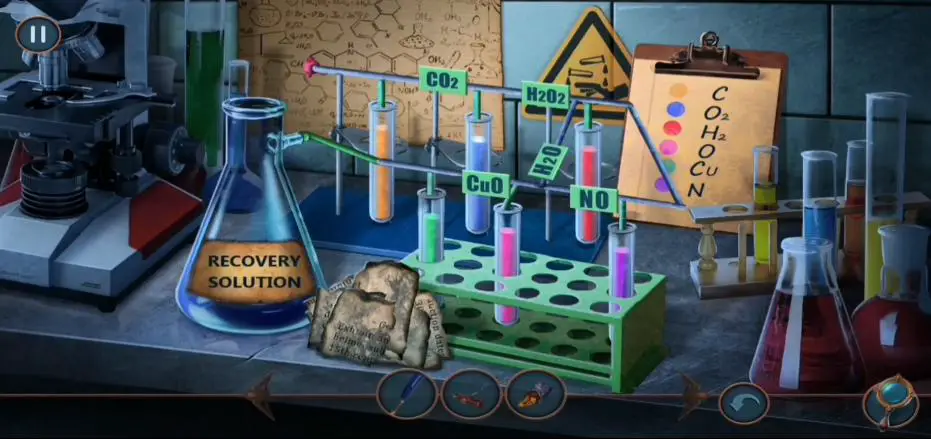
- After solving the flask puzzle, you have to put the pieces of torn documents in the correct places to restore the original text. Once the paper gets restored, the game puts the revolution solution on it to make it perfect.
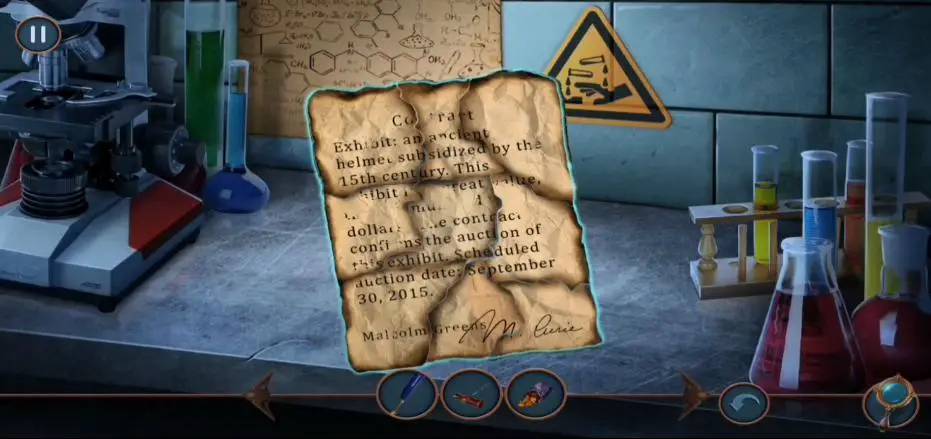
- Head to the board again and put the paper on it to start a mini-game, read the evidence you discovered, and find clues.
- Once you find four notes, the mini-game gets completed, and you will be promoted to the next task.
That’s the end of the Task 6 Walkthrough.
Read More: |Task 1| |Task 2| |Task 3| |Task 4| |Task 5| |Task 6| |Task 7| |Task 8| |Task 9| |Task 10|


 CodyCross Answers
 Daily Themed Crossword Answers
 Top 7 Answers
 Word Craze Answers