Introduction
Nobodies: After Death releases its Operation 12 “Overdraft” to test your hidden object skills. There are 12 challenging operations to complete; each is set in different locations and has various puzzles to solve. Furthermore, the developer releases two different games with the same mechanics and different landscapes to explore.
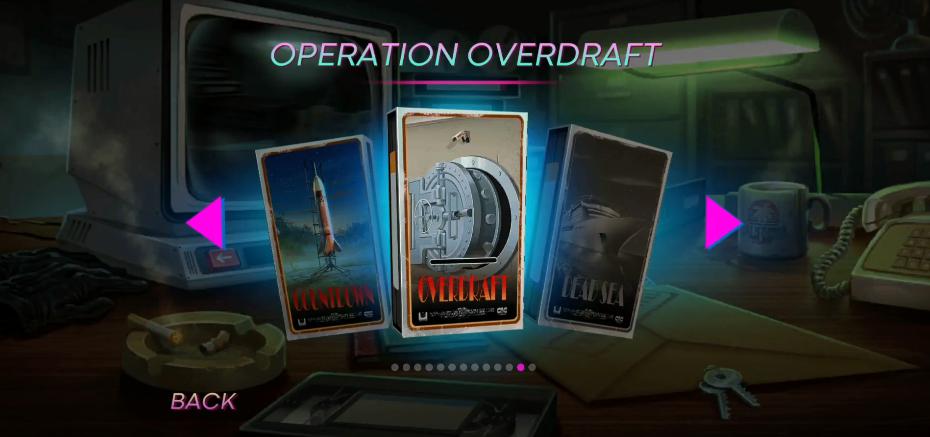
The first title puts you in the role of a murder cleaner hired to remove clues, blood stains, and evidence from the crime scene; meanwhile, the second title is tasked with eliminating the deceased when finding hidden objects and solving tricky puzzles. Many times, solving puzzle games isn’t easy; therefore, we jump in to help you with our Nobodies: After Death Operation 12 Walkthrough Guide.
Nobodies: After Death Operation 12 Walkthrough – Overdraft
In Nobodies: After Death Level 12, the agency has detected unusual withdrawals from different accounts pointing toward Nova Targets; however, all of them were initiated from a branch of YTS Bank in Toronto belonging to a man. You must visit the bank, search for hidden objects, and use them to solve tricky puzzles. Furthermore, you can read Nobodies: After Death Overdraft Walkthrough Guide to find all the solutions and answers.
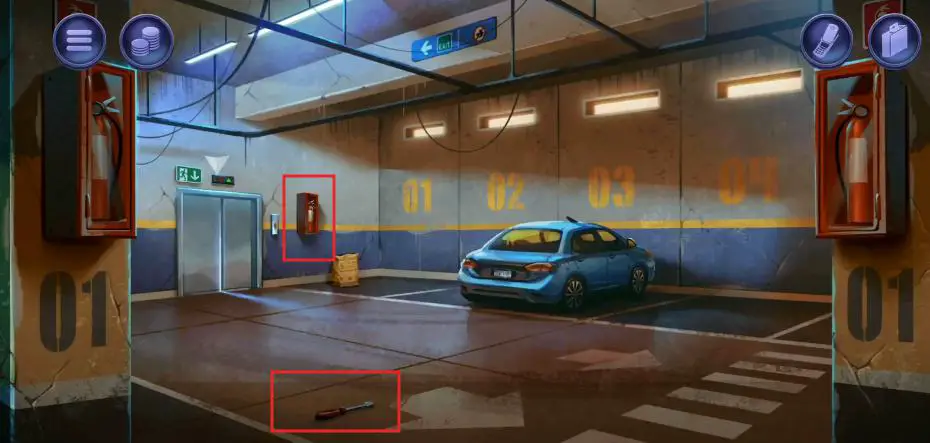
- First, pick up the Screwdriver from the floor and head to the door to discover the Bag of Lime and Fire Extinguisher.
- Use the Screwdriver from the list to remove the car’s Side Mirror.
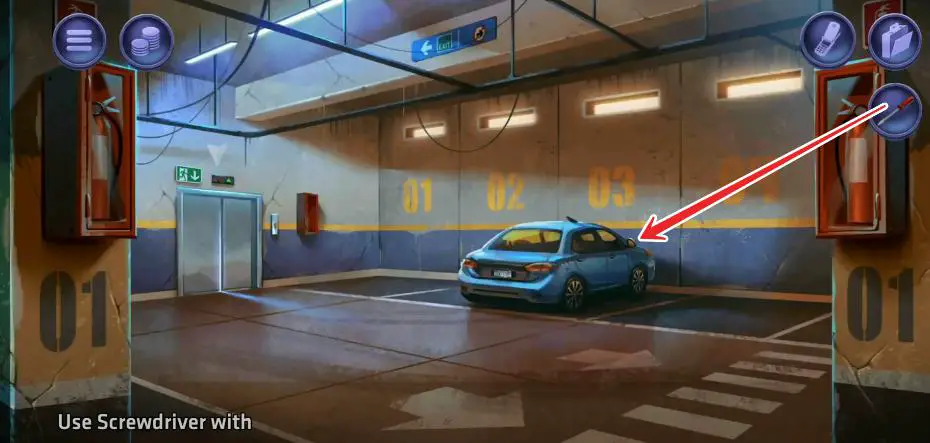
- Tap the elevator and enter the bank to find hidden objects.
Enter the Bank
- After entering the bank, tap the second counter to discover the Letter opener, and before leaving the area, don’t forget to obtain the Tape Dispenser.
Parking Area
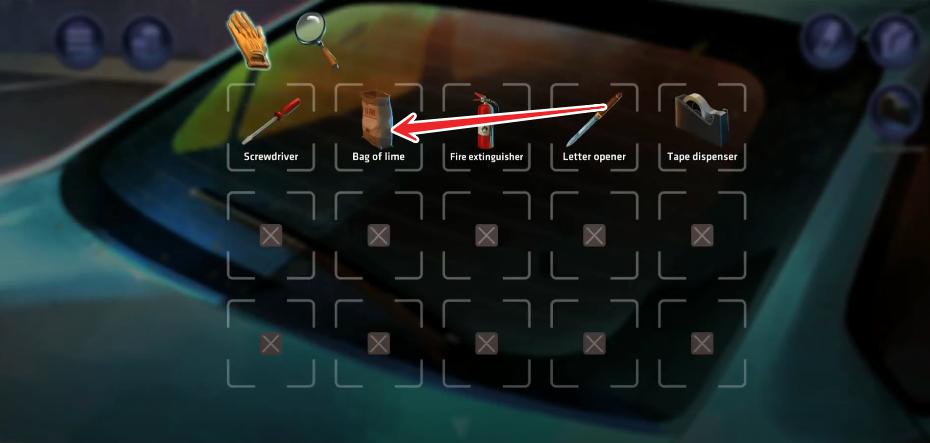
- Tap the blue-coloured vehicle in the parking area, and open your inventory to combine the letter Opener with the Bag of Lime to get the Lame of Powder.
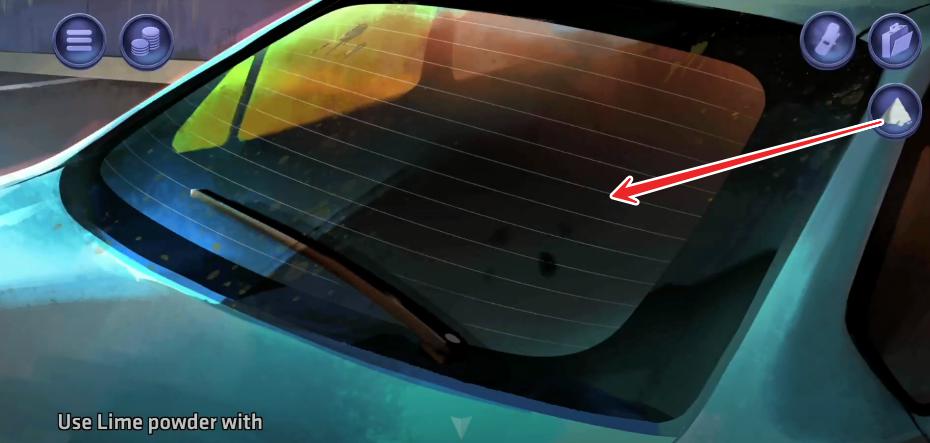
- Now, select the Lame of Powder and tap the back windscreen of the car to get the fingerprints from the mirror using the Tape Dispenser.
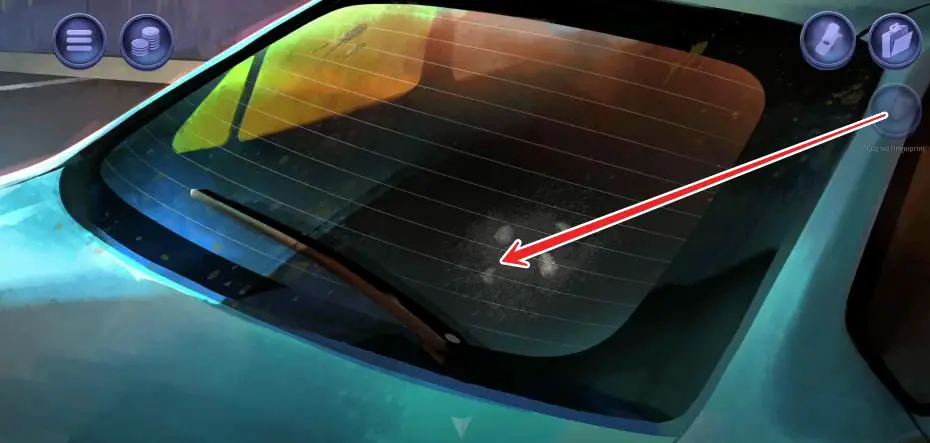
Return to the Bank
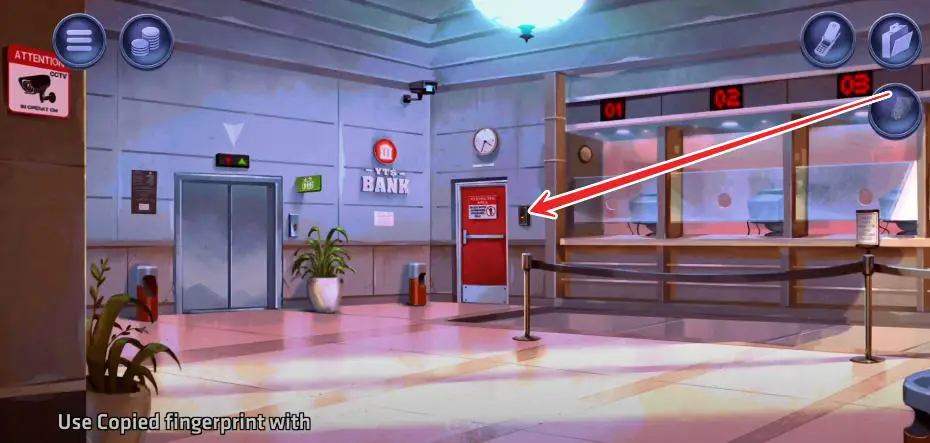
- Go through the elevator to enter the Bank, open your inventory to select “Copied Fingerprint,” and tap the device next to the red door to unlock it.
Restricted Area
- Tap the red door to reach the “Restricted Area” and use the Fire Extinguisher from your list to reveal the alarm system protected with laser lights.
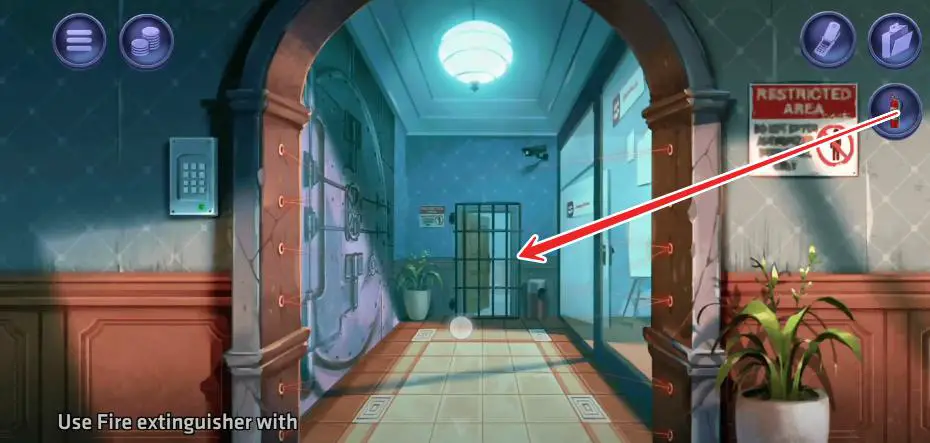
- Head to your list, select the Tape Dispenser and combine it with Side Mirror to get a Taped Mirror.
- Now, choose the Taped Mirror from the list to reflect lasers to the left side.
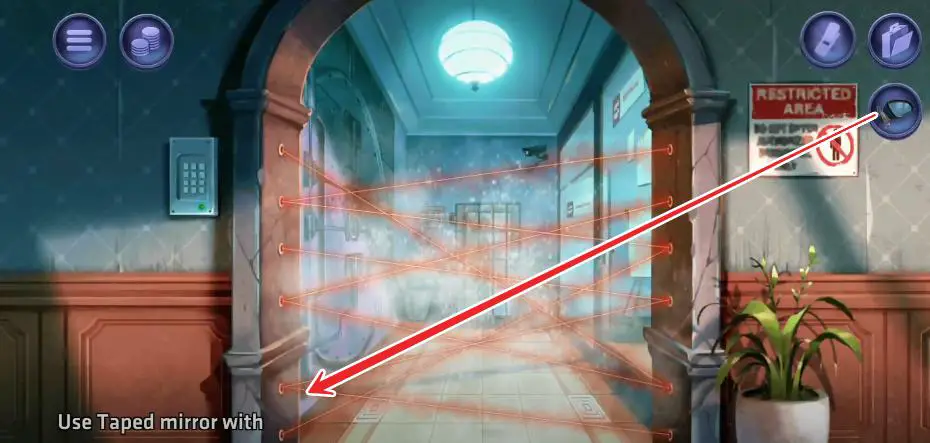
Locker Room
Tap the area behind the laser lights to get into the room, where you discover a Locker on the left and an office on the right.
Enter the Meeting Room
- Going through the right side door, you may enter the Meeting room where you must collect the following objects: An electrical Cord from under the table and the Box Cutter from the table.
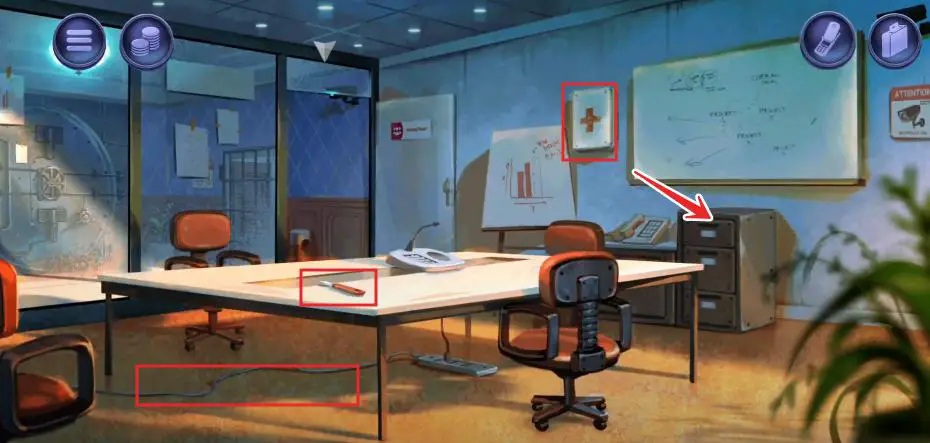
- To discover a hard drive, open the cabinet drawer under the whiteboard and open the first-aid box to obtain the stethoscope.
- Leave the Meeting Room and head to the door between the room and the locker to get the keys.
- First, you must open your inventory to open the hard drive for the magnet using the Screwdriver. Second, use the box cutter to unplug the electrical cord. Third, combine the magnet with the stripped electrical cords and get the key from the table.
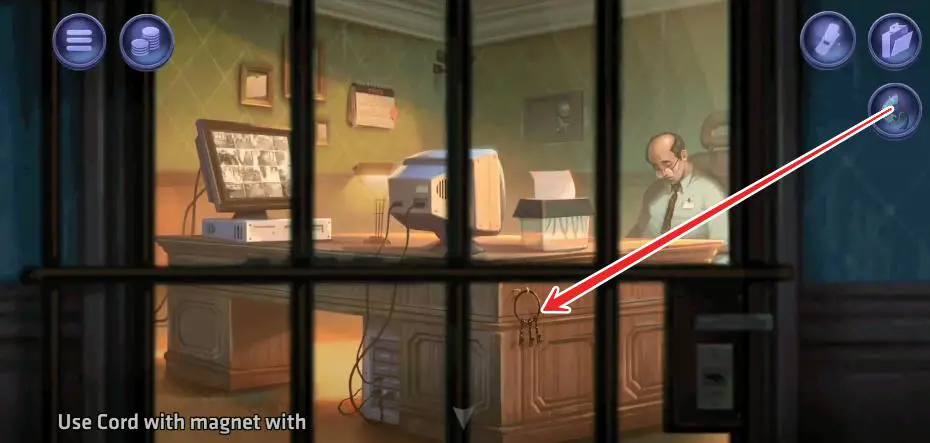
- Use the key to open the door and go through it to enter the room.
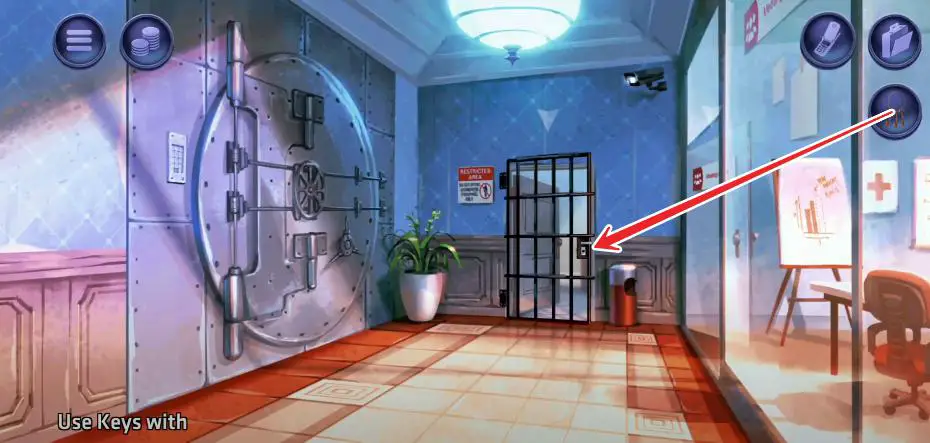
Explore the Office
- Once you enter the office, tap the box on the table and try to get the numbers to look like dates: 06-03-94 and 05-02-94.
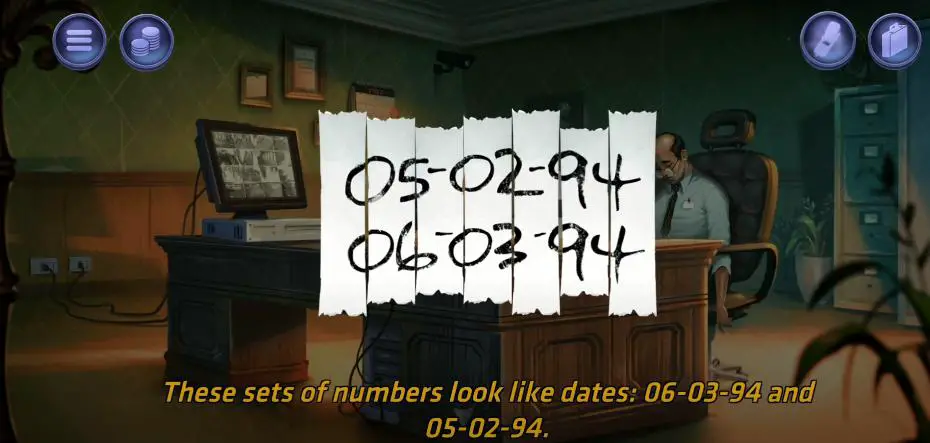
- Add the paper shreds to your inventory and search for other items.
- Tap the monitor on the left side to discover the Video Tape and keep it in your inventory.
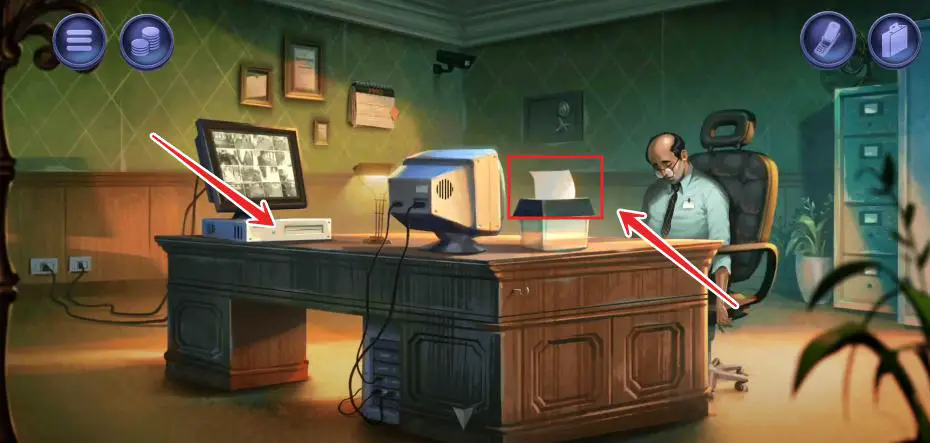
- After that, use the Letter Opener with the Cord with Magnet to separate both items (Magnet and Electrical Cord).
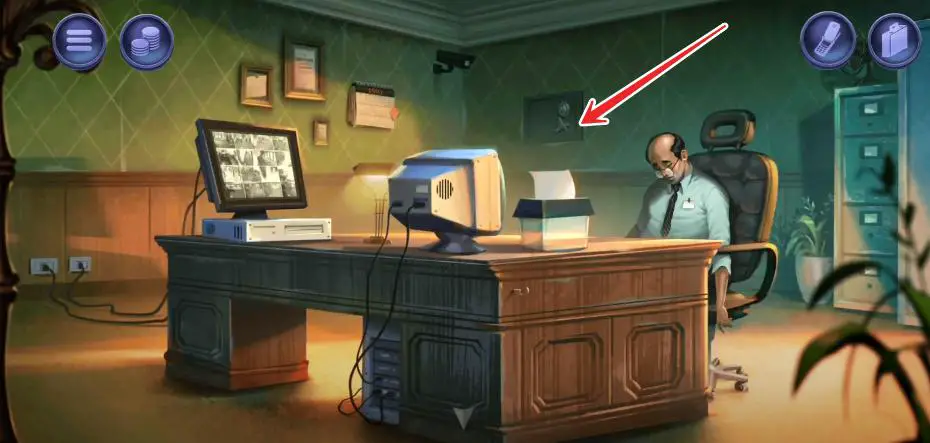
- Now, put the magnet back into the hard drive and tap the vault fixed in the wall.
- You must set the rings to unlock the vault as shown in the image below.
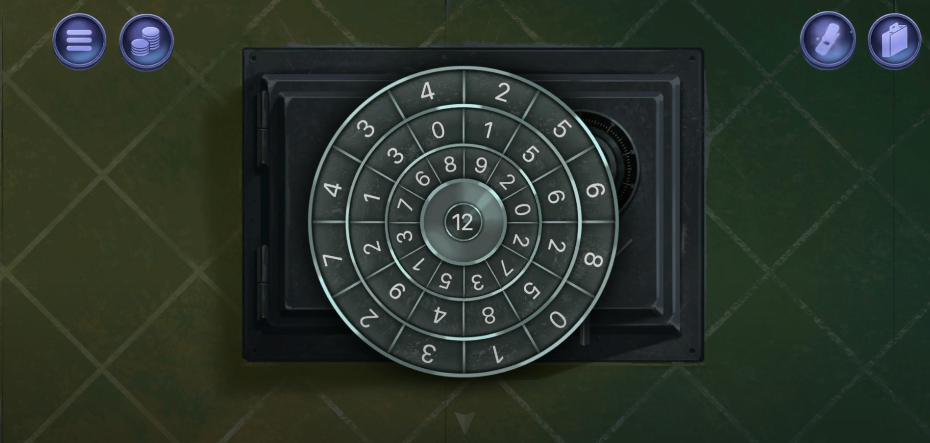
- After that, obtain the key and the passport from the vault and add them to your list.
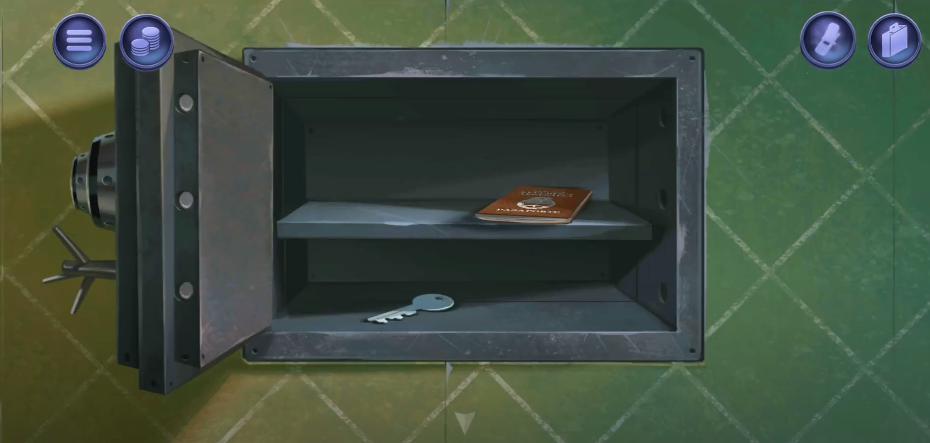
- Before leaving the room, don’t forget to collect the deceased from the chair and put it in your vehicle.
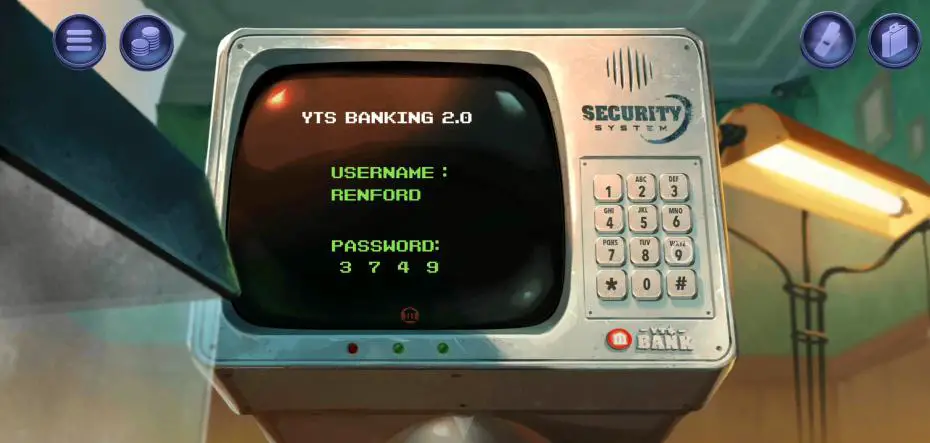
- Next, tap the PC on the table and head to your inventory to find the username and password from the passport. However, you first have to analyze it to get the username for the passcode (3749).
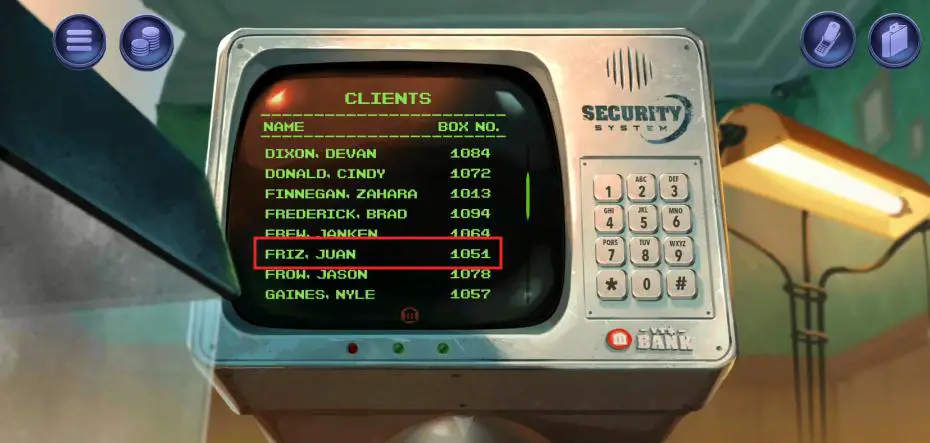
- Now, scroll up the screen to discover the username (Friz Juan) and the number next to the name (1051).
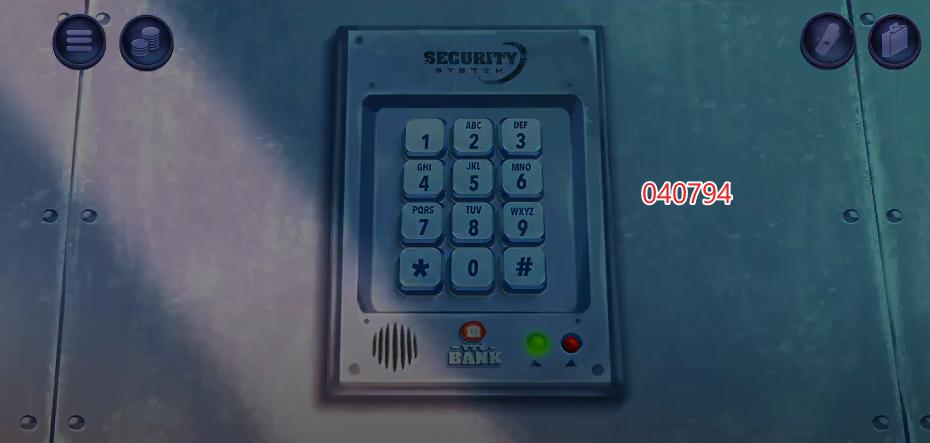
- Open your list again, and select the analyze button to investigate the paper shreds for a passcode (040794) to unlock the locker.
Leave the Office
- To leave the office, tap the back button, tap the locker on the left side, and head to the security device.
- Enter the code (040794) to open the locker and get into it to find a file.
Enter the Locker
- Enter the locker, open your inventory to select the key, and open the locker (1051) to discover a trunk.
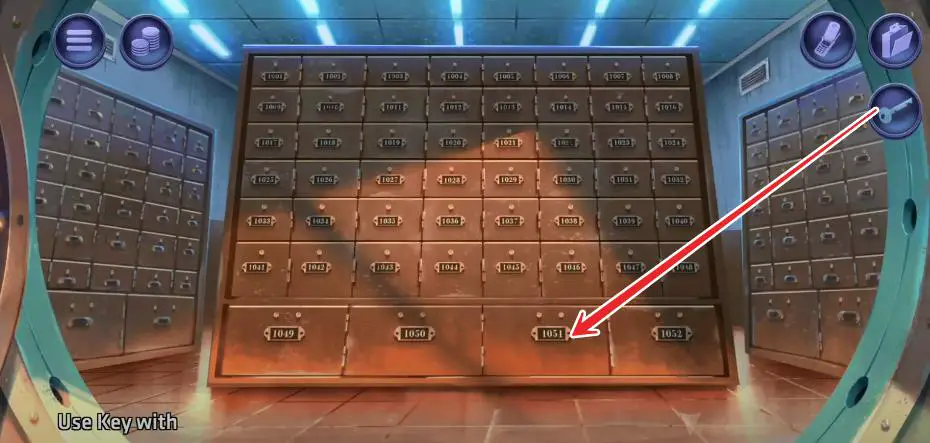
- You can’t pick up the trunk until you keep your collected items back in their position. So, go to the meeting room, select the Box Cutter and keep it on the table.
- Now, enter the locker room to obtain the trunk and put the dead body into it. Next, drag the Bag of Lime and Passport from the list and put them into the trunk.
- Afterwards, keep the trunk back in its place and close the locker using the key.
- Leave the locker and enter the office to leave the items where you picked them.
- Go to the Meeting Room and keep the Electrical Cord, Hard Drive, and Stethoscope back in their places.
- Now, leave the meeting room and enter the office to keep the paper shreds in the box and the tape in the computer.
- Leave the office, close the door using the key, and keep the keys on the table.
- Hit the back button, return the mirror to your inventory, and reach the hall. Your objective is to keep the Tape Dispenser and Box Cutter on counters 1 and 2. Before leaving the area, remember to put the key into the dustbin.
- Go to the parking area, select the mirror and attach it to the car, put the Screwdriver on the floor, and keep the fire extinguisher back in its position to solve the puzzle.
That’s the end of Nobodies: After Death Level 12 Walkthrough Guide.
Read More: |Operation 1 – 2| |Operation 3| |Operation 4| |Operation 5| |Operation 6| |Operation 7| |Operation 8| |Operation 9| |Operation 10| |Operation 11| |Operation 12| |Operation 13|

 CodyCross Answers
 Daily Themed Crossword Answers
 Top 7 Answers
 Word Craze Answers