Introduction
Walkthroughs.net is back with the release of Nobodies: After Death’s next operation (Wonderland). Previously, we have completed Operation Dead Drop and now releasing the guide to Operation Wonderland. Nobodies: After Death is an Adventure, Hidden Object, and Single-player video game that puts you into the role of a detective hired to investigate clues and dismantle the dead body.
Become a cleaner who works for a top-secret intelligence agency and embark on a journey to hide evidence of the planned murder. Before leaving the room, ensure twice whether all evidence has been removed. Furthermore, you can read Nobodies: After Death Operation 10 Walkthrough Guide to get all the solutions and answers.
Nobodies: After Death Level 10 Walkthrough – Operation Wonderland
Before starting the game, you should follow the instructions carefully as sometimes it comes with clues that help you solve puzzles. Besides Nobodies: After Death, Level 10 Walkthrough will help you find hidden objects. At the start, the game takes you to a wonderland where many rides and other things are available to interact with and solve puzzles.
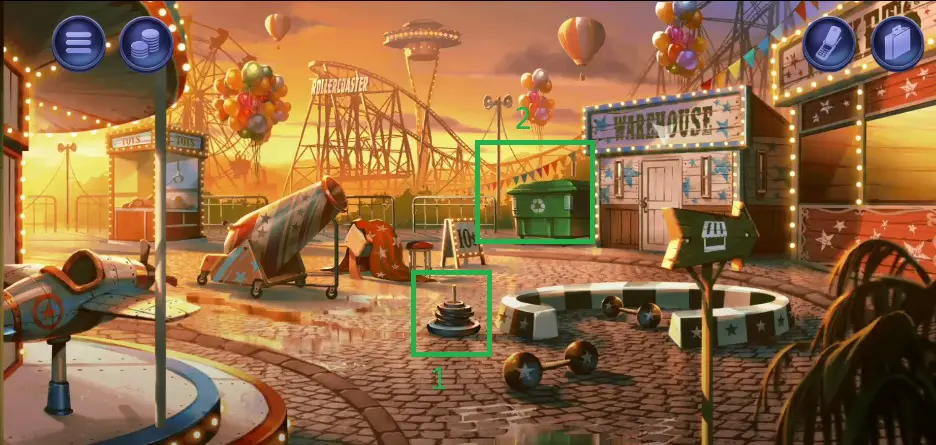
- At the start, add 5K and 10 Weights from amidst the area to your briefcase.
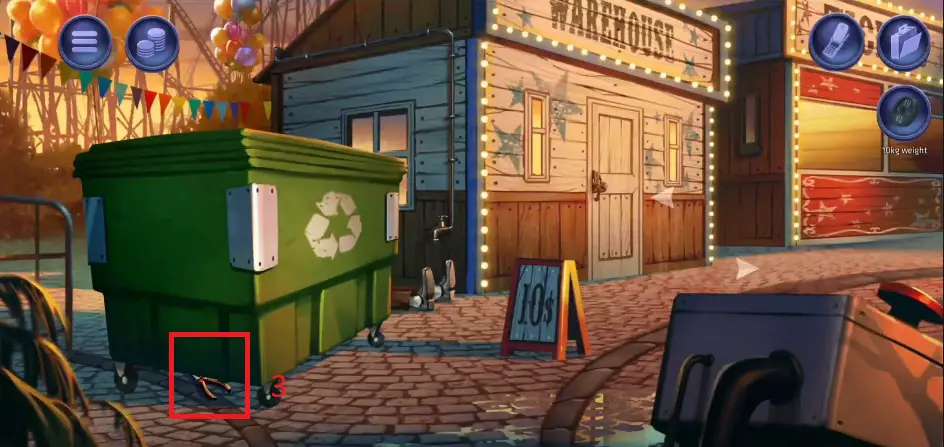
- Next, click the dustbin on the left side of the “Warehouse” and obtain a wire cutter from under the trash bin.
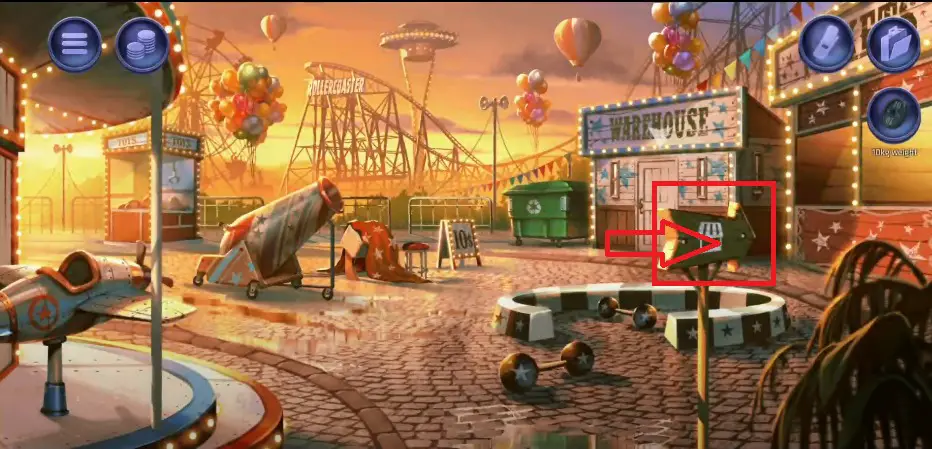
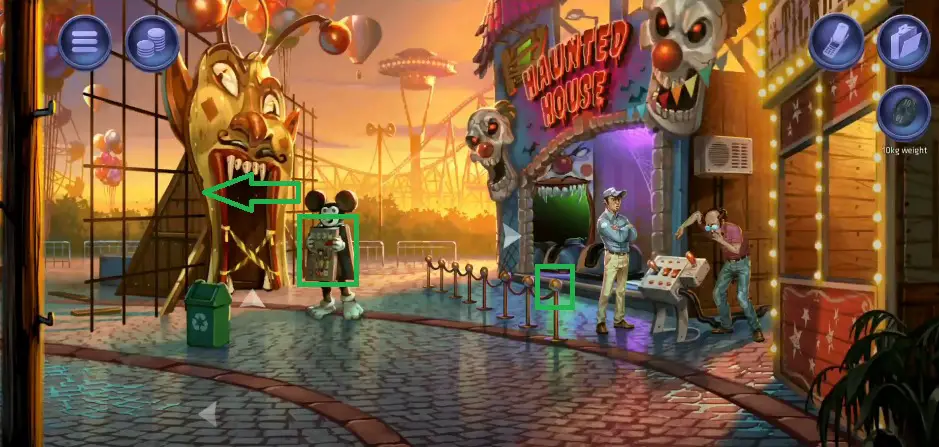
- Return to your initial position and hit the signboard pointing toward a counter where a man wearing the cap may welcome you.
- Once again, tap the signboard to reach the Haunted House tap the “No Go” area on the left side and go through it.
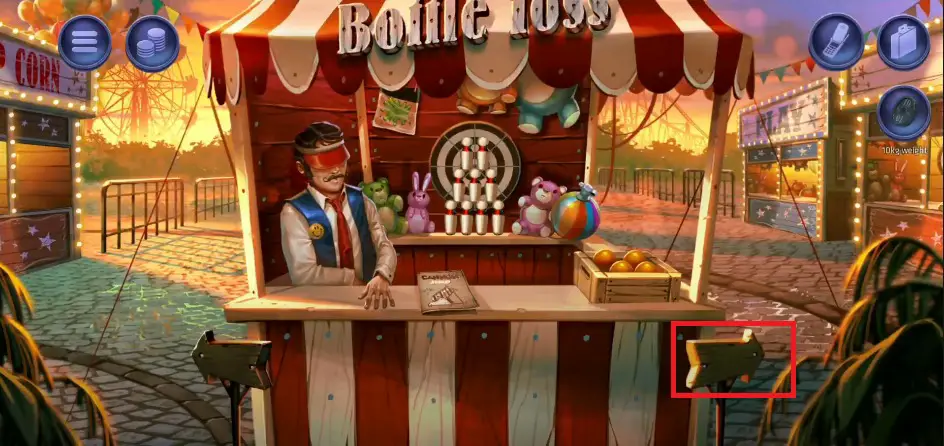
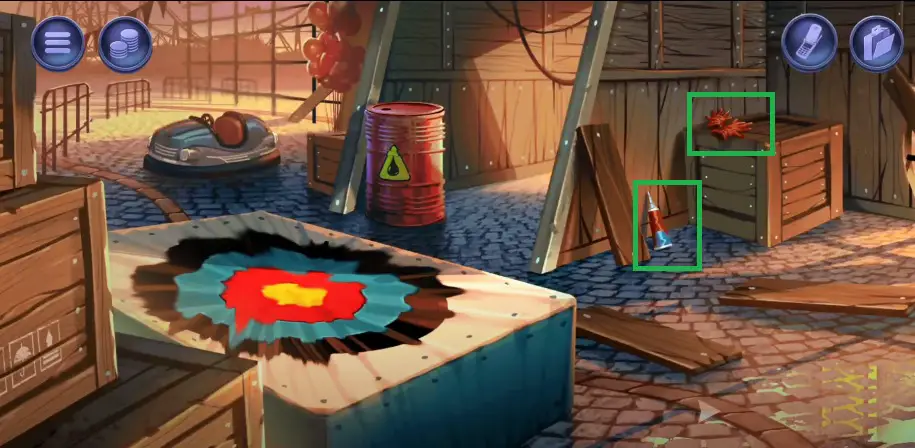
- Collect a caulk from near the plank on the right side and get the gloves from the box.
- Leave the area and interact with Mickey Mouse, who is standing ahead of the massive head to get the pin.
Open Your Inventory
- After collecting the hidden objects, open your inventory to combine the Pliers with the Souvenir Pin to get a Safety Pin.
- Once you have a Safety Pin in the inventory, return to the Warehouse and unlock the door to find hidden objects.
Return to Warehouse
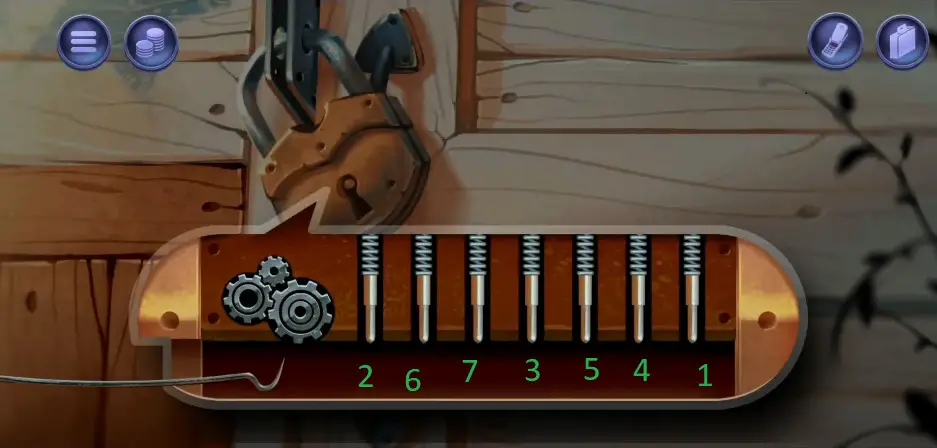
- Interact with the door and use the Safety Pin to unlock it by tapping the particular pins. Go through the door to reach the room.
- As you enter the room, you find yourself in a mess where many things are available.
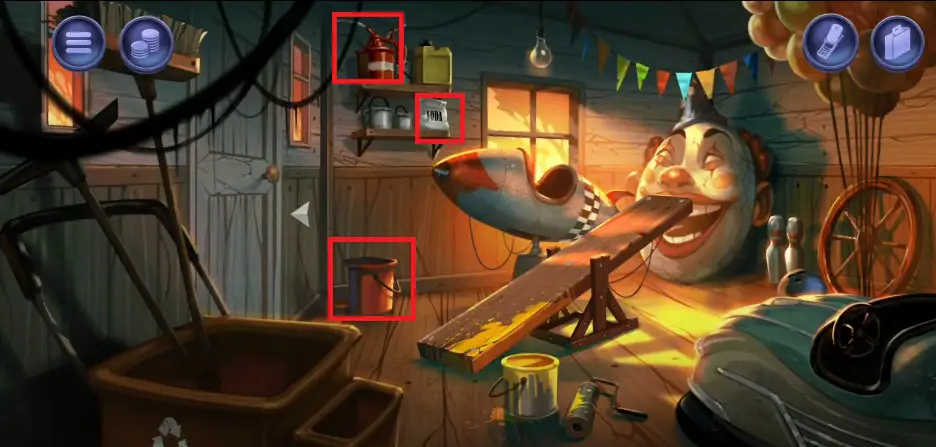
- Pick up a bucket from the left side, an Empty Oil Can from the rack, and the lye on the same side.
- Leave the room to collect the dead body from the right side of the trash bin and add it to your inventory.
- Go back into the room, open your inventory, select the dead body, and put it on the wooden frame.
- After that, open your inventory again to select the 50 kg weight and put it on the other side of the wooden frame. Next, choose two 10 kg weights and one 5 kg weight to check the body’s weight.
- Once you confirm, the body is almost 75 KG. Bring all weights back to your inventory along with the dead body.
Main Area
- Leave the Warehouse to reach the central area. Open your inventory, select the dead body, and put it into the cannon.
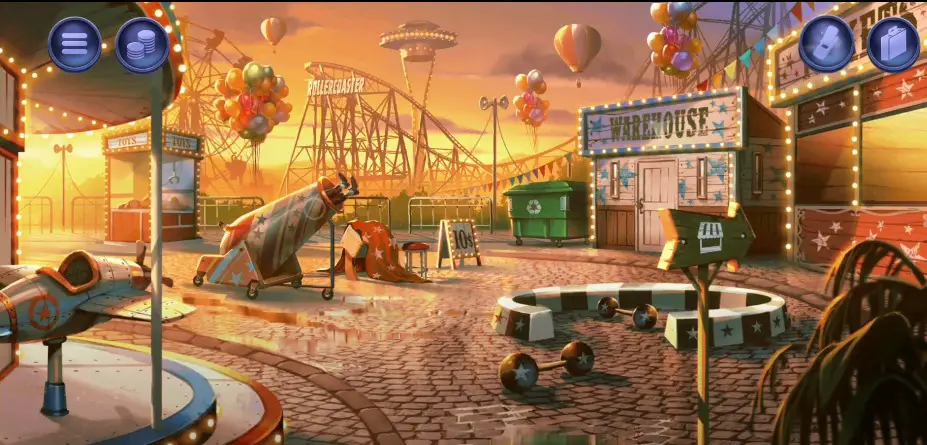
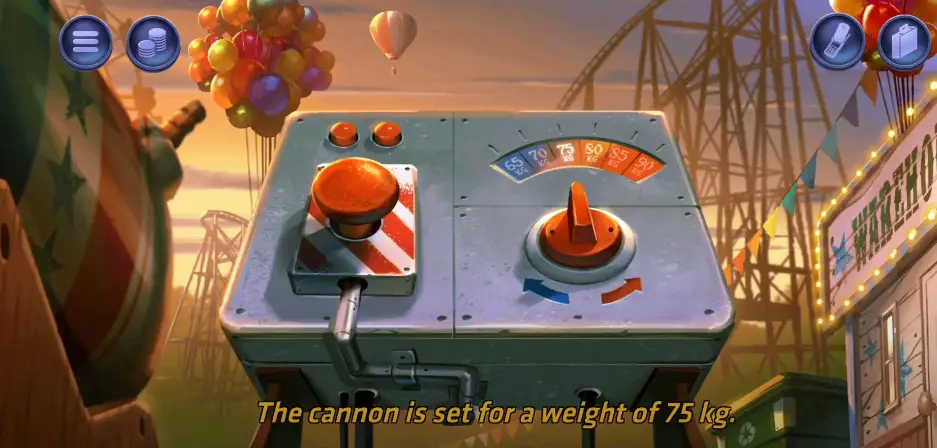
- Remove the red cloth from the controller and tap on it to set the weight.
- As you set the cannon for a weight of 75 KG, hit the red button to shoot the body. Before leaving the controller, don’t forget to get the weight machine back to 95 KG and cover the controller with the red sheet.
- Open your inventory and put all weights back where you picked them off.
No Entry Area
- Return to the No Entry Area after going through the Counter and the Haunted House. As you tap the No Entry Area, you may discover the dead body just landed there on the marked sign.
- Now, open your inventory to select the Pliers and use them to remove the drum’s lid. Select an Empty Oil Can from the inventory and fill it with gas.
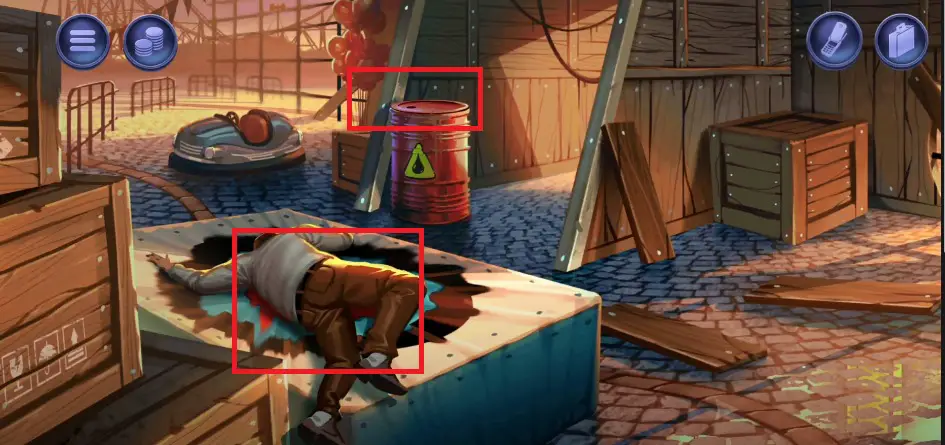
- Bring the lid back to the drum and use the pliers to tighten it.
- Leave the area for a while and head to the Haunted House.
Haunted House
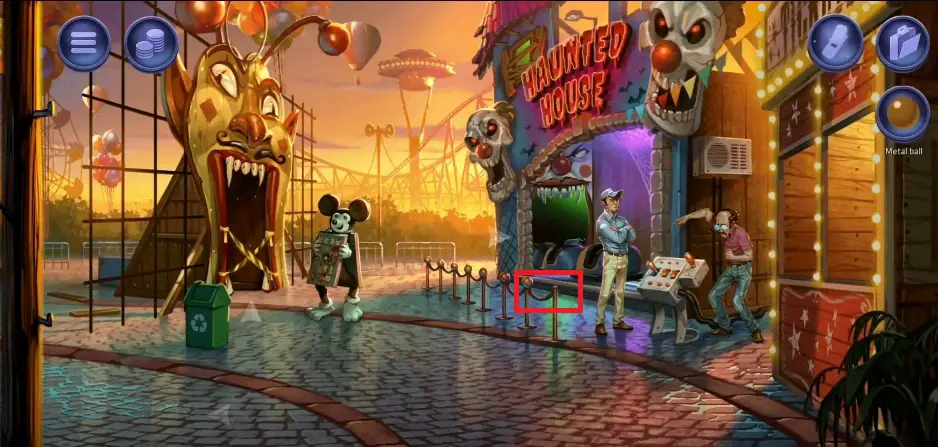
- Outside the Haunted House, you should open your inventory and combine the Wool Gloves with Caulk to get Non-slip Gloves.
- Select the Non-slip gloves to pick up the Metal Ball from the scene and add it to your inventory.
Go back to the Warehouse
- Return to the Warehouse and dip the Metal Ball into the paint box to get a Painted Metal Ball.
- Leave the room and head to the tap outside the Warehouse. Select the bucket from your inventory and fill it with water.

Head to the Counter
Leave the Warehouse to reach the Counter, where interacting with the man is mandatory as he might share information with you.
- Select the Painted Metal Ball and use it to break all the pins as the discussion ends.
- After winning the game, don’t forget to claim the “Fake Vomit” and your painted Metal Ball.
Visit Haunted House Area
- Go to the Haunted House after tapping the signboard on the right side and tap the controller after selecting the Fake Vomit.
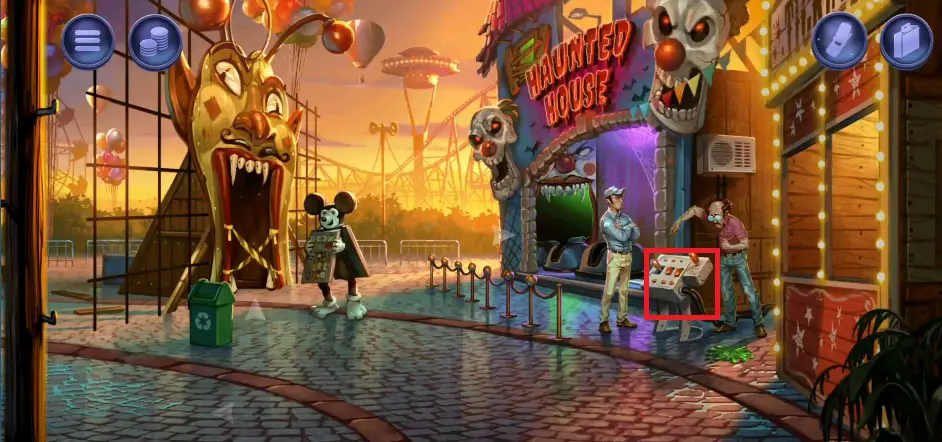
- After fifteen minutes, the attendant went home early, leaving you a few minutes to complete your objective.
Return to No Entry Room
- Go back to the No Entry Room, where you must pick up the dead body and keep the caulk along with Gloves back where you picked them up.
Enter the Haunted House
After keeping Caulk and Gloves back to their places, you should get into the Haunted House, where something creepy awaits you.
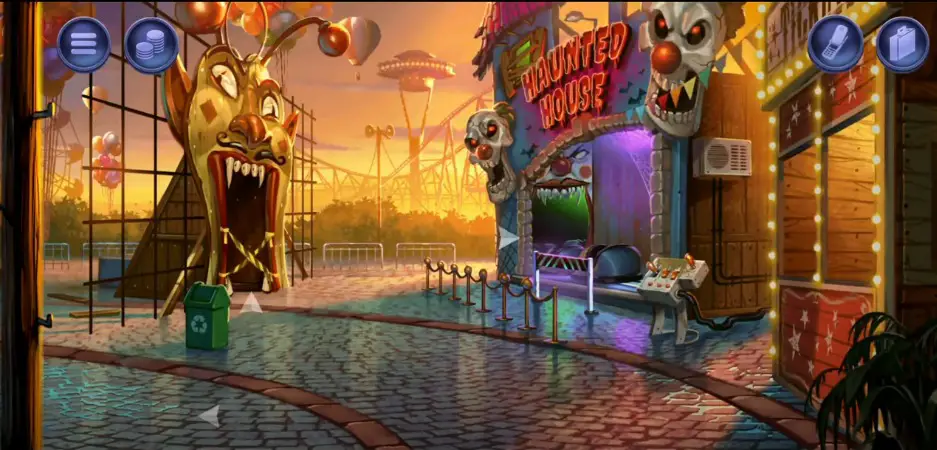
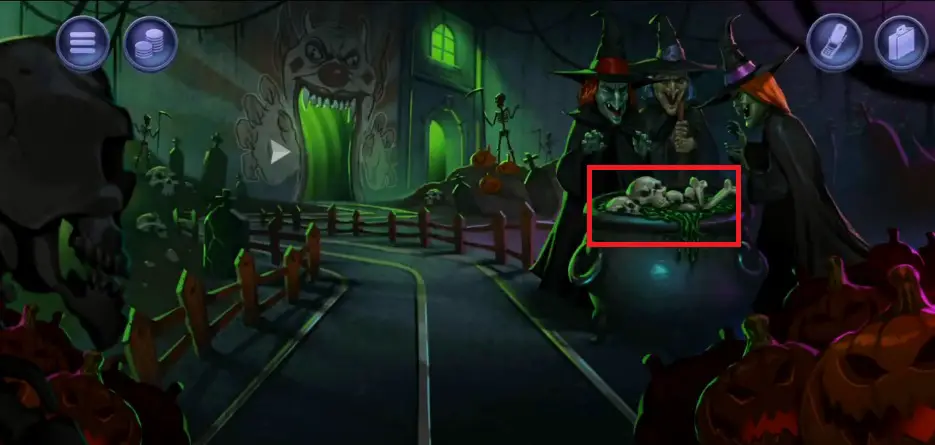
- Please pick up the Witches’ Brew from the pot and add them to your inventory.
- Open your inventory, select the dead body, and put it into the pot. Now, fill the pot with water and pour the Lye into it.
- Cover the Lye with Witches’ Brew and leave the room in the next step.
Keep the Pliers Back
- After putting the body into the pot, you should return to keep the pliers under the Trash bin and enter the Warehouse to keep Lye, Empty Oil Can, and Bucket where you picked them up.
- Leave the room and head to the tap that you can use to clean the Metal Ball.
- Return to the Entrance of the Haunted House and keep the ball where you picked it up.
Once you have kept everything properly and dismantled the dead body, you are done. That’s the end of Nobodies: After Death Operation 10 Walkthrough.
Read More: |Operation 1 – 2| |Operation 3| |Operation 4| |Operation 5| |Operation 6| |Operation 7| |Operation 8| |Operation 9| |Operation 10| |Operation 11| |Operation 12| |Operation 13|

 CodyCross Answers
 Daily Themed Crossword Answers
 Top 7 Answers
 Word Craze Answers