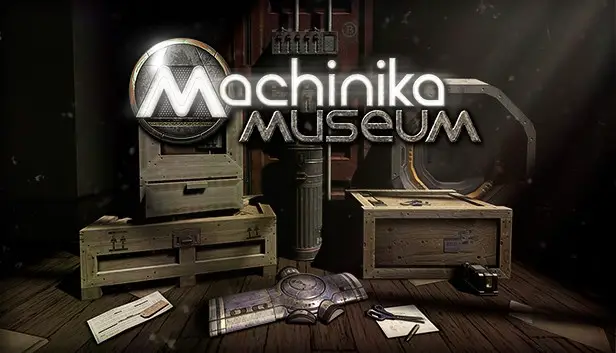
Machinika Museum introduces thrilling gameplay with unique puzzles and fabulous graphics. You are in a world fully loaded with mysterious machines that might be out of order. Your job is to navigate the world from the protagonist’s eyes and search for clues to solve puzzles.
Fixing machines and bringing them to life are your primary goals; however, solving puzzles may help you complete levels. At Machinika Museum, you can test your logic and sense of observation when finding ways to fix the machines surrounding you. This is designed for those people who love to play with nice stories fully loaded with brain teasers. It offers a blend of Puzzles, Adventure, and Exploration.
Machinika Museum Walkthrough Chapter 3
Go through a mysterious atmosphere and experience the beautiful visuals, cryptic alien machines, and a well-written storyline. If you aren’t good at English, it supports a few more languages, including Spanish, French, and German.
- Zoom in on the box that is on the table. Take the keys and separate them from the key ring. Read the note. Use one of the keys to open a compartment and collect another note through inserting it into a keyhole located on its side.
- Switch to another side of buttoned box. Apply clue from note by pressing buttons in correct sequence to open two holes for keys insertion.
- Copy print off angular key, and then use both keys on top of box to unlock it.
- Inside, use a pen to press some console’s buttons according to red pin locations viewable via miniature camera.
- Use your pen to lift up the cover and find there an advanced scroll which was locked.
- Rotate scroll using anti-gravity field – turn three cylinders with purple squares around them so that they align with this indicator made from metal whose indicators are shown as red slider being manipulated while rotating cylinders.
- Unlocking the scroll reveals nothing inside; slightly rotate it, revealing screw requiring special screwdriver from inventory.
- Unfasten screws using the high-tech screwdriver by matching symbols on screws until metallic ball is revealed beneath them.
- Duplicate metallic ball with printer, put both in slots near arrows-infested signs, and insert into scroll after directing each other properly
- Switch on the scroll; draw adjustments should be done by switches, join them together and watch a spaceship take form as parts unfold themselves upon pressing combine.
Congratulations! You have completed the Chapter 3.


 CodyCross Answers
 Daily Themed Crossword Answers
 Top 7 Answers
 Word Craze Answers