
Introduction
After completing Legend of the Time Stones Chapter 4, the game welcomes the Temple of War, where you are supposed to explore three different locations. You are now in a Temple to find hidden objects, search for clues, and solve mini-games to get answers. An evil sorcerer is about to create a disturbance in time and has trapped Ollie somewhere in the past.
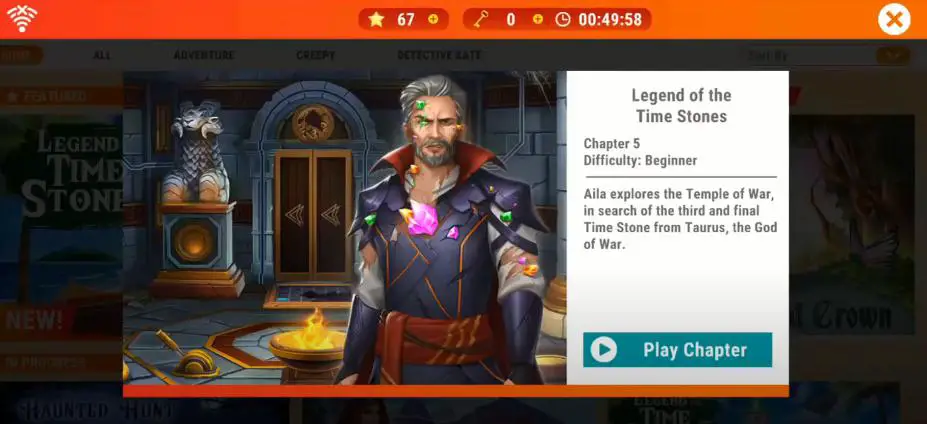
Aila is the only one who can restore everything; however, she can’t do it alone. Therefore, you must jump in to help the protagonist solve tricky puzzles. We have already completed the four chapters; now, releasing the Legend of the Time Stones Chapter 5 Walkthrough Guide to help you overcome all puzzles.
AE Mysteries: Legend of the Time Stones Walkthrough Chapter 5
Aila embarks on a journey to navigate the Temple of War to find the third and final time Stone from Taurus – the god of war. Finding hidden objects won’t be easy because you might have to travel between the past and present many times. The most tricky things in Temple of War are levers that must be pulled to open secret places.
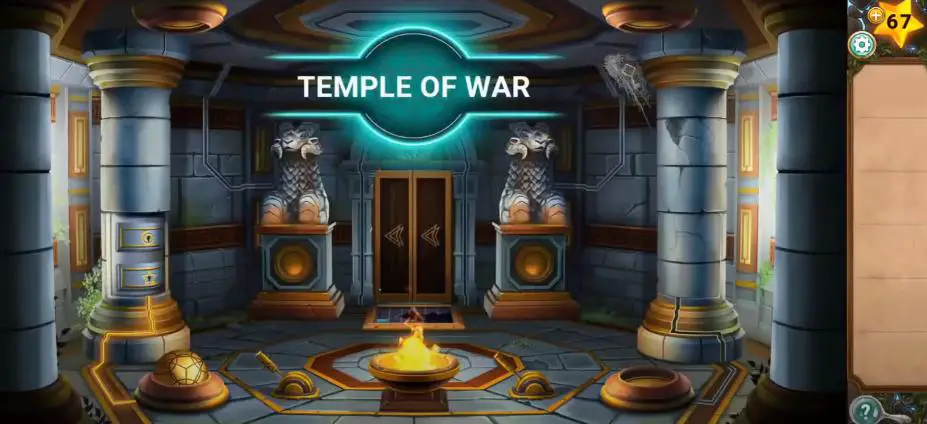
Temple of War
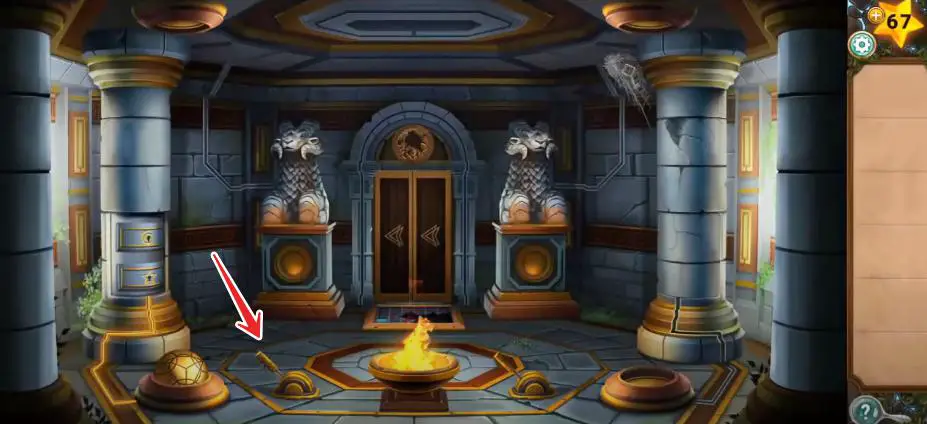
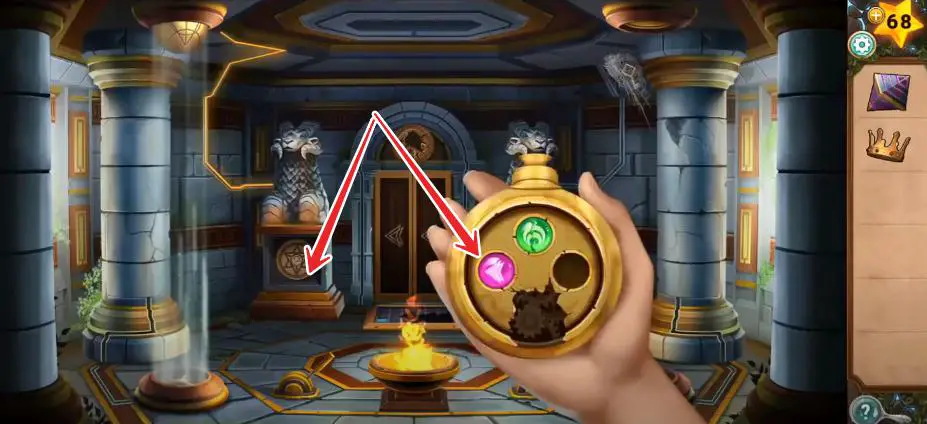
First, pull the lever on the left side to reveal the Star Stone under the statue and tap on it to discover the Rift.
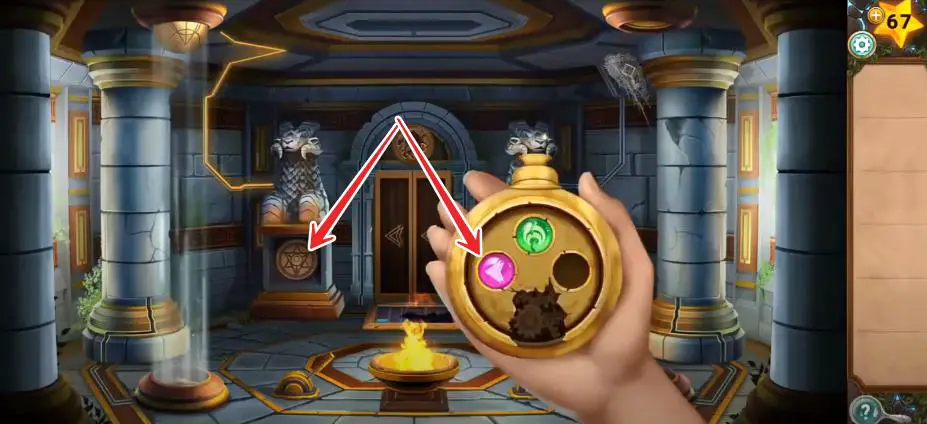
- Second, tap the Pink Stone on the Rift to discover the Past Scene and collect the following items: Spiral Key from near the door, the Crown from the Left Statue, and tap the Star Stone to turn off the Past picture.

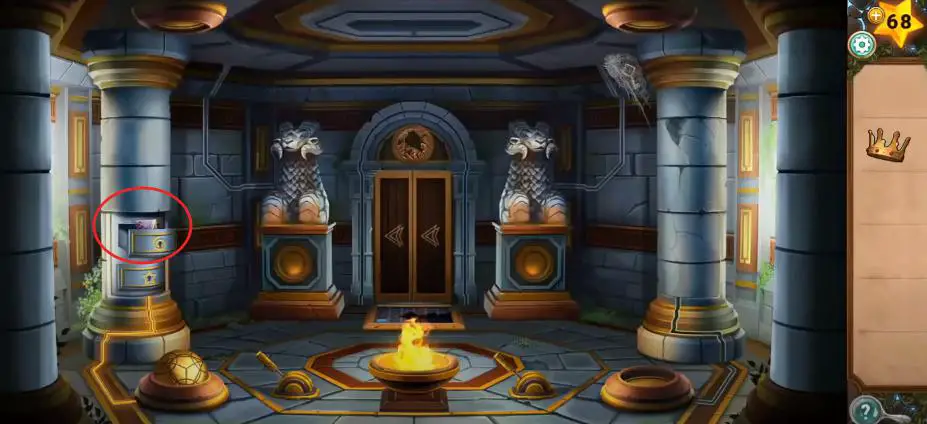
- Third, pull the lever to close the Star Stone and discover drawers on the Pillar on the left side.
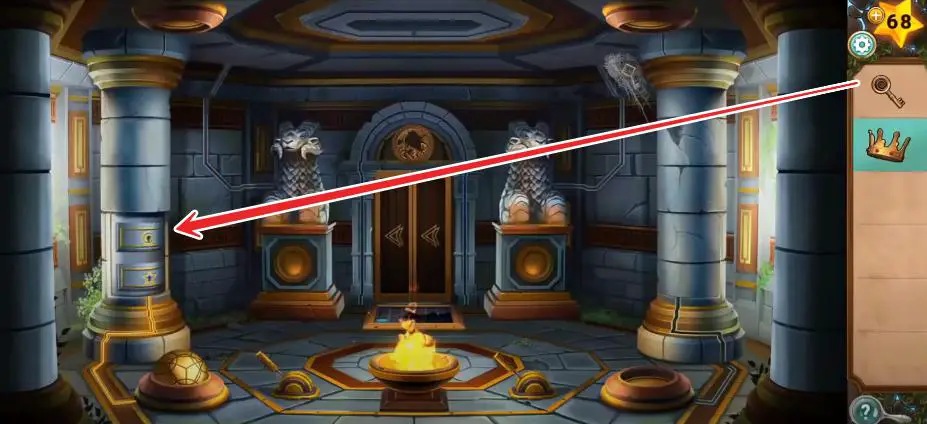
- Use the Spiral Key to open the first drawer to collect the Pink Crystal and add it to your inventory.
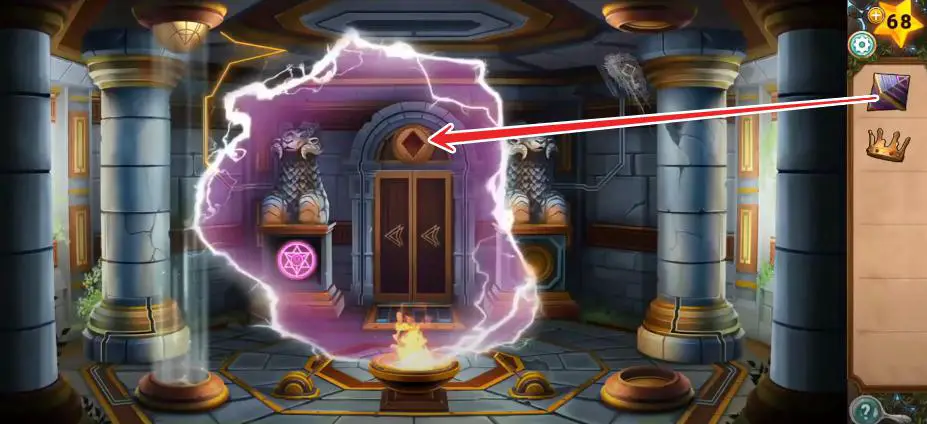
- Now, pull the lever on the left side to open the Star Stone and click on it to discover the Rift.
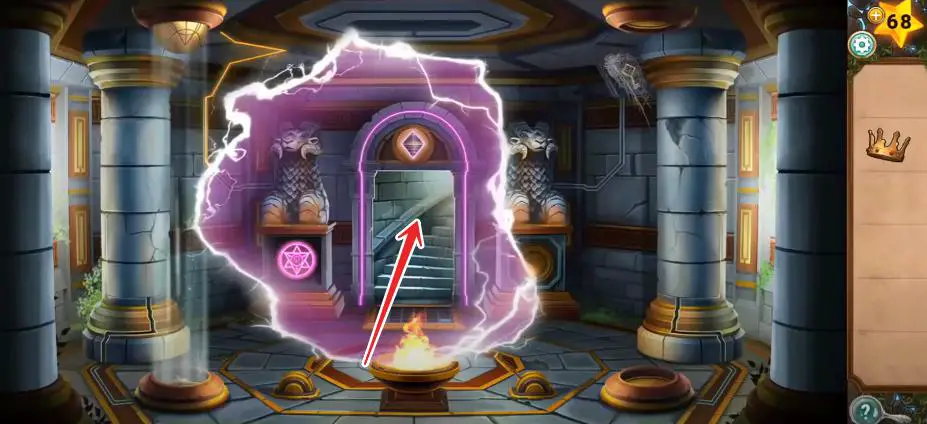
- Tap the Pink Gem to reveal the past and put the Crystal at the top of the door to open the passageway.
- Click on the doorway to get into the Second Room.
Second Room
- After reaching the second room, your ultimate goal is to pull the lever and open the painting behind the king sitting on the chair.
- Select the crown from your list and place it on the head of the person to get Bow and Arrow.
- Pull the lever once again to close the painting and tap the Star Stone on the left side to discover the Rift, tap the Pink Button to see the past, and collect a Star Key. Before leaving the second room, don’t forget to pull the lever from the left side to the right side.
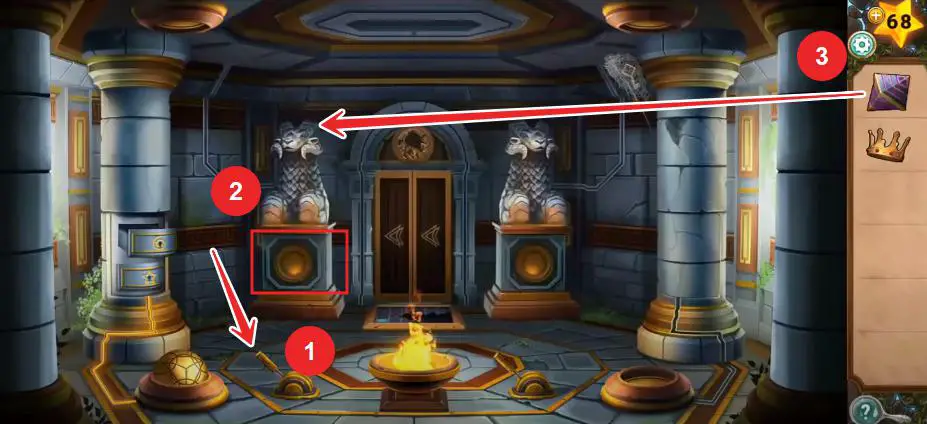
- Go to the first room after going downstairs, pull the lever to bring the ball down, and open the second drawer using the Star Key.
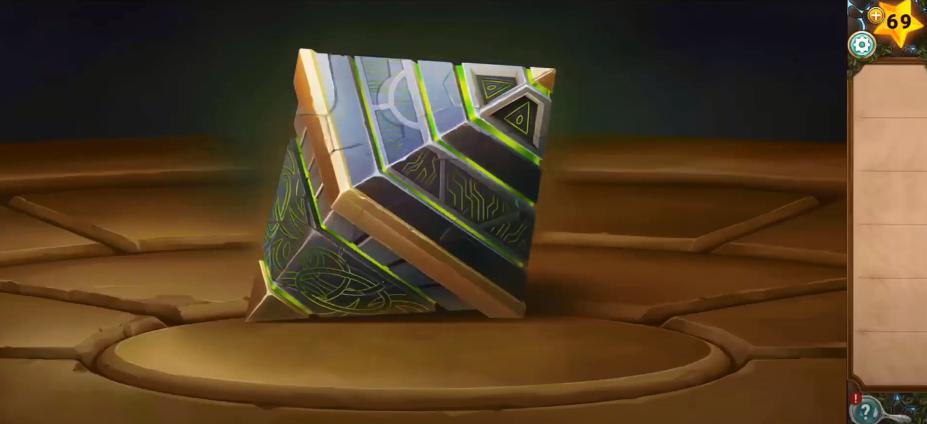
- Use the Star Key to open the drawer and get a Block.
- Select the Bow and Arrows and take them close to the fire to get Bow and Fire Arrows.
- Select the Bow and Fire Arrows and tap the cobweb on the top of the second pillar to get Diamond Key.
- Go to the second room, select the Bow and Fire Arrows to tap the cobweb on the right side to get another Block.
- Select the Diamond Key and unlock the Treasure Box to get the third block.
- Head to the table and place all three blocks to run a mini-game to arrange them into the correct order. Drag a block onto the other column and move it. Your objective is to arrange the columns and make a stack of four blocks high.

- Once you solve the block puzzle, another mini-game will appear on the board to reassemble the broken pieces by dragging them onto the crystal.
- After attaching all pieces, pick up the Green Crystal from the table and keep it on your list.
- Pull the lever at the spot, select the Green Crystal and place it on the left side door. Take downstairs to reach the first floor and pull the lever to reveal the Star Stone.
- Tap the Star Stone to discover the Rift, and click on the Past Stone to collect the Pink Crystal from the top of the door.
- After tapping the lever, go to the second room, select the Pink Crystal, and place it on the door on the right side to unlock the passageway.
- Now, go through the door to discover the third room. Here, your goal is to pull the right-side lever and go to the second room to find a book on the floor. Tap the floor to get the Piano Book and keep it on your list.
- Before leaving the second room, don’t forget to tap on the lever to bring the ball to the next floor and go to the third room.
- As you reach the third room, the piano keypad will unlock, and you can place the book on it to solve a puzzle.
- Press the following keys (7, 1, 2, 6, and 4) and get a Lever Handle.
- Go to the Second Room, select the Lever Handle, and place it on the mechanism on the right side.
- Pull the lever to the right side to open the secret section near the door of the same side to discover a Crescent (Moon Pendant).
- Go to the first floor, pull the lever on the right side to bring the ball down, and open the secret section to reveal the mini-game. Tap the pillar to play the game and try to set balls as follows: 5, 3, 1, 3, and 5.
- As the box opens, pick up the Mirror Shield from the box and keep it in your inventory.
- Before leaving the first floor, don’t forget to pull the handle on the right side again to release the ball.
- Afterward, go to the third floor, tap the lever on the right side to release the ball from this floor and it helps you open up the roof.
- Select the shield and place it on the platform to direct the light to the gem floating in the machine on the right side.
- Once you place the shield as mentioned above, it opens up another section on the right side to reveal the Sun Pendant.
- Now, your ultimate goal is to bring both balls down to the first floor and go to the second floor to close both levers.
- Go to the first floor, pull the lever on the right side to release the ball, and open the section under the dragon statue.
- Select Moon and Sun Pendants to collect the Taurus Figurine and keep it on your list.
- Now, move on to the third floor and bring both Golden Balls by setting their levers to reveal the Star Stone on the platform.
- Tap the Star Stone and click on the Pink Time Stone to see the past. Head to the board and place the Sirius Figurine to start the mini-game to use the figurine to push each block into its matching slot; meanwhile, hit the colored buttons on the right to turn the matching colored fans on or off.
- Once you solve the mini-game, the path ahead gets opened, and the time has come when you need to talk with Taurus.
- Go through the newly opened passageway to interact with Taurus and battle against the Sorcerer by merely tapping the Star Stones on the Taurus and matching the symbols.
- Collect the Future Stone and add it to your Rift.
That’s the end of AEM: Legend of the Time Stones Chapter 5 Walkthrough.
Read More: |Chapter 1| |Chapter 2| |Chapter 3| |Chapter 4| |Chapter 5| |Chapter 6| |Chapter 7| |Chapter 8|

 CodyCross Answers
 Daily Themed Crossword Answers
 Top 7 Answers
 Word Craze Answers