
Thousands of hidden object video games are available online; some are easy to play. However, some games are tough, and completing a small challenge can be a headache if you are out of ideas. Therefore, professional players worldwide are making guides, walkthroughs, playthroughs, and writing the best tips and tricks to help newbies learn how to survive and complete their games without wasting too much time. Similarly, newbies need the help of pro players to solve puzzles. Nowadays, the most challenging games of the hidden object genre are AEM (Adventure Escape Mysteries), Tricky Doors, and Tiny Room Escape Mysteries.
Indeed, you might have heard their names before because they are popular. We already have covered walkthroughs of all the games mentioned before. If you missed completing Boxes: Lost Fragments Chapter 1, jump back to our previous guide to learn how to solve puzzles. Boxes: Lost Fragments takes you to a lavish mansion and leaves you there to solve puzzles when assuming the role of a legendary thief. Indeed, you would be surprised to know why you are controlling a thief instead of a detective. This is the game’s theme, and developers might want to introduce something unique.
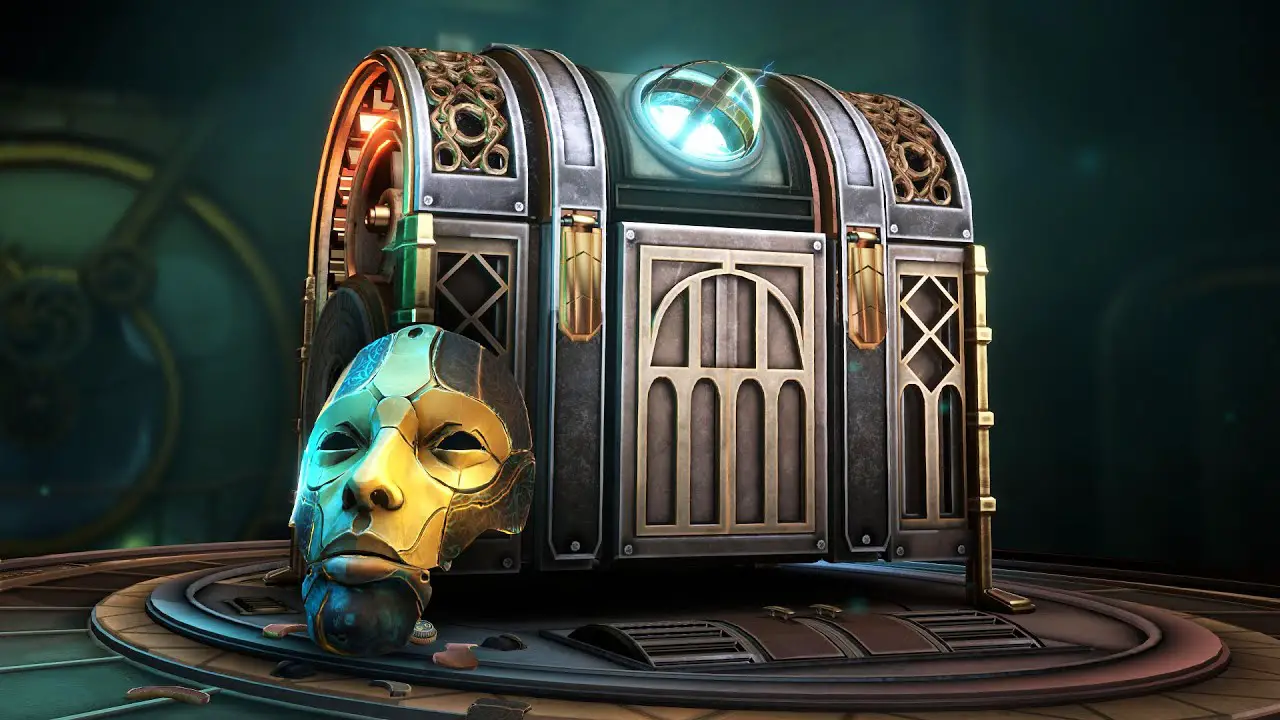
Boxes: Lost Fragments Chapter 2 Walkthrough
Several challenging puzzles are available; however, you must find items and add them to your inventory for later use. Your inventory will let you combine, analyze, and dismantle items to get something new. Besides, you can get help from Boxes: Lost Fragments Chapter 2 Walkthrough Guide to find solutions and answers.
- Traverse through the archway to solve the inaugural box within this new chapter. Positioned on one side, a glass case holds a screwdriver and a pair of glasses. Utilize the screwdriver to loosen the right optical lens, enabling its removal.
- Examine the face on the box closely, rotating the top of its head to unveil a concealed green button. Depress the button to unlock the box, revealing the gear puzzle concealed within. Solve it by adjusting the three pieces: bottom gear 1 turn, right gear 2 turns, left gear 2 turns.
- Upon opening the top part of the box, affix the lens onto the device. Transition to the opposite side of the box and manipulate the two clips upwards, followed by the two side pins, and finally, the last lock, pulling it downward.
- Employ the screwdriver to undo the two bolts, retrieving the broken mechanism. Position it beneath the lenses and peer through, adjusting the lens to zoom in as much as possible.
- Rearrange the pieces within the mechanism to ensure that the four blue light bulbs reach their designated positions, restoring the mechanism.
- Direct your attention to the other glass case and inspect the foot of the box below. Rotate it until a blue nub is revealed, which can be pulled to open the case. Clear the items inside to activate the switch.
- Rotate the shelves until a square on the left becomes visible. Beneath it lies a hidden rectangle that must be slid to the left to access and press the red button.
- Manipulate the small magnet until all lights illuminate green, then proceed to the next level.
- Pull the lever, revealing a plug. Drag it to the device where the hand is located.
- Activate the four buttons in the following sequence: 1st, 2nd, 4th, to open the hand and obtain the electric key.
Find the Second Box
- Transition to the second box. Open the space in the table on one side to retrieve a battery.
- Locate the drawer to the left of the globe on the table. Retrieve the globe and open it to reveal an intricate mechanism.
- Rotate the sides of the drawers to access the little doors within. Insert the battery and engage in the mini-game by aligning all the coloured lights.
- Press the green button upon completion and obtain the metal lever. Pull the nub on the circle on this side of the box and rotate it outward to access the tool. Remove the glass cap above and insert the metal lever.
- Slide it to the other side and insert the intricate mechanism into place. Rotate it to align the symbols on the side and press the green button.
- Utilize the tool to unscrew the cross screws on each side. Slide open the top parts to access the key.
- Insert the key into the designated area and retrieve the mechanism part. Move to the opposite side and place the part accordingly.
- Retrieve the mechanical sphere in preparation for the next box. Pull down the left side to retrieve the valve.
- Pull down the right side to retrieve the ornament.
- Examine the back of the box and insert the ornament into the missing spot. Retrieve the mechanical item and position it at the top of the box.
- Examine it closely and pull on the blue nub to open it up for further inspection. Utilize this opened item on the top of the box to unlock its contents.
- Manipulate the three wheels until you locate the two holes on each, enabling you to pull the lever downward.
- Position the valve on the designated red spot and retrieve the wrench. Employ the wrench to loosen the bolt on the red motor on the box’s side.
Solve the Puzzle
- Resolve the puzzle by pressing the buttons to align the pipes with the colors corresponding to the lights above.
- Take note of the positions of all three arrows on the pressure gauges: 5 o’clock, 1 o’clock, and 11 o’clock.
- Proceed to the area where the red valve is placed and adjust the pressure arrows to the correct positions: 100, 60, 40.
- Pull down the lever located on the opposite side of the box.
- Open the box’s rear panel and utilize the mechanical hand to retrieve the gears from inside the hole.
- Acquire the mechanical console in preparation for the subsequent box. Approach the front of the box and align the circles so that the blue lines match the adjacent symbols. Proceed to the top and manipulate the two sides to reveal the hexagon in the middle.
- Retrieve the bulb and position it in the missing spot among the lightbulbs. On the side opposite the lightbulbs, locate and pull down the two nubs to open and connect them to the + and – signs. Once all three symbols illuminate, pull the nub from left to right. Resolve the puzzle by correctly placing the symbols in their designated positions.
- Direct your attention to the side of the glowing globe and retrieve the fuse. Insert the fuse into the vacant spot on the side of the box. Retrieve the electric plug adjacent to the glowing globe, opposite where the fuse was found. Transition to the other side of the box, where a hidden button resides next to the four levers.
Set Four Levers
- Activate the button and pull the nub downward to flip over the panel. Return the panel to its original position to manipulate the four levers in the following sequence: 1st – 2 down, 2nd – down, 3rd – 1 down, 4th – 2 down.
- Open the electric plug and insert it into the exposed spot, then pull the lever on the right to secure it in place. Retrieve the power source and prepare to conclude this chapter.
- Position the mechanical sphere on one side of the room, where the large round door is located. Press the button to display the symbols on the screen: bulb – gear, fan – plug.
- Adjacent to you on the right side, insert the electrical key into the designated spot. Align the symbols to match the clue obtained earlier.
- Position the power source in its designated location to the right of this.
- Place the mechanical console behind you and press the buttons below to arrange the yellow and blue lights in the same order as the bulbs above.
- Once the big fuse connects with the large gear, proceed to the area where the power source was inserted and pull the lever. Shift the pieces aside to reveal the token. Place it on the table and advance to the third chapter.
Congratulations! You have completed the Second Chapter. If you haven’t completed Chapter 1, follow the link to jump and read the guide.

 CodyCross Answers
 Daily Themed Crossword Answers
 Top 7 Answers
 Word Craze Answers