

AEM: Canine Cases Chapter 3 brings new puzzles to your device to solve; however, being a detective isn’t easy, as you need to be intelligent, sharp, and quick. Several puzzles are available around you to solve, while the ultimate goal is to search for clues and hidden objects to reveal other locations and areas holding puzzles for proceeding through the plot. You assume a detective’s role is that of a dog; however, help from different animals is required during the journey. In AEM: Canine Cases Chapter 2, a squirrel helped out Alex. Along with the human companion, Alex must search for clues and solve mini-games. To solve the mystery, you must solve the case of Emily’s disappearance and unlock the next chapter.
Upon conducting an investigation, you may learn about a note in Emily’s dorm room about a meeting at the flower shop. When you reach there, the shop is closed in the dark alley. Discover the raccoon who can help you break in, and you will be responsible for finding the secrets inside. There are many other mini-games available to solve, and you must work your way to be the best detective. If you have been stuck somewhere in Chapter 3, don’t worry. Follow our guide, “Adventure Escape Mysteries: Canine Cases Chapter 3 Walkthrough,” which contains all the puzzles, solutions, and answers.
Adventure Escape Mysteries Canine Cases Walkthrough Chapter 3
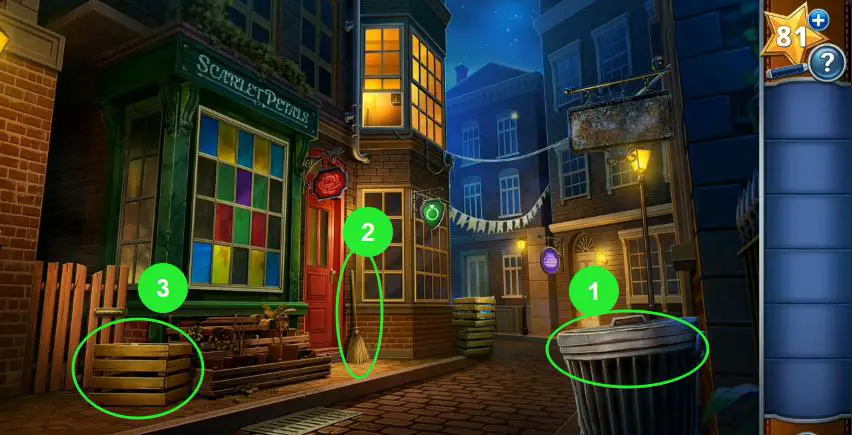
- The scene is set in a dark alley outside the Scarlet Petals flower shop, mentioned in the note found in Emily’s room. The door is locked, so exploring the surroundings is necessary to find a way in. Start by opening the trash can, where a raccoon is found.
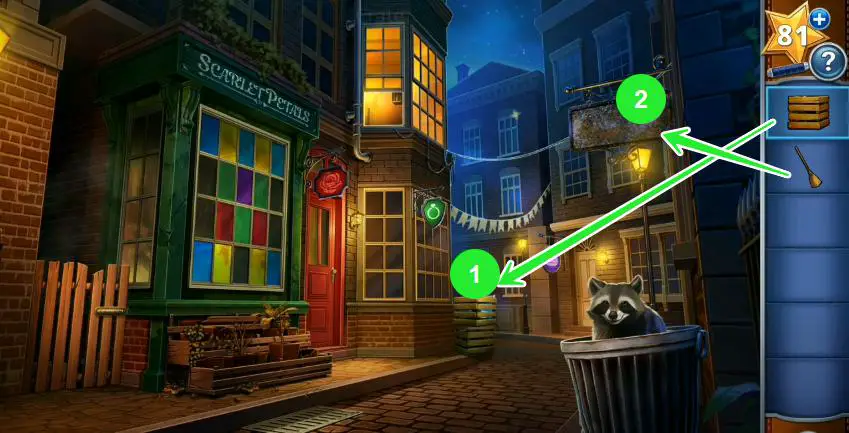
- The raccoon mentions overhearing an argument earlier. After the conversation, pick up the crate and broom. Please tap on the open window to ask the raccoon to climb inside, but he explains he can’t get in without help.
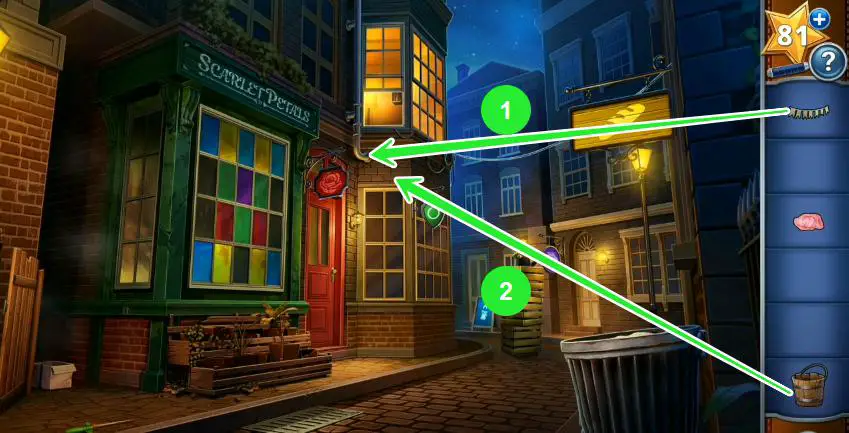
- Use the broom to clean the dirty sign, revealing a yellow loaf of bread. Stack the crate on the other crates, allowing the raccoon to climb up and retrieve the party flags.
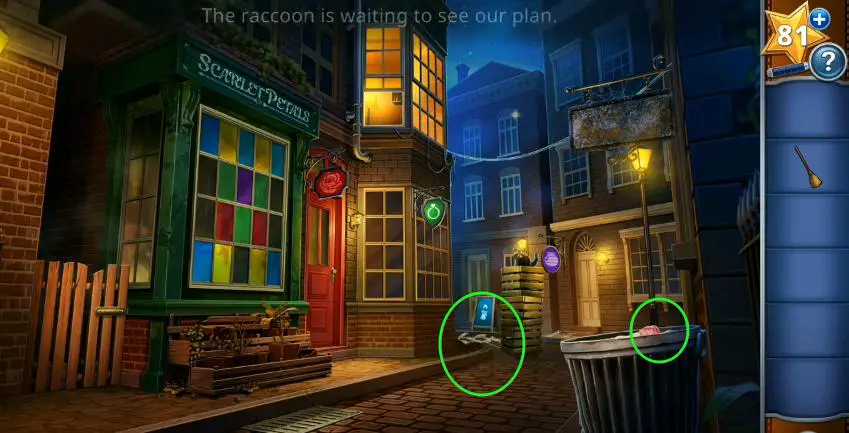
- Collect the flags and note the blue sign for a candle shop. Also, pick up the chewed gum from the trash can.
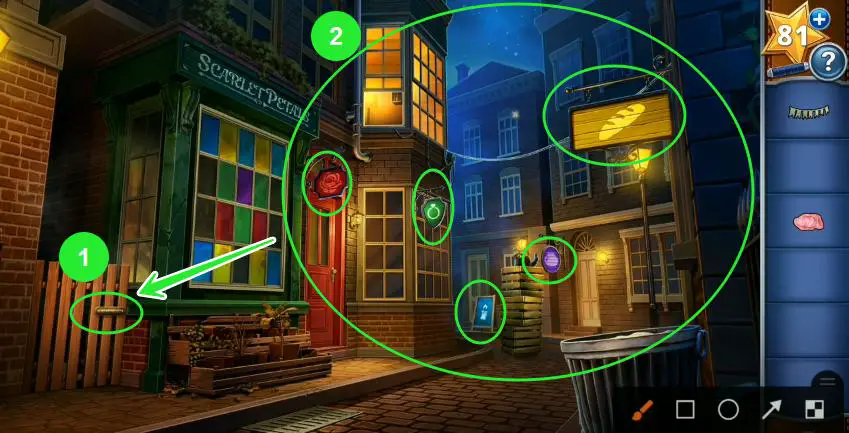
- Search for five colored signs and examine the stained glass window. Count the colors on the stained glass: 1 purple, two red, three green, four yellow, and five blue.
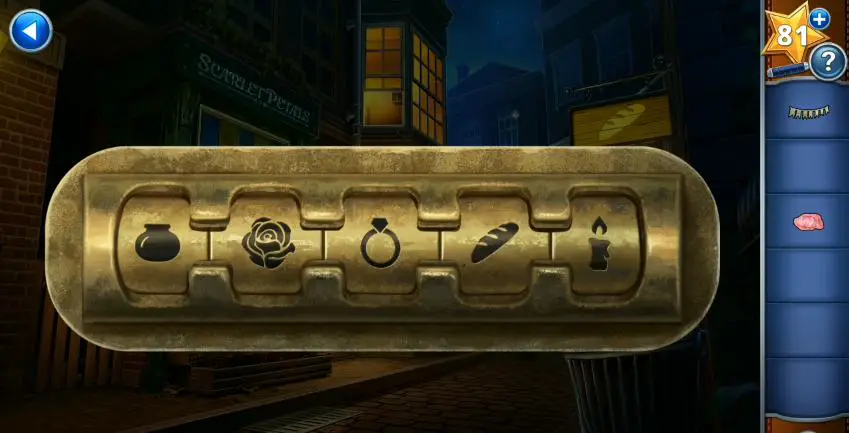
- Approach the locked gate and adjust the symbols based on the ones seen on the colored signs in that sequence. The final order should be pottery, flowers, jewelry, bread, and candles.
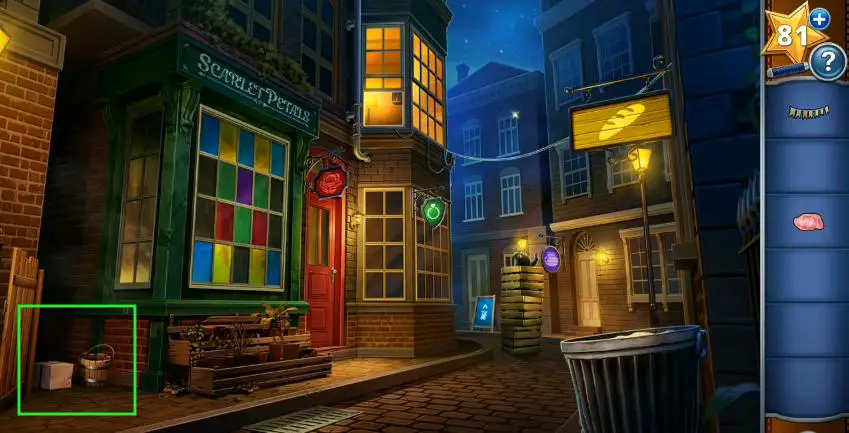
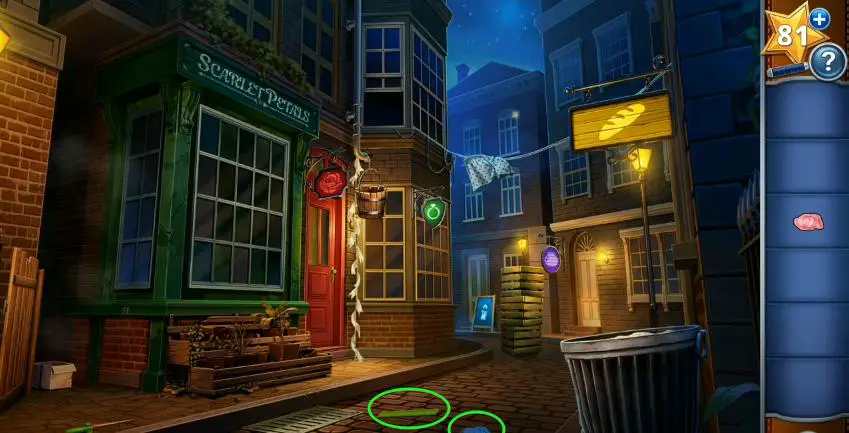
- Take the bucket and open the box to find a toy fishing rod, although it’s missing a fishing line. Tie the party flags near the open window and attach the bucket.

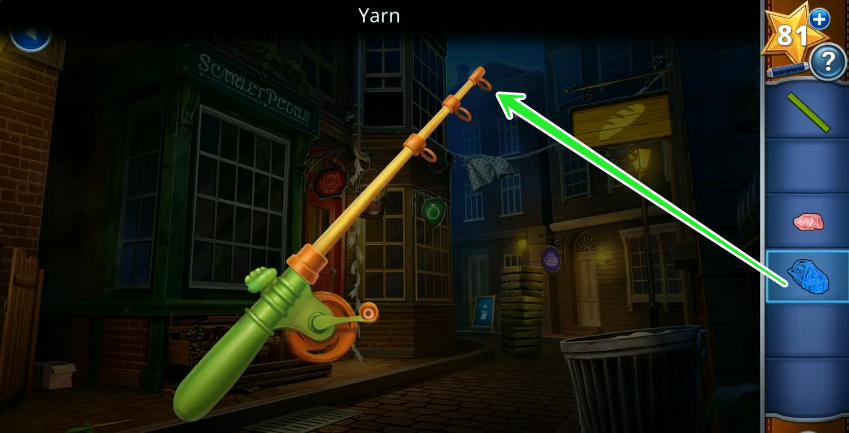
- The raccoon is hauled up, climbs into the window, and throws a few items outside. Pick up the ruler and the yarn.
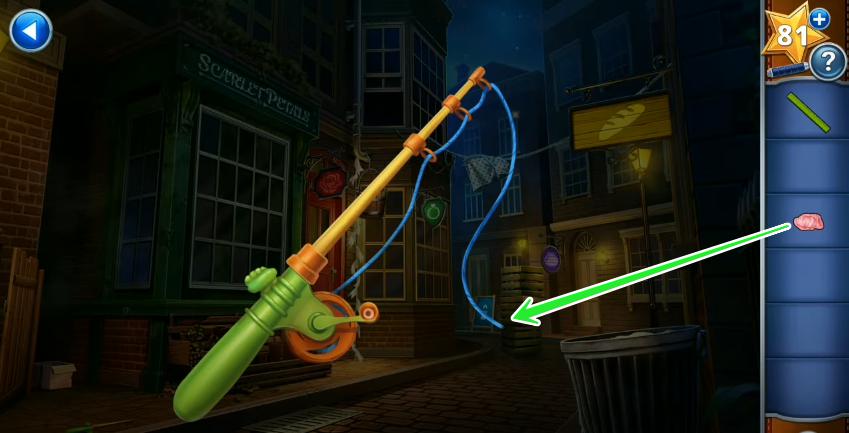
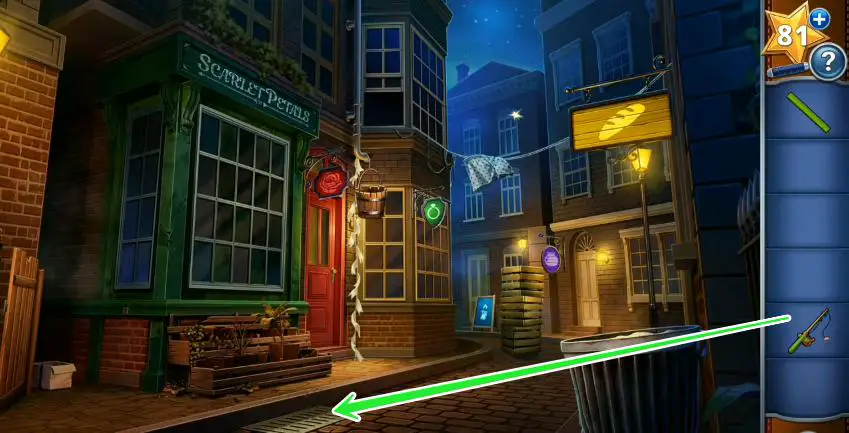
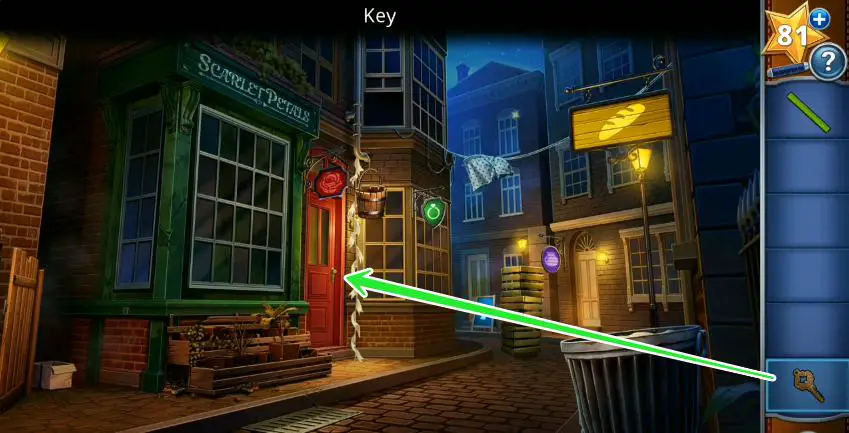
- Attach the yarn to the fishing rod, then add the chewing gum. Use the fishing rod on the sewer grate to retrieve a key.
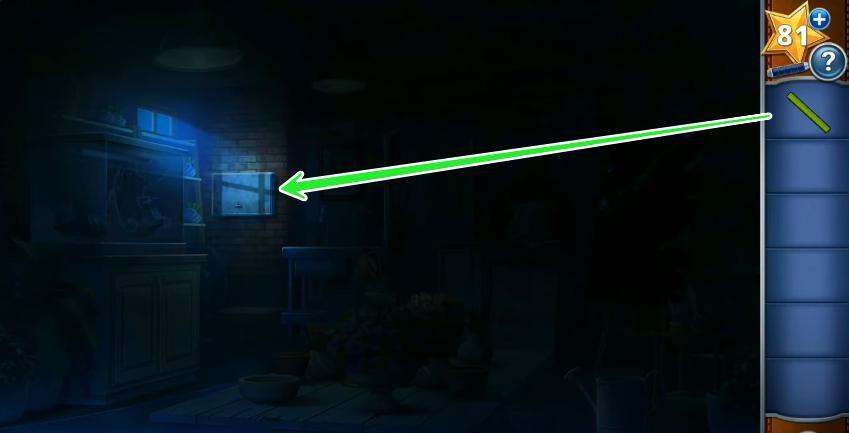
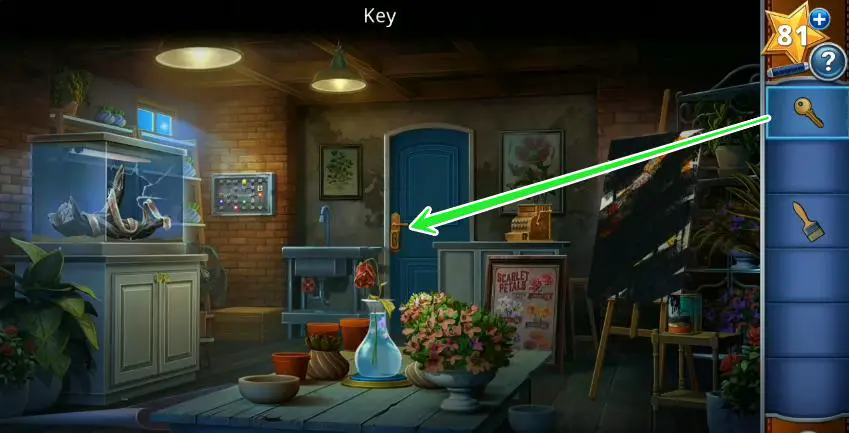
- Unlock the flower shop door with the key and head inside. The shop is too dark, so the lights must be turned on. Find the fuse box and use the ruler to open it.
- Solve the Fuse Box Puzzle by moving each colored spark to its matching colored slot. Select a spark and press the directional arrows to move it, noting that some wire connections are broken. Move a colored spark onto the high-voltage slot to create electricity bridges across the broken wires.
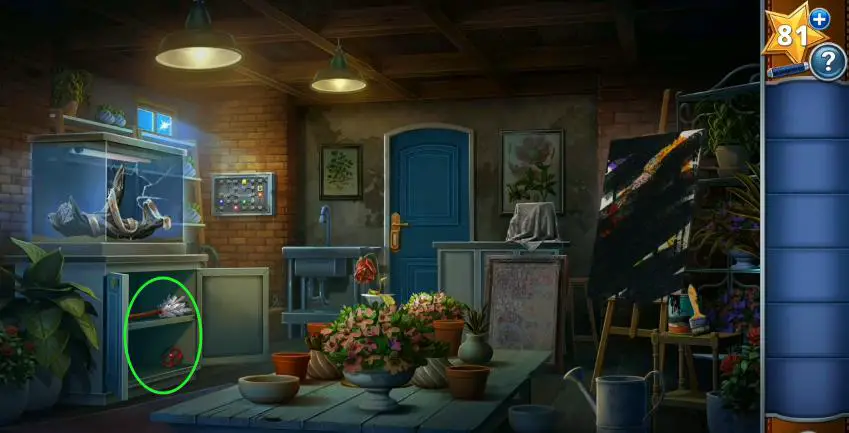
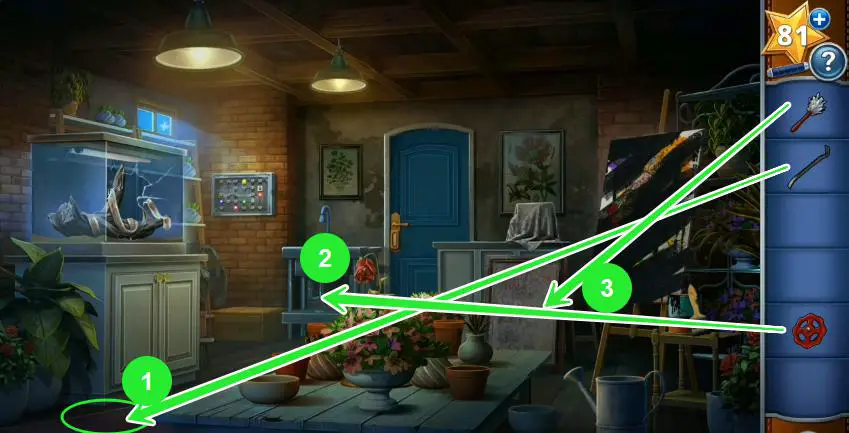
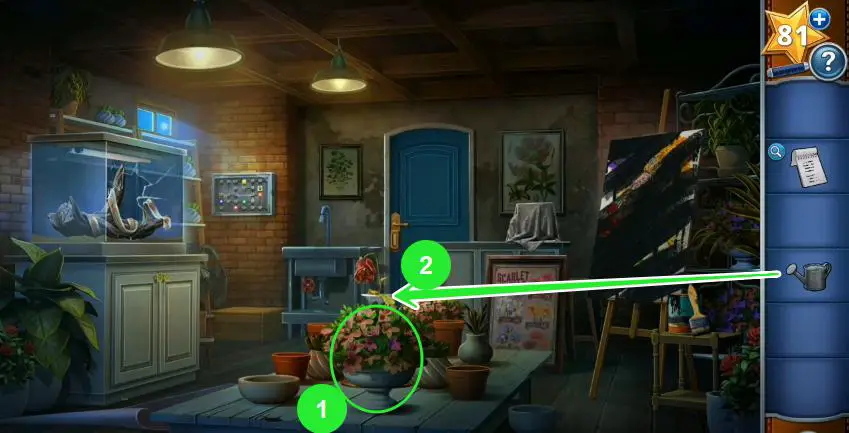
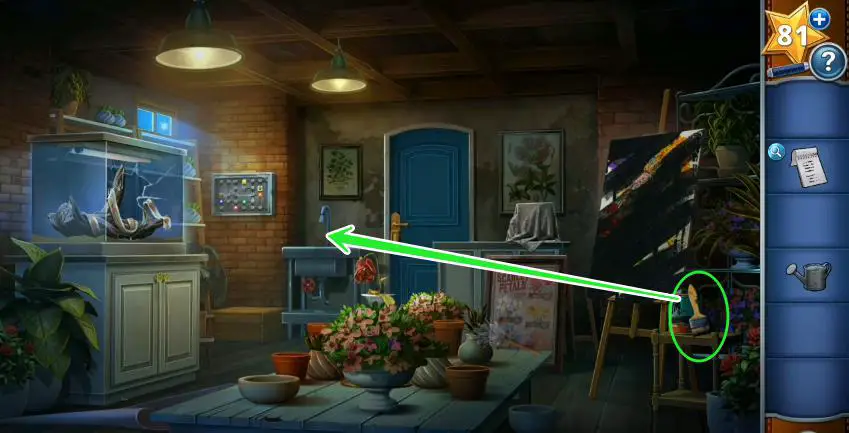
- Locate the empty watering can, dirty paintbrush, handle, and a crowbar with the lights on. Lift the rug to reveal a loose plank and uncover a cash register.
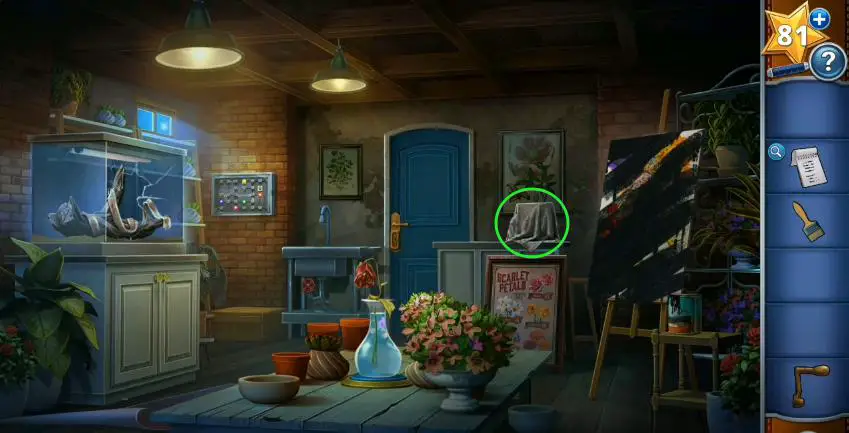
- Open the cabinet beneath the snake cage to obtain the feather duster and valve. Use the crowbar to lift the loose plank and retrieve a notepad.
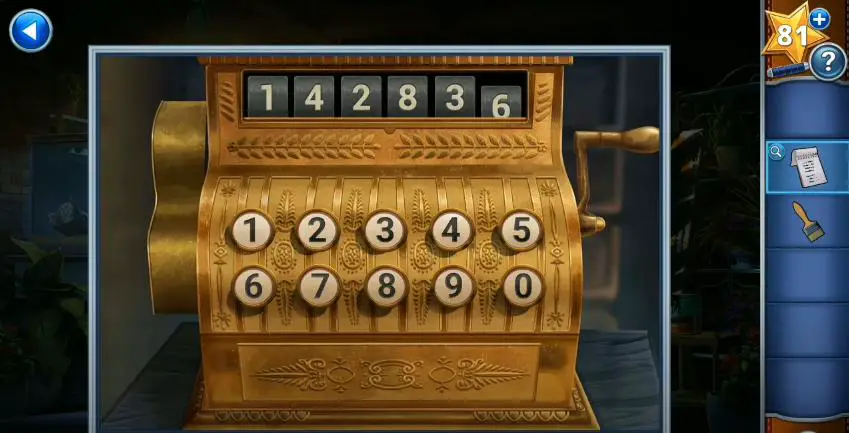
- Attach the handle to the cash register to repair it, which will be helpful once the correct numbers are known.
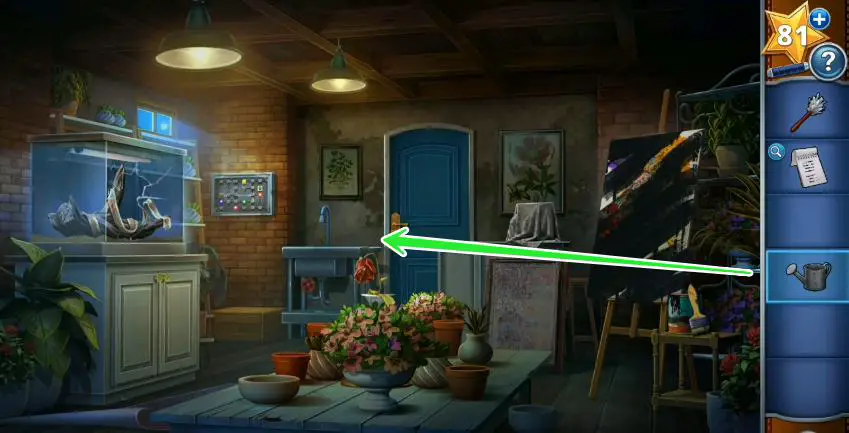
- Place the valve under the sink and fill the empty watering can. Clean the dirty paintbrush using the sink. Use the feather duster to clean the dusty painting, which reveals the prices for different flowers.
- Pour the water from the watering can into the vase on the table, revealing a keyhole on the door.

- Examine the notepad to find three different flower sales. Combine this information with the painting of flower prices to determine the code for the cash register.

- The sales are dated January 1st (3 pansies and one daffodil), January 3rd (5 lilies and four pansies), and January 5th (1 mum and ten roses). The math is as follows:
- 3 x $2 = $6
- 1 x $8 = $8
- 5 x $4 = $20
- 4 x $2 = $8
- 1 x $6 = $6
- 10 x $3 = $30
- Add each pair of totals: 14, 28, 36. Enter 142836 into the cash register to unlock it and obtain a key.
- Use the key to unlock the door, then proceed downstairs.
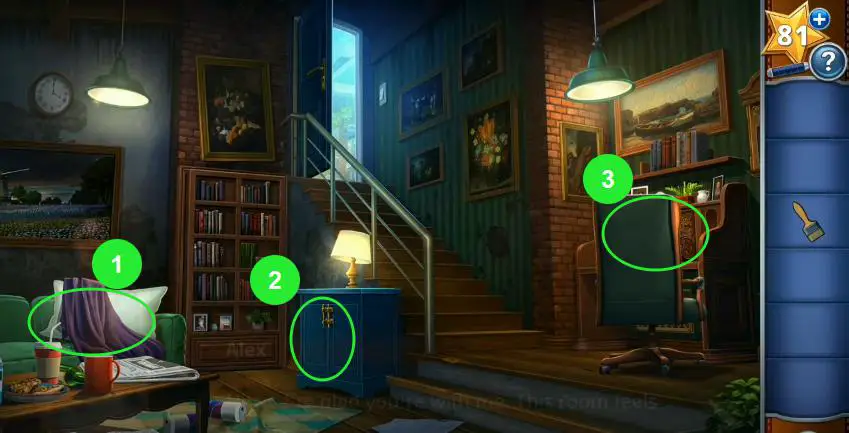
- Downstairs, find the old book, sticky tape, and glow stick. Spill the baby powder on the floor, move the painting to reveal a safe, and notice a snake inside the vent asking for help.
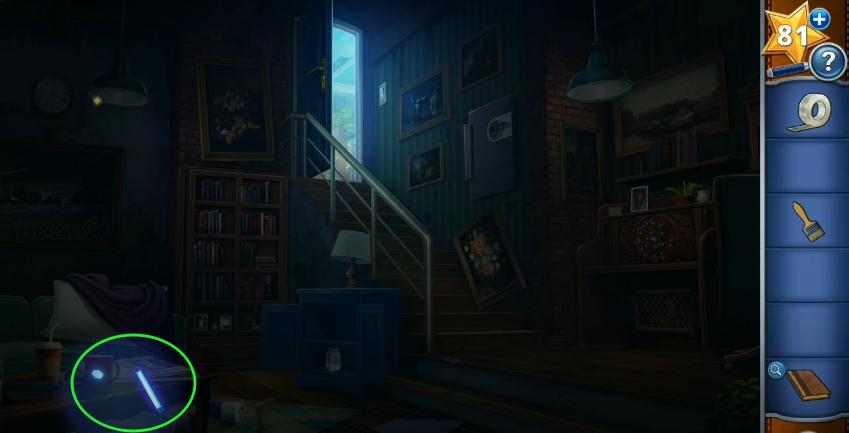
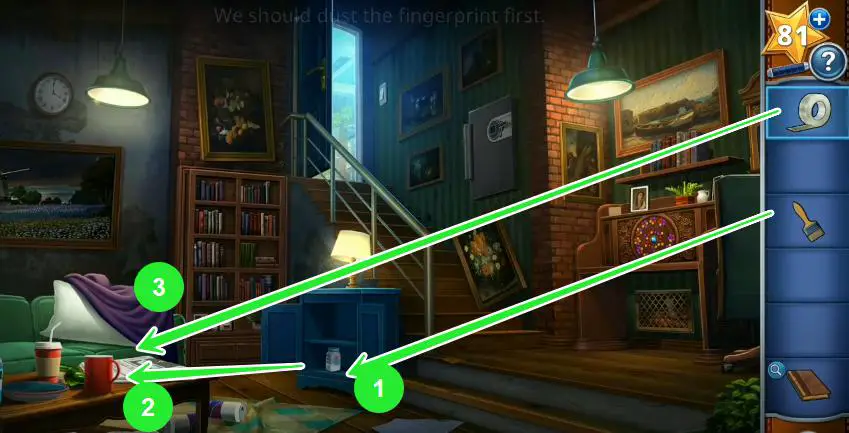
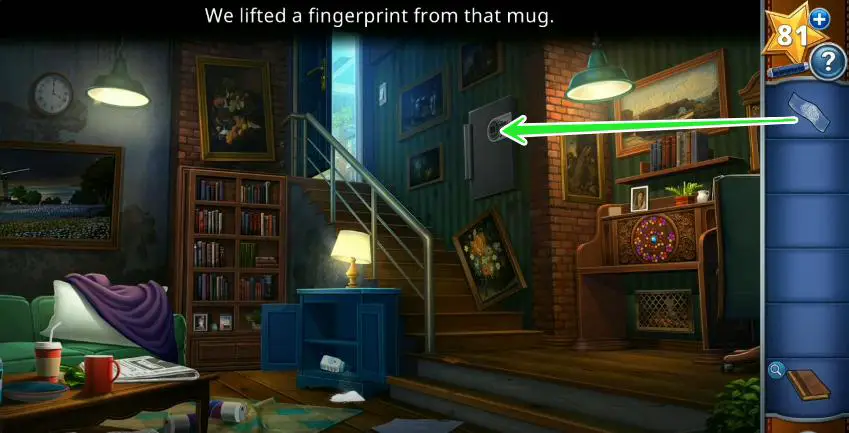
- Dip the clean paintbrush in baby powder to create a powder-covered brush. Turn off the lights and use the glow stick to locate a fingerprint on the mug.
- The lights will turn back on automatically. Use the paintbrush to apply powder to the fingerprint and lift the print with the tape.
- Use the taped fingerprint to unlock the safe and retrieve the screwdriver and wooden flower.
- Use the screwdriver to open the vent and release the snake. After the snake leaves, pick up the paper cutout and photo slides.
- Approach the flower puzzle and add the wooden flower. Solve the puzzle by rotating the flowers so that the connecting petals match in color.
- Collect the paint thinner and examine the photo viewer. Place the photo slides down, but before organizing them, go back upstairs and use the paint thinner on the blacked-out painting. Notice the flowers surrounding Stella’s face.
- Return downstairs and organize the photo slides using the information from the old book and the painting.
- The descriptions on each page guide which photo to select, and the flowers on each page indicate where each slide should go based on the painting. Make sure to inspect each slide first.
- A secret door opens! Inspect the locked box and read the note, paying attention to the symbols on the box. Then, examine the bulletin board shrine and read the note, which suggests the stalker took a job at Stella’s house.

- Place the paper cutout on the box and align it with the first symbol shown. The number 5 will be highlighted by one of the cutouts. Repeat this process for the other five symbols to reveal the code 573114.
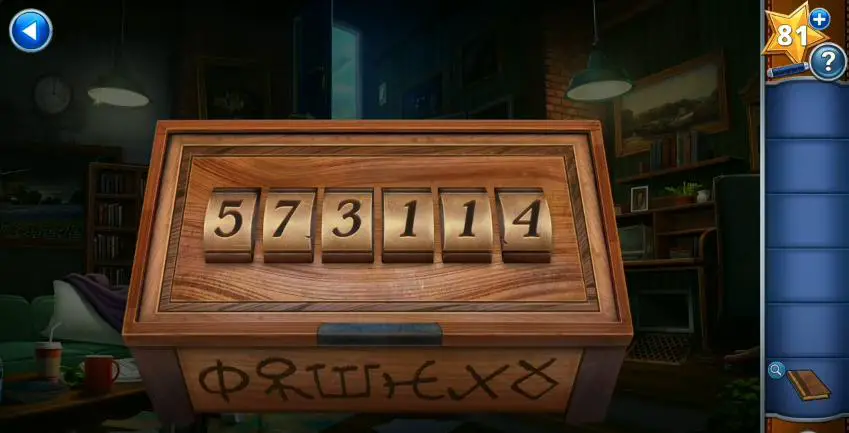
- Enter 573114 into the locked box to open it. Inside, it’s revealed that Timothy, the butler, is the stalker. The next destination is Scarlet Petals Farm.

Also Read Next Chapters: |Chapter 1| |Chapter 2| |Chapter 3| |Chapter 4|

 CodyCross Answers
 Daily Themed Crossword Answers
 Top 7 Answers
 Word Craze Answers